Integration Instructions
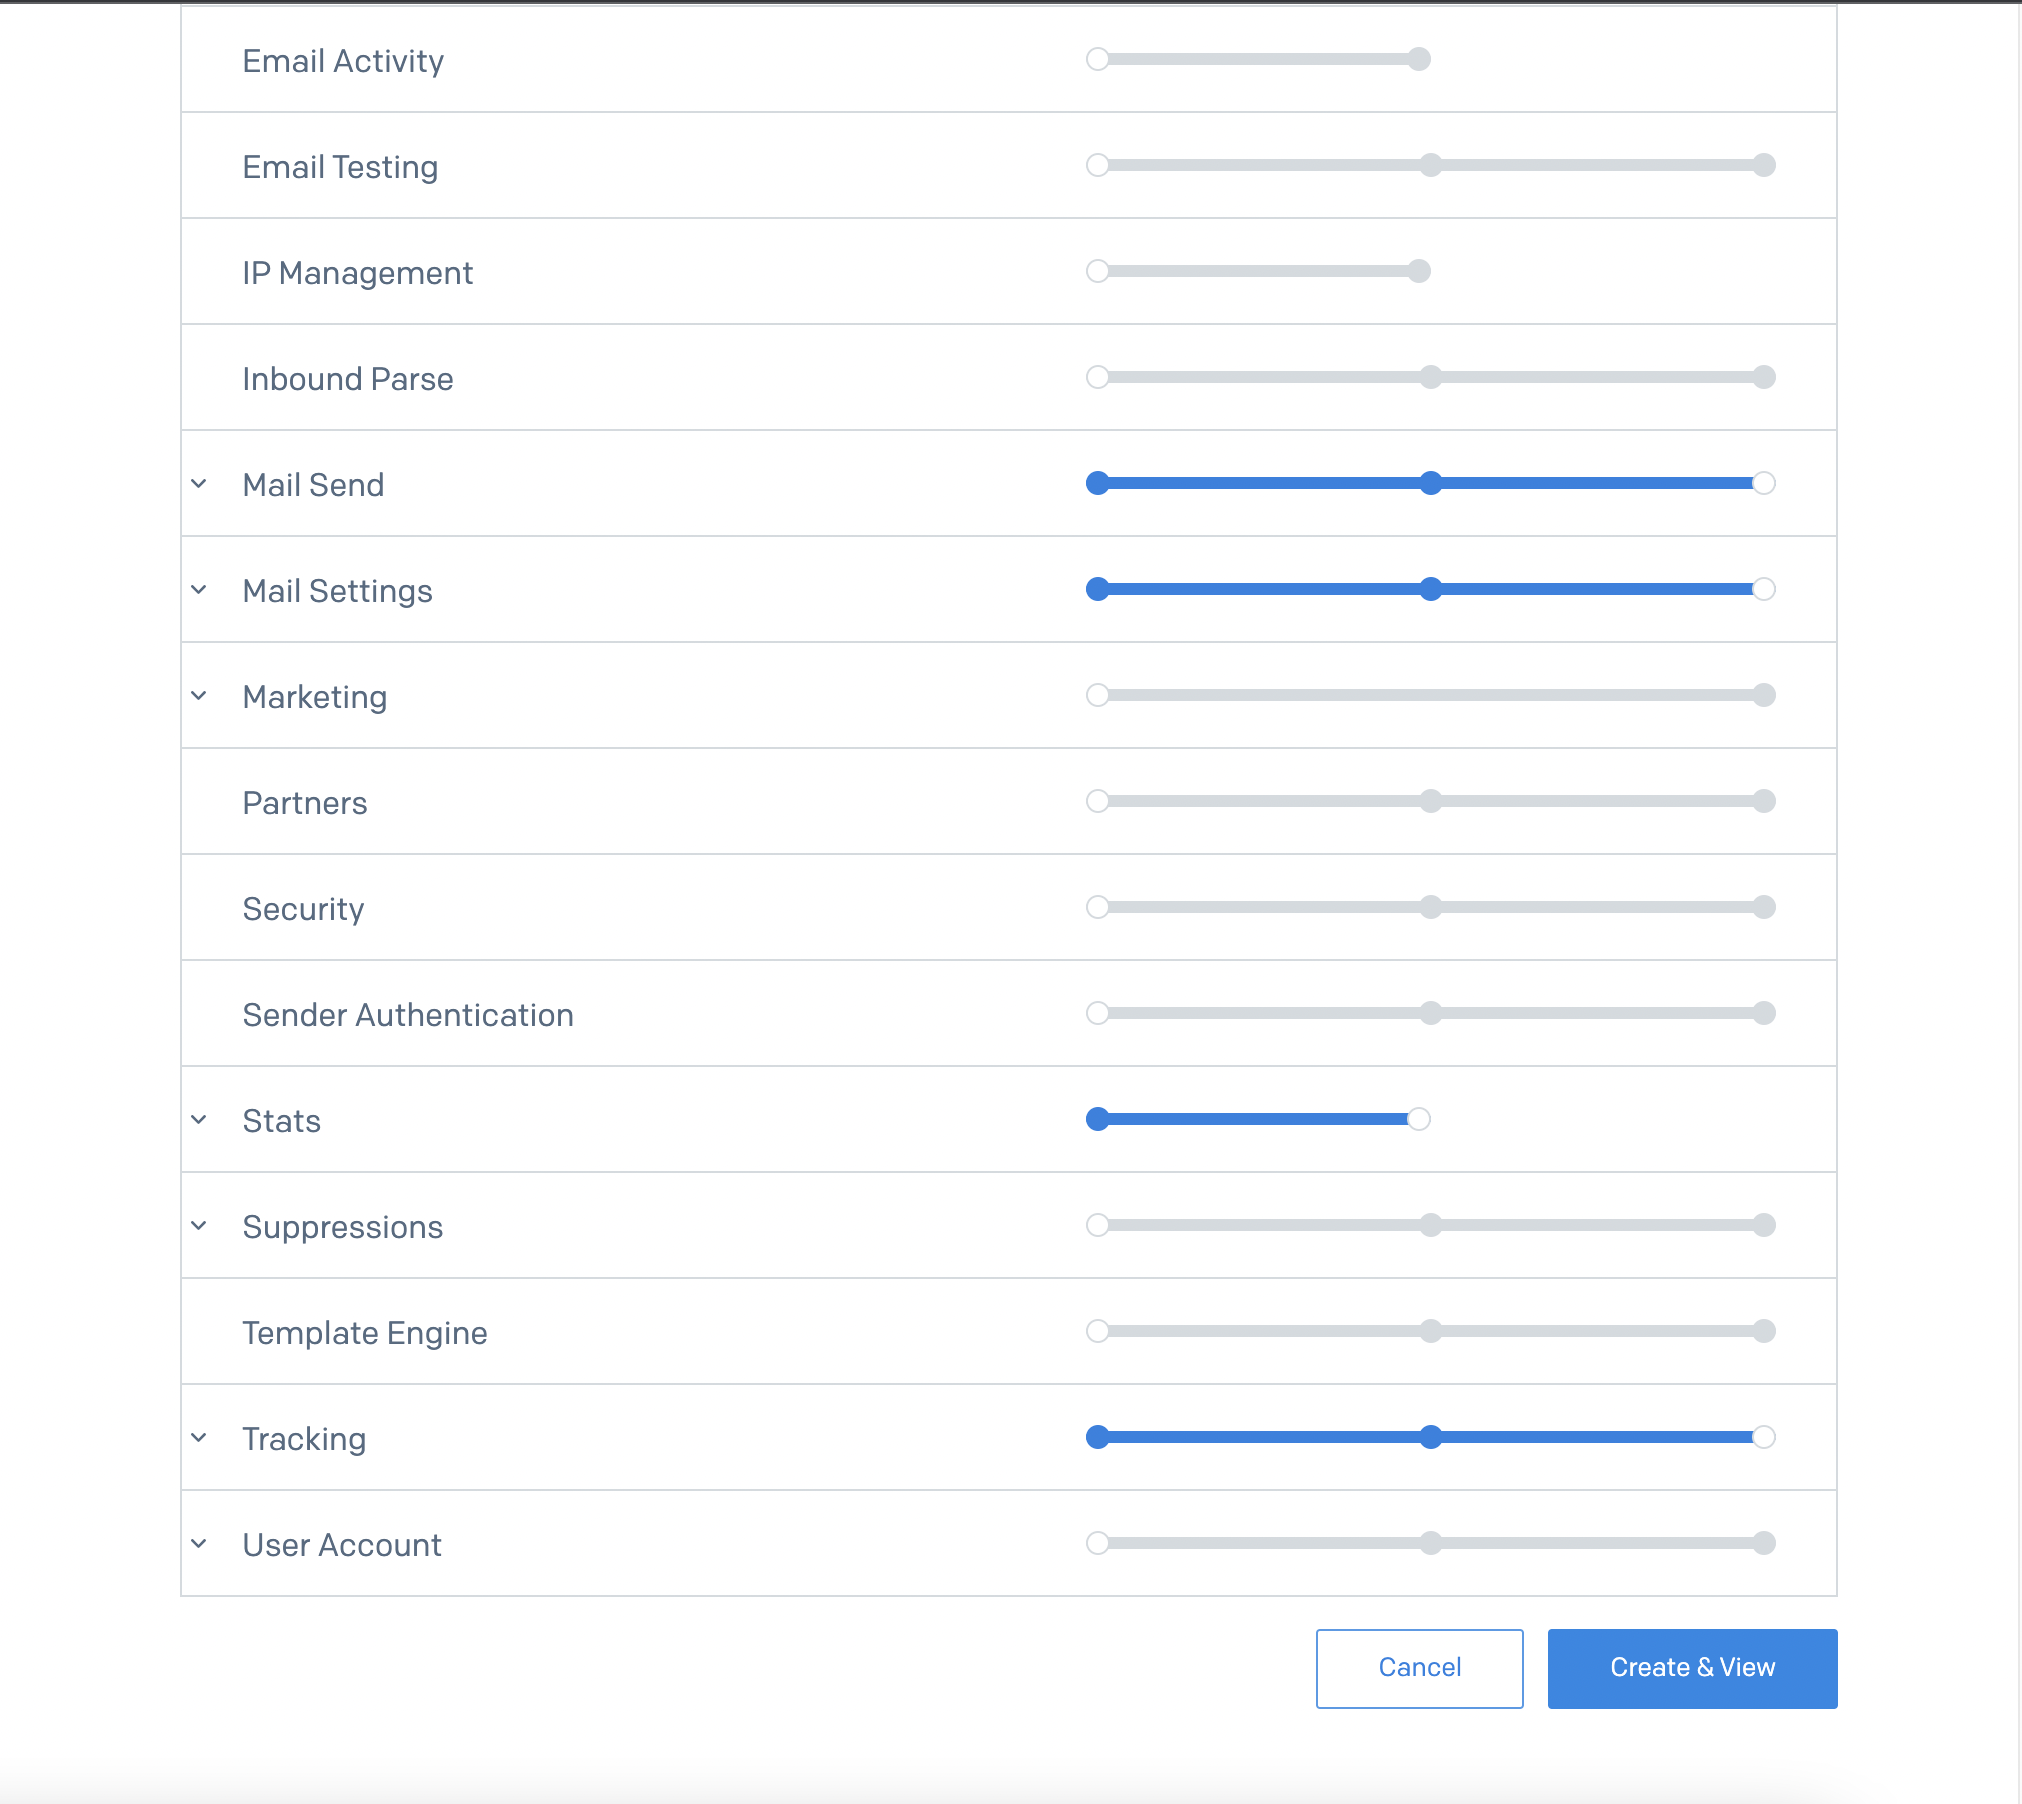
Visit the SendGrid API Keys page https://app.sendgrid.com/settings/api_keys. Click “Create API Key”, then select “Restricted Access”. Grant “Full Access” in the following categories.- Mail Send
- Mail settings
- Tracking
- Stats
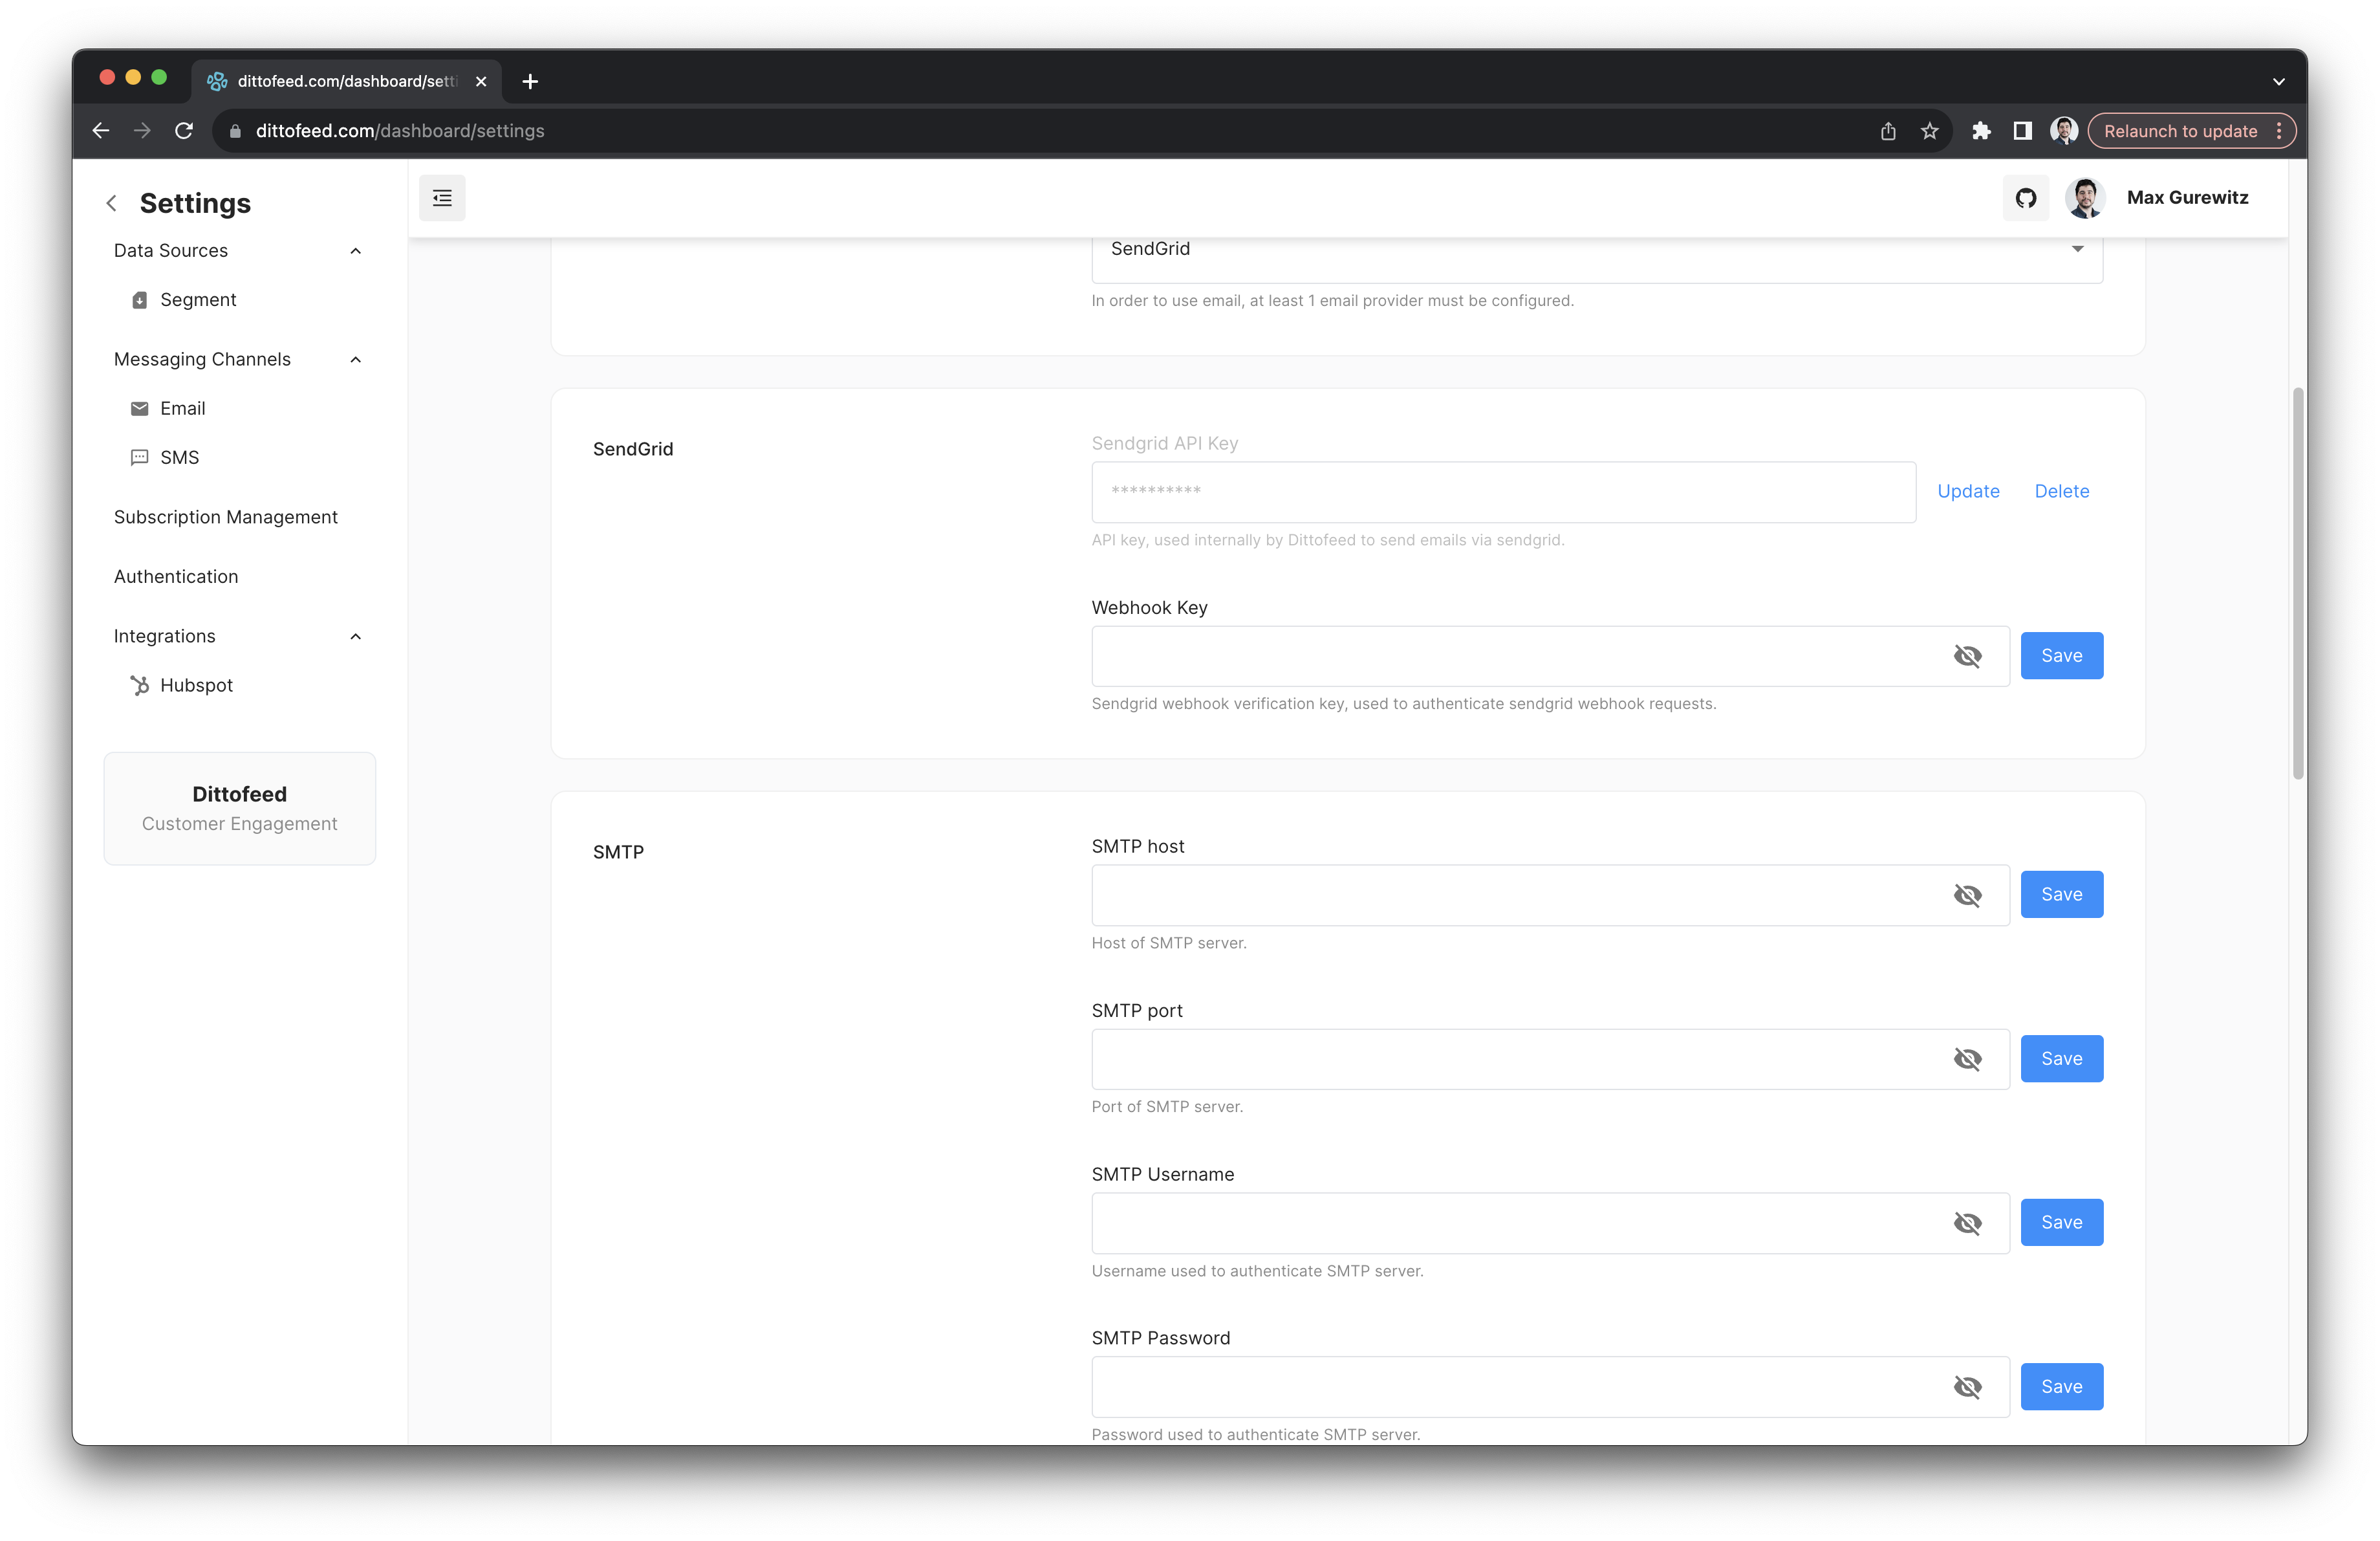
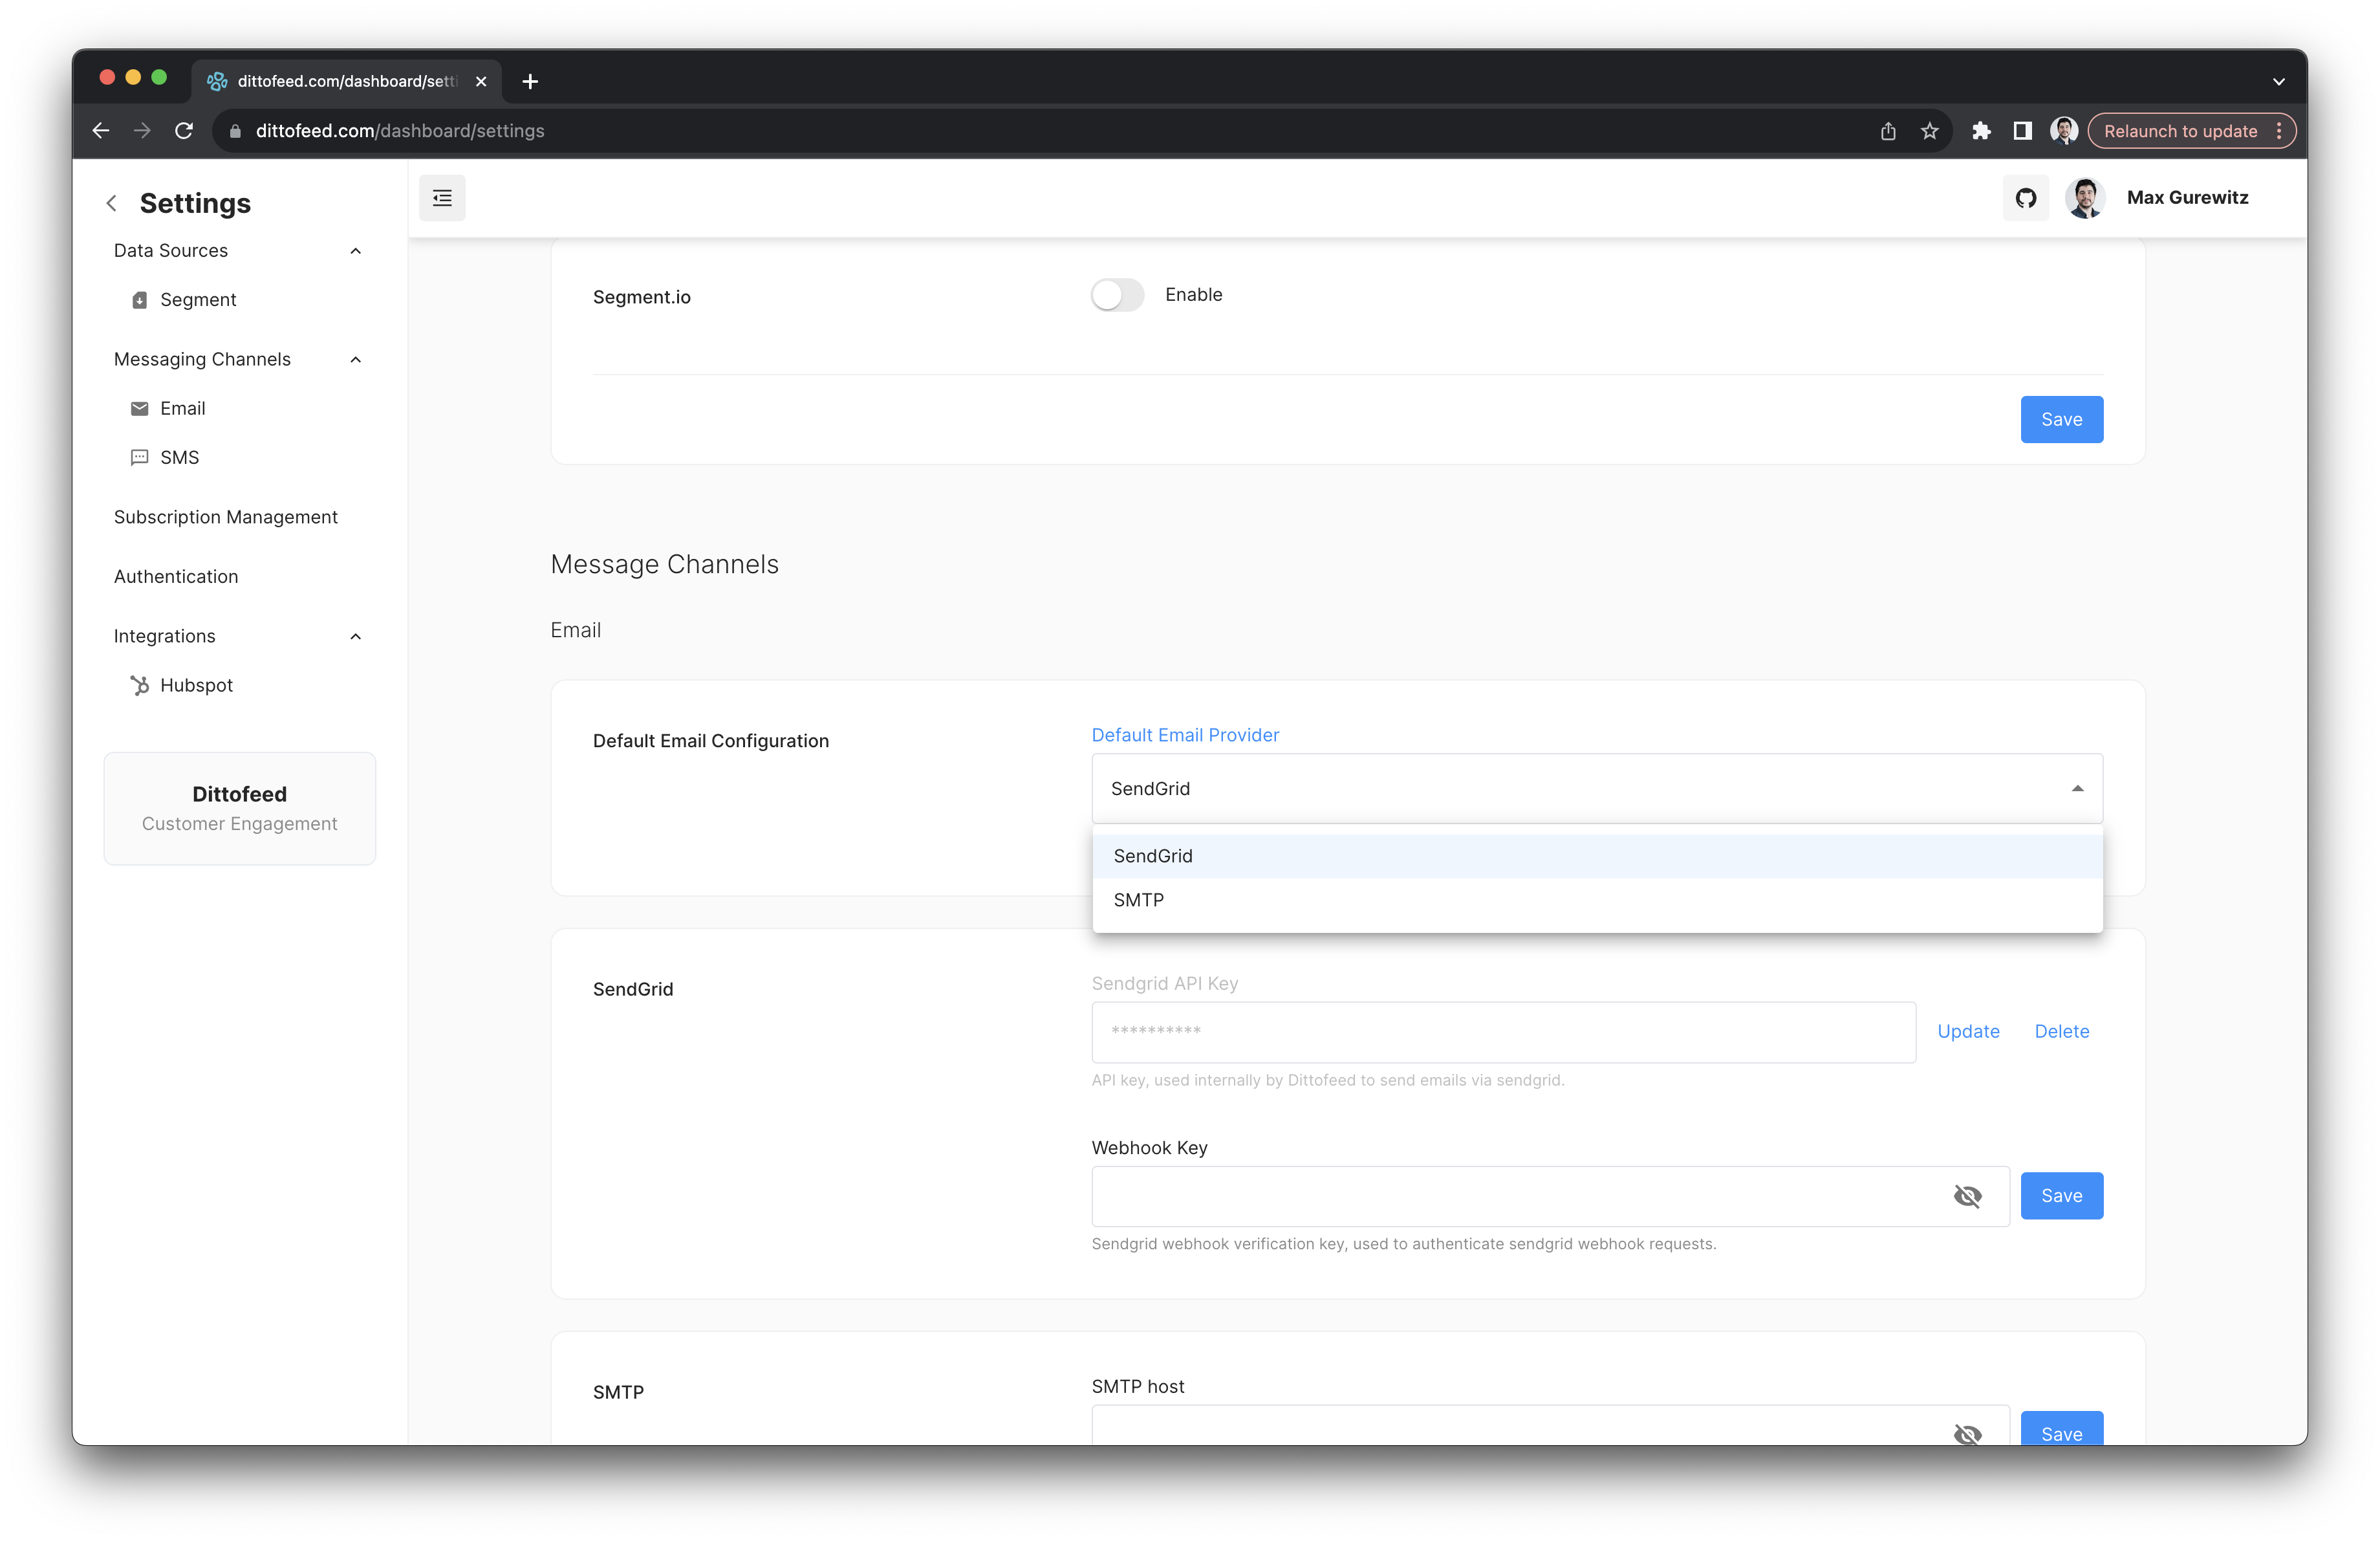
/dashboard/settings#email-channel.
Tracking
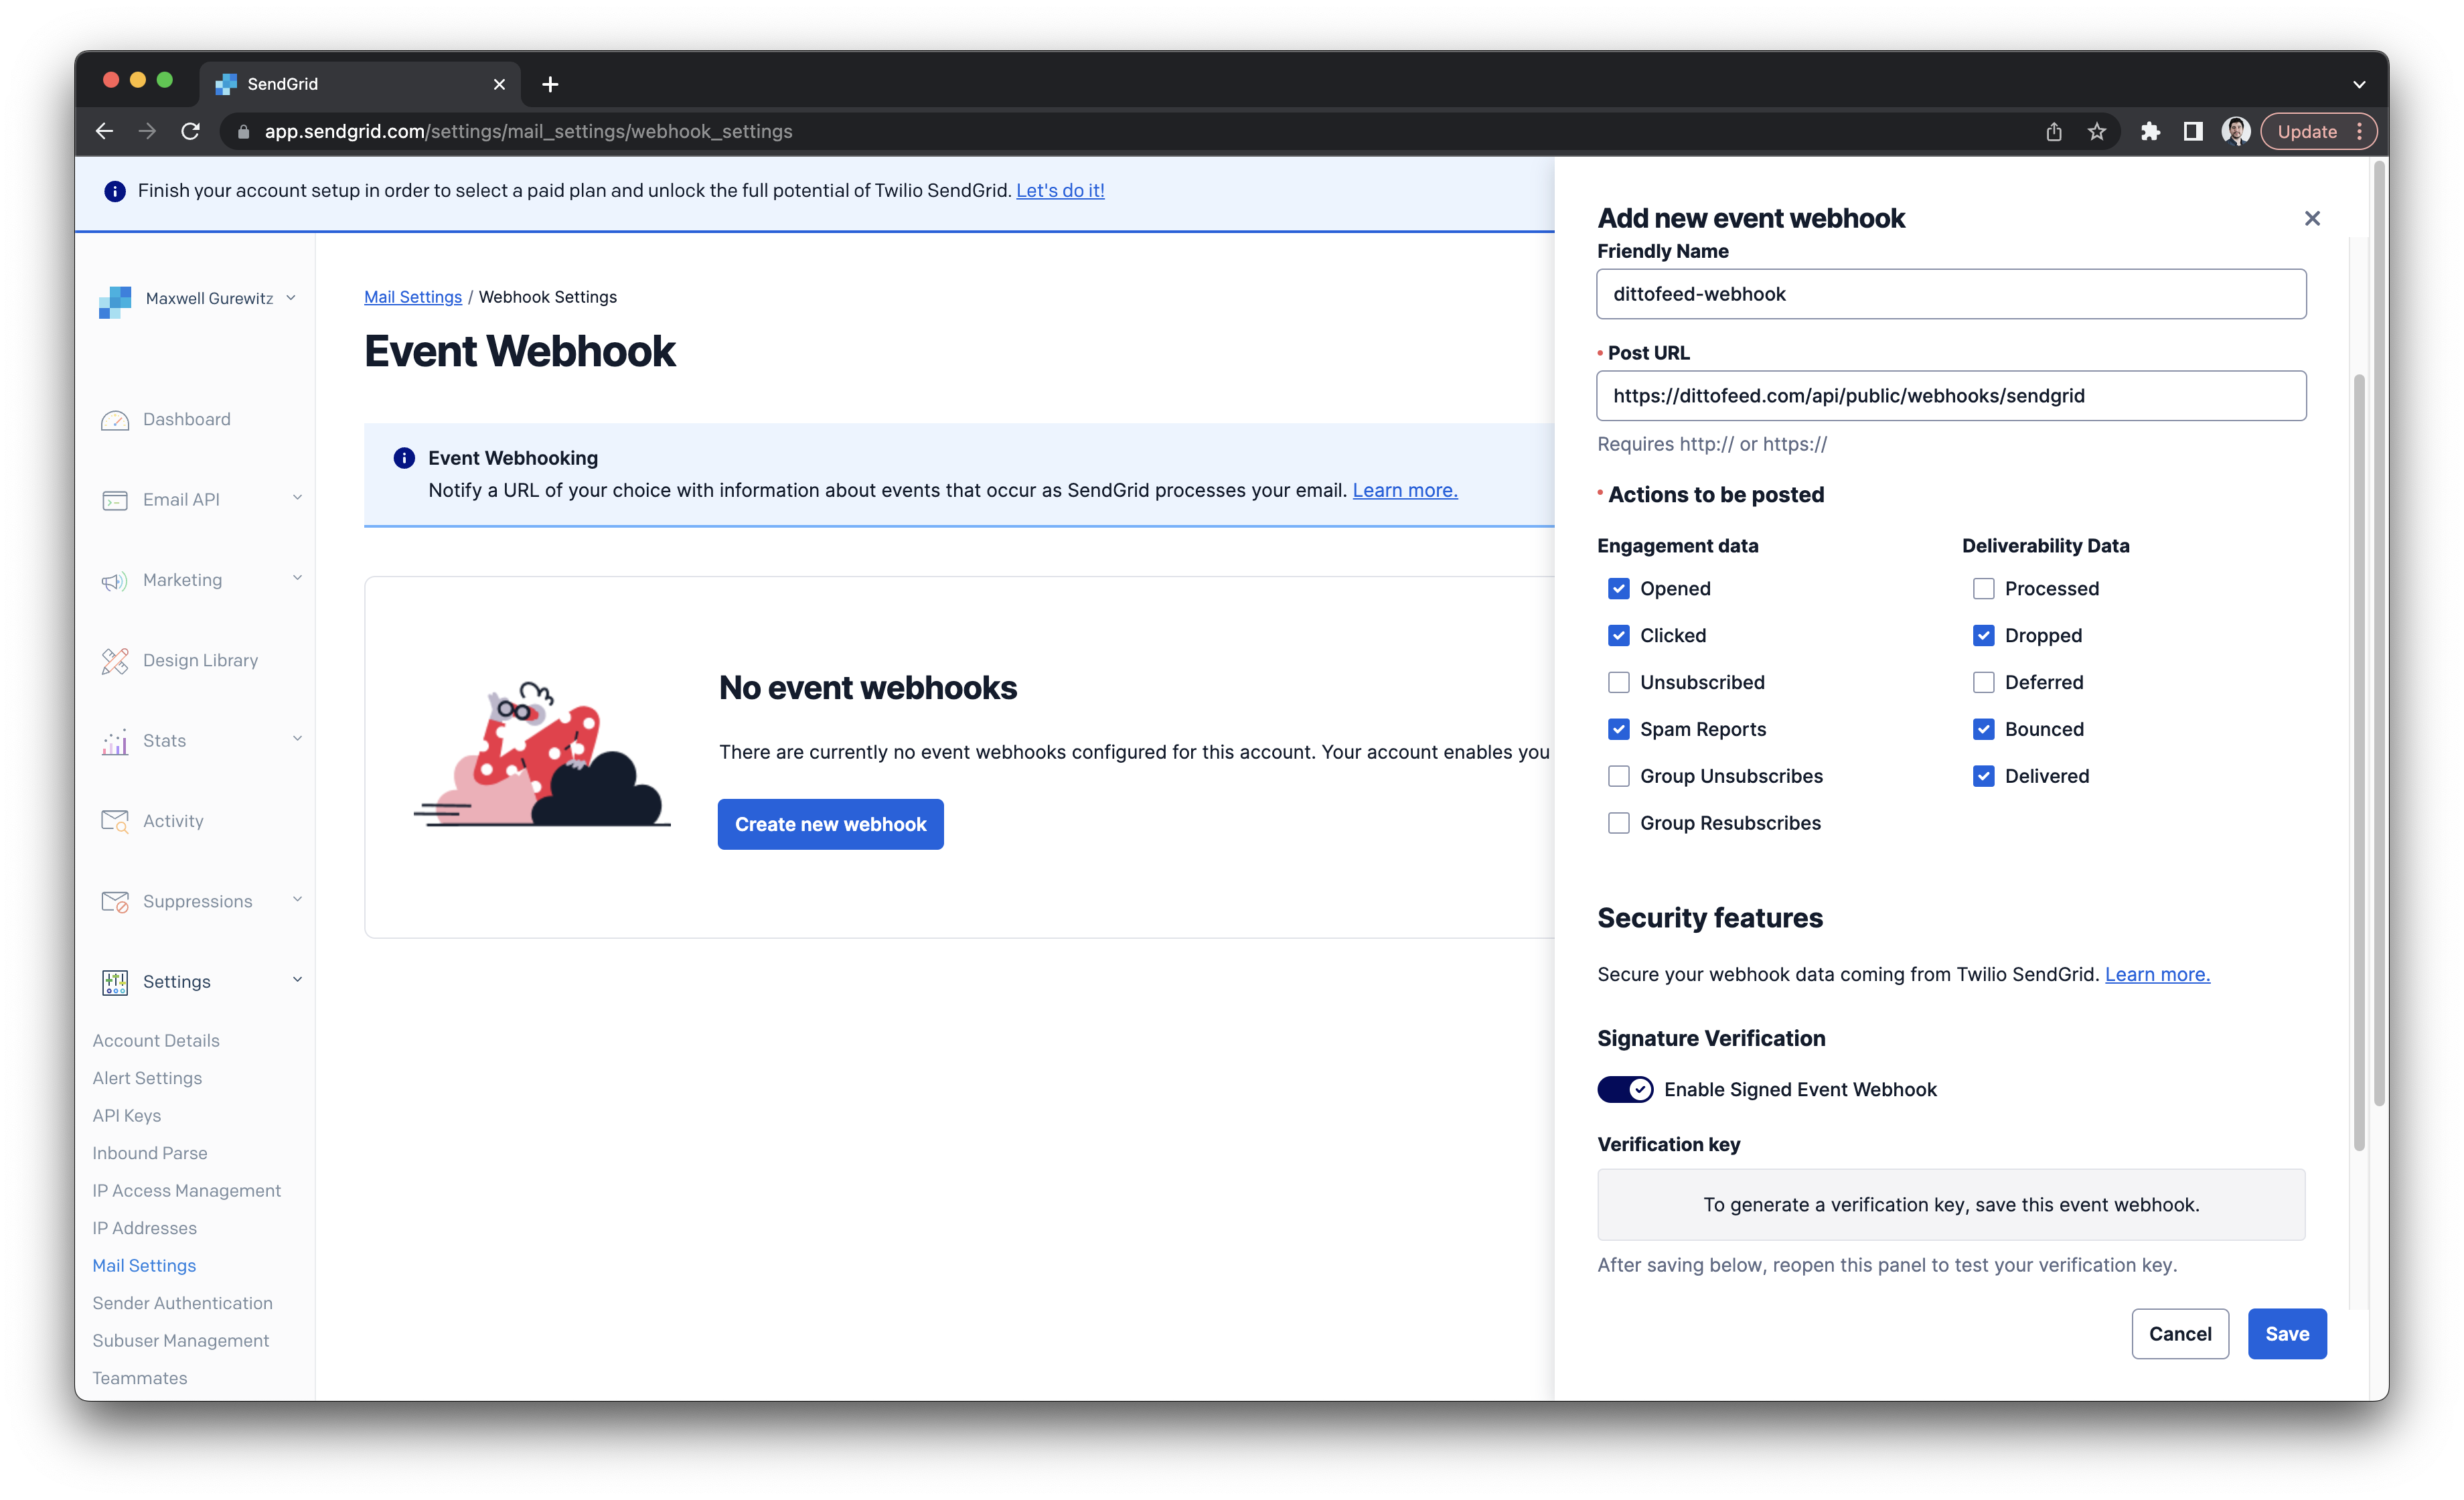
In order to receive sendgrid tracking data, you have to create a webhook in SendGrid. Go to the Webhook settings page. https://app.sendgrid.com/settings/mail_settings/webhook_settings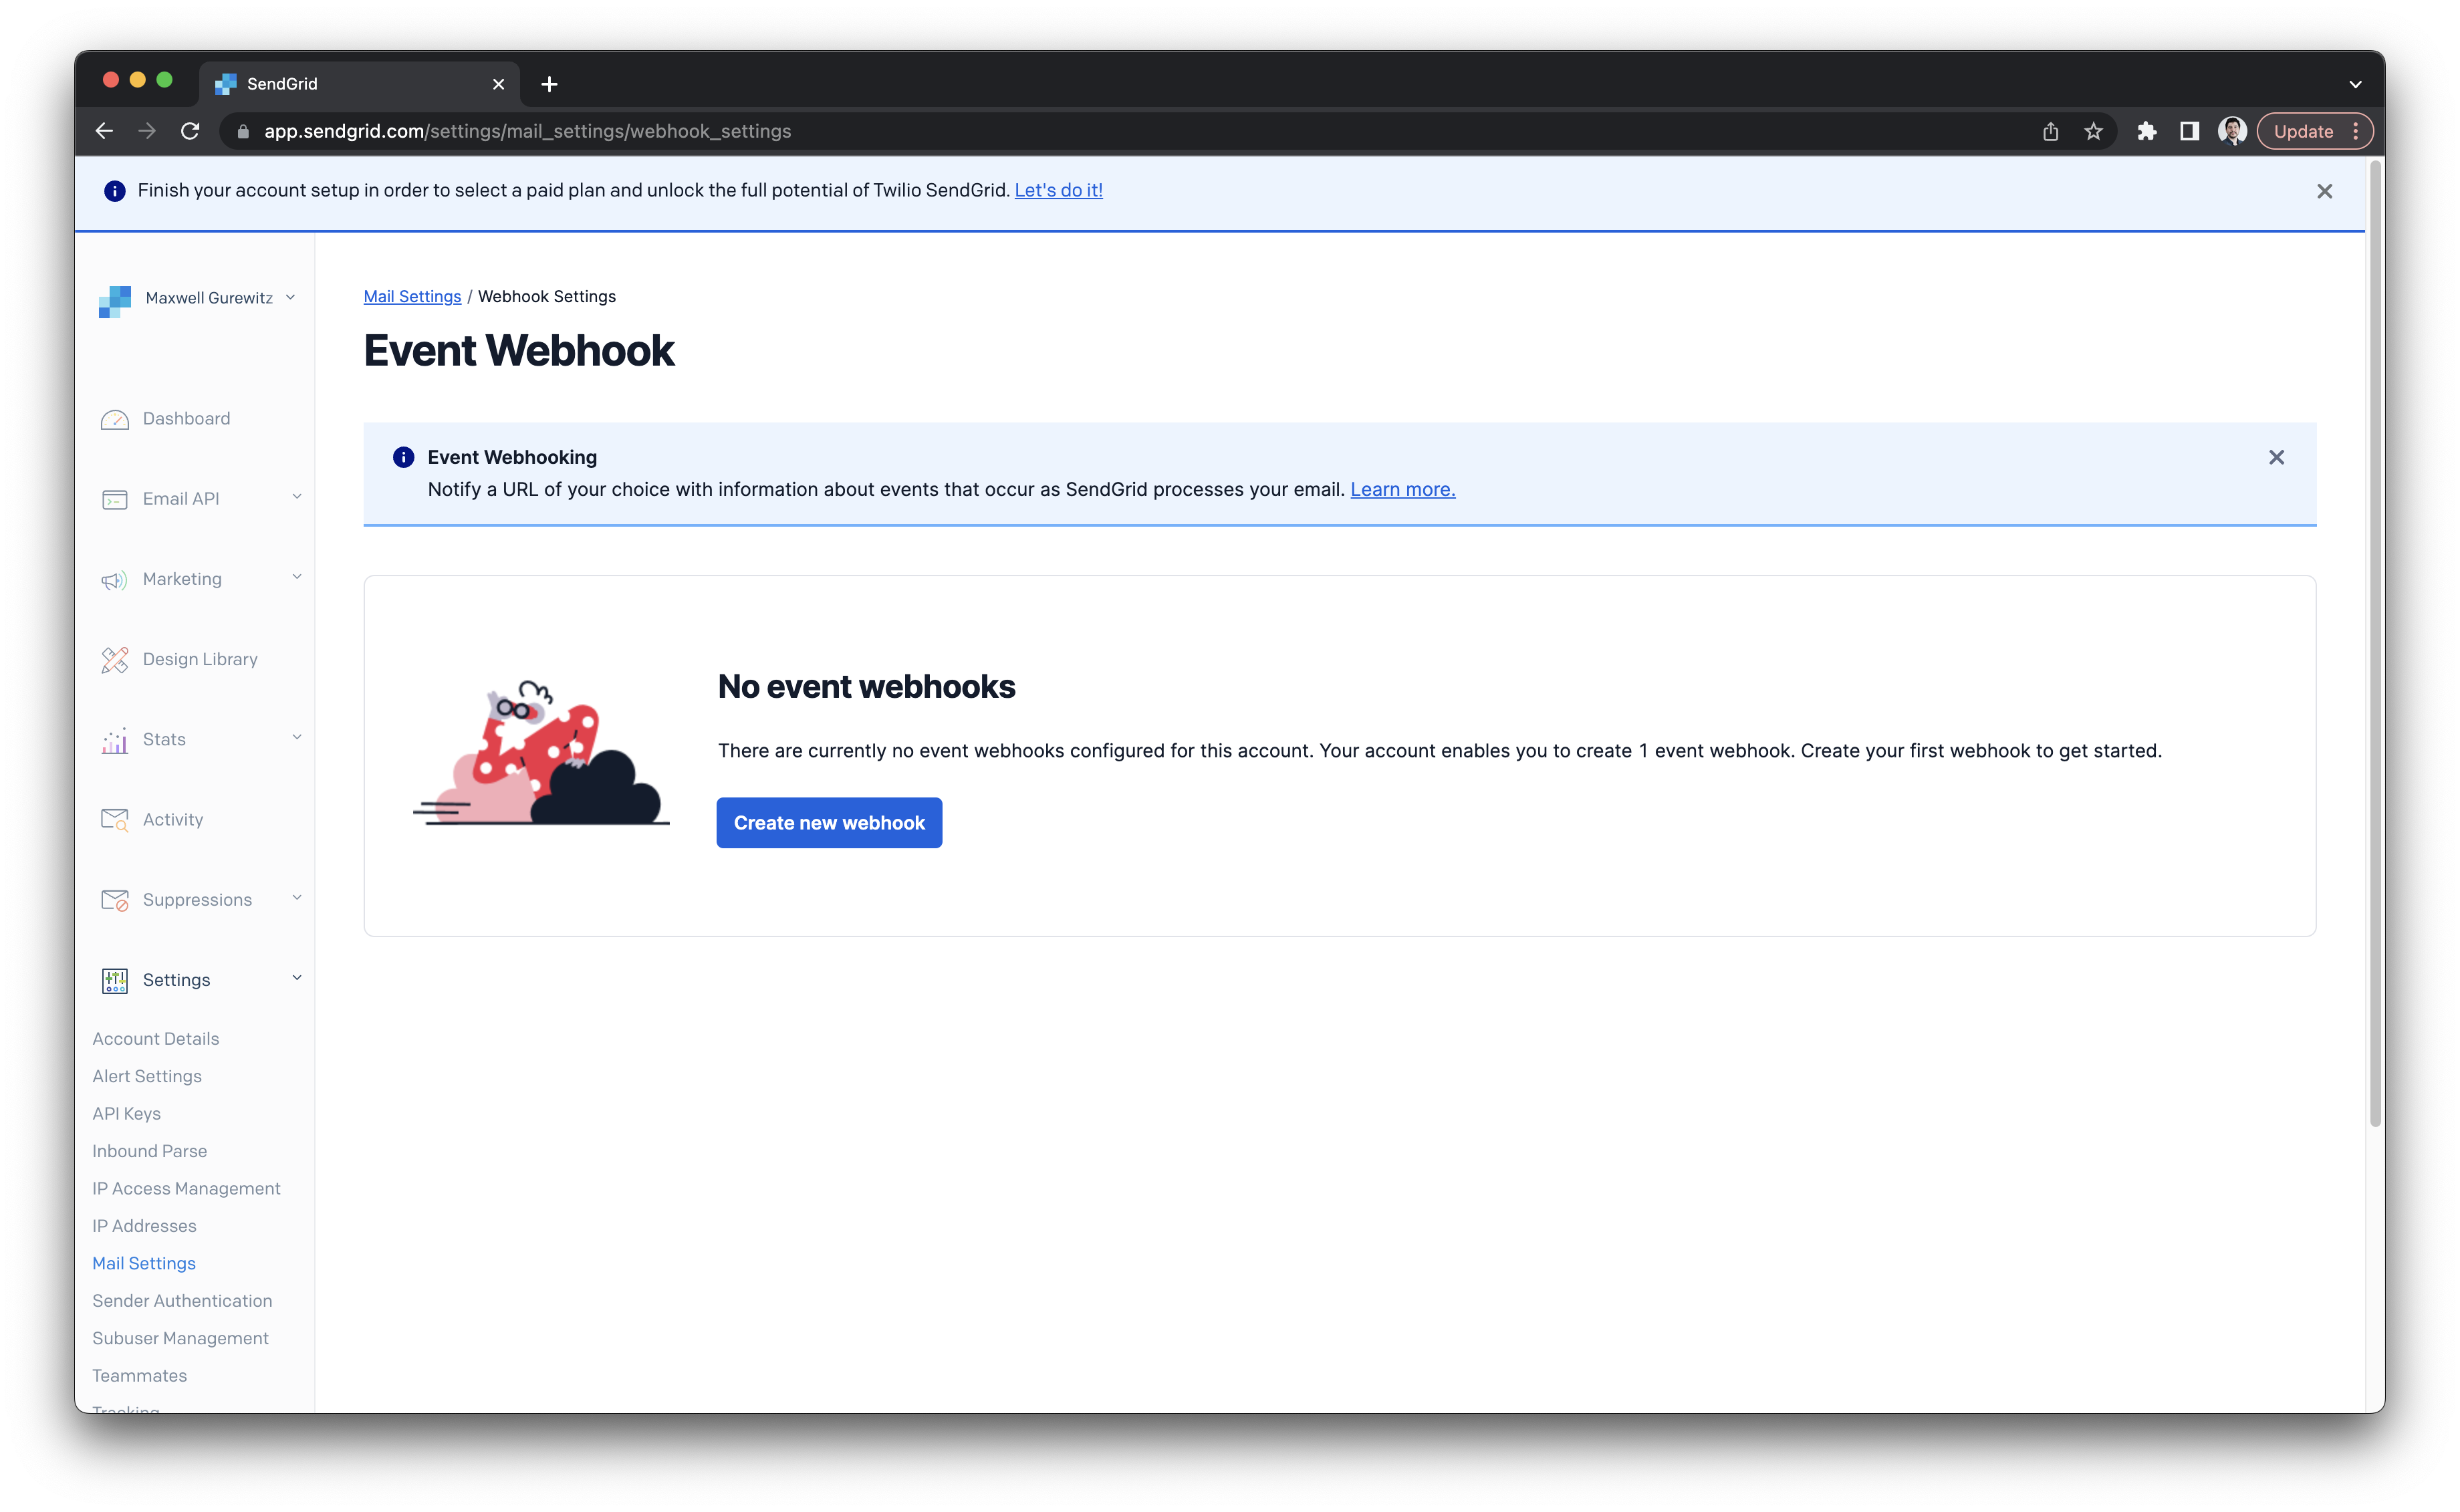
- Opened
- Clicked
- Spam Reports
- Dropped
- Bounced
- Delivered
- Processed
https://app.dittofeed.com/api/public/webhooks/sendgrid or your own custom domain if you’re self-hosting.
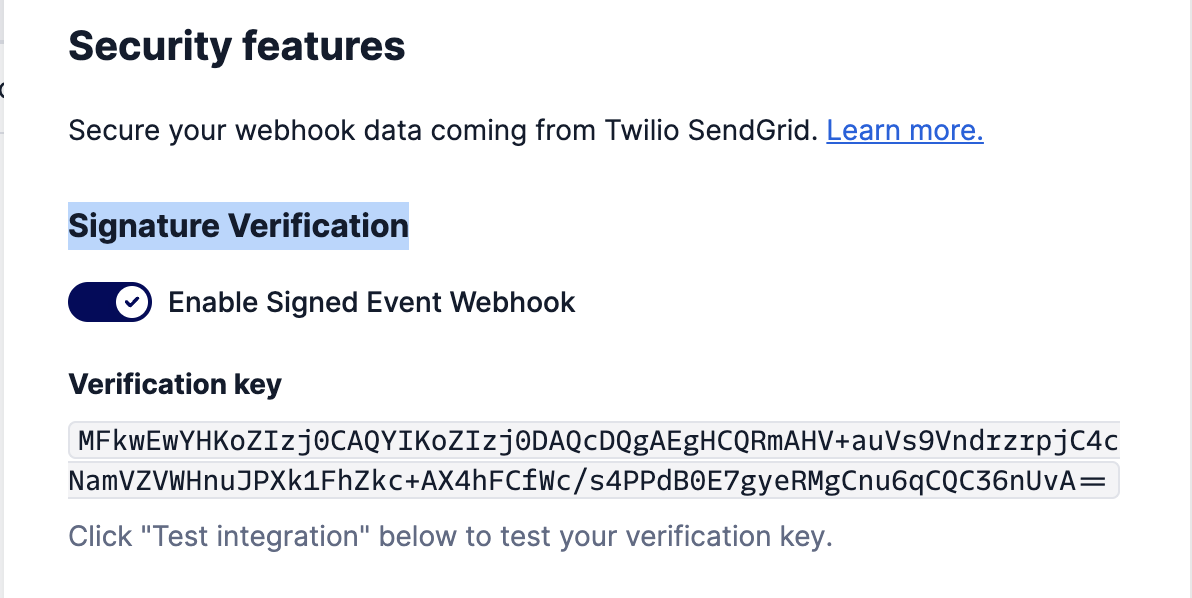
Enable the “Signature Verification” feature. Save the webhook.
/dashboard/settings#email-title and click save.