Admin CLI
yarn admin <cmd> [args] invoke’s the admin-cli package’s CLI, located here. The admin-cli provides useful commands for local development as well as operational tasks in production.
Running with Github Codespaces
Running Dittofeed with Github Codespaces is an easy way to set up a development environment, as they can help rule out idiosyncratic issues with your local environment. To open a codespace, open vscode, and navigate to the Remote Explorer tab. Then click on the “Open Codespace” button. From here, select the dittofeed repository, and create a codespace. We recommend using the second tier codespace or higher, to ensure you have enough resources to run the application (4 cores, 8 GB RAM, 32 GB storage).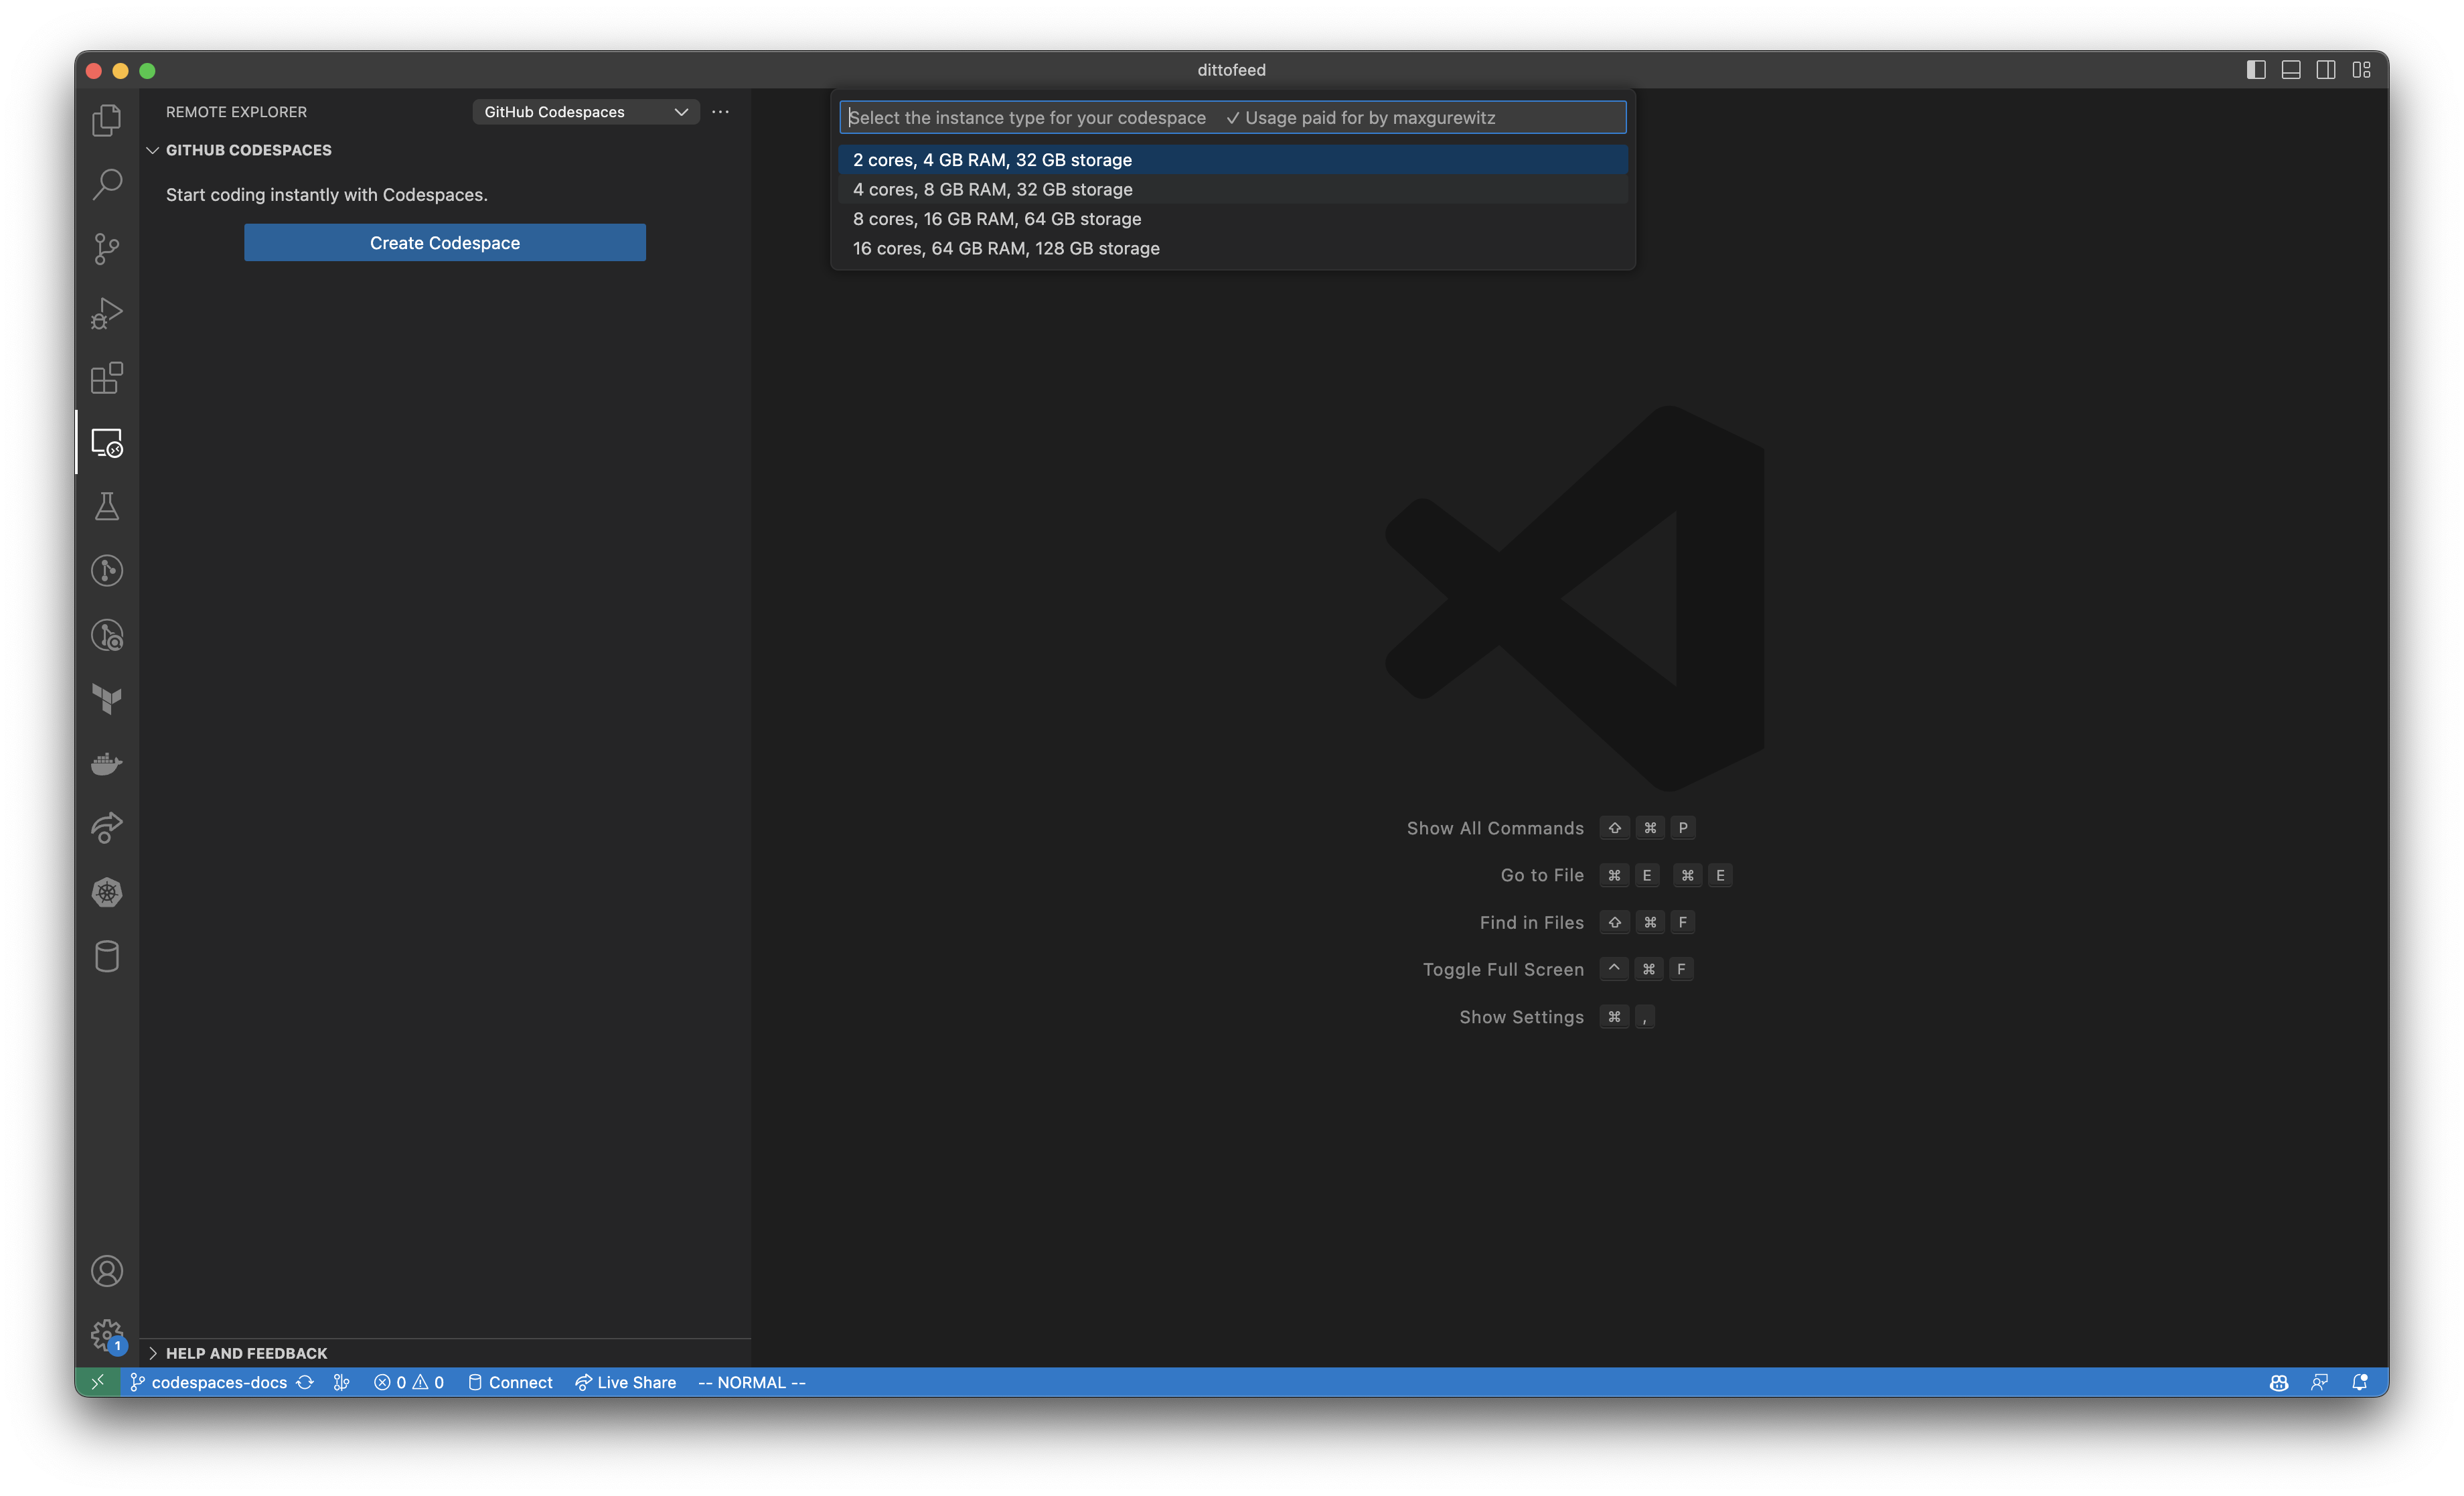
Running Locally With OpenTelemetry
In order to run Dittofeed locally with OpenTelemetry (OTEL), start the API or dashboard with the following environment variables.FAQ
Why don’t I see any users in my workspace?
Displayed users represent a collection of computed “User Property Assignments” and “Segment Assignments”. These are computed by the dittofeed worker, and won’t be available until the worker has processed user events. If you aren’t seeing users in your workspace, it’s likely one of the following is true:- Dittofeed hasn’t received any user events.
- The configured user properties and segments don’t match the provided events.
- The worker isn’t running the compute properties workflow.
How can I submit events?
See the documentation on Using Dittofeed’s REST API as a source.How can I view Dittofeed’s local Postgres data?
Run./packages/backend-lib/scripts/local-pg-access.sh to open a psql shell to Dittofeed’s postgres database started from the development docker-compose.yaml file.
How can I view dittofeed’s local ClickHouse data?
Run./packages/backend-lib/scripts/local-ch-access.sh to open a ClickHouse shell to Dittofeed’s ClickHouse database started from the development docker-compose.yaml file.