Introduction
Subscription groups help you manage groups of specific end users, and their messaging preferences. They are important both for obtaining end users’ trust, as well as achieving regulatory compliance. Subscription groups are associated with a specific channel e.g. email, SMS, or push. One can have multiple subscription groups per channel. Subscription groups can be assigned to journey message nodes, to allow those messages to render unsubscribe links, and to ensure that users are not messaged unless they are subscribed to the relevant subscription group.Creating a Subscription Group
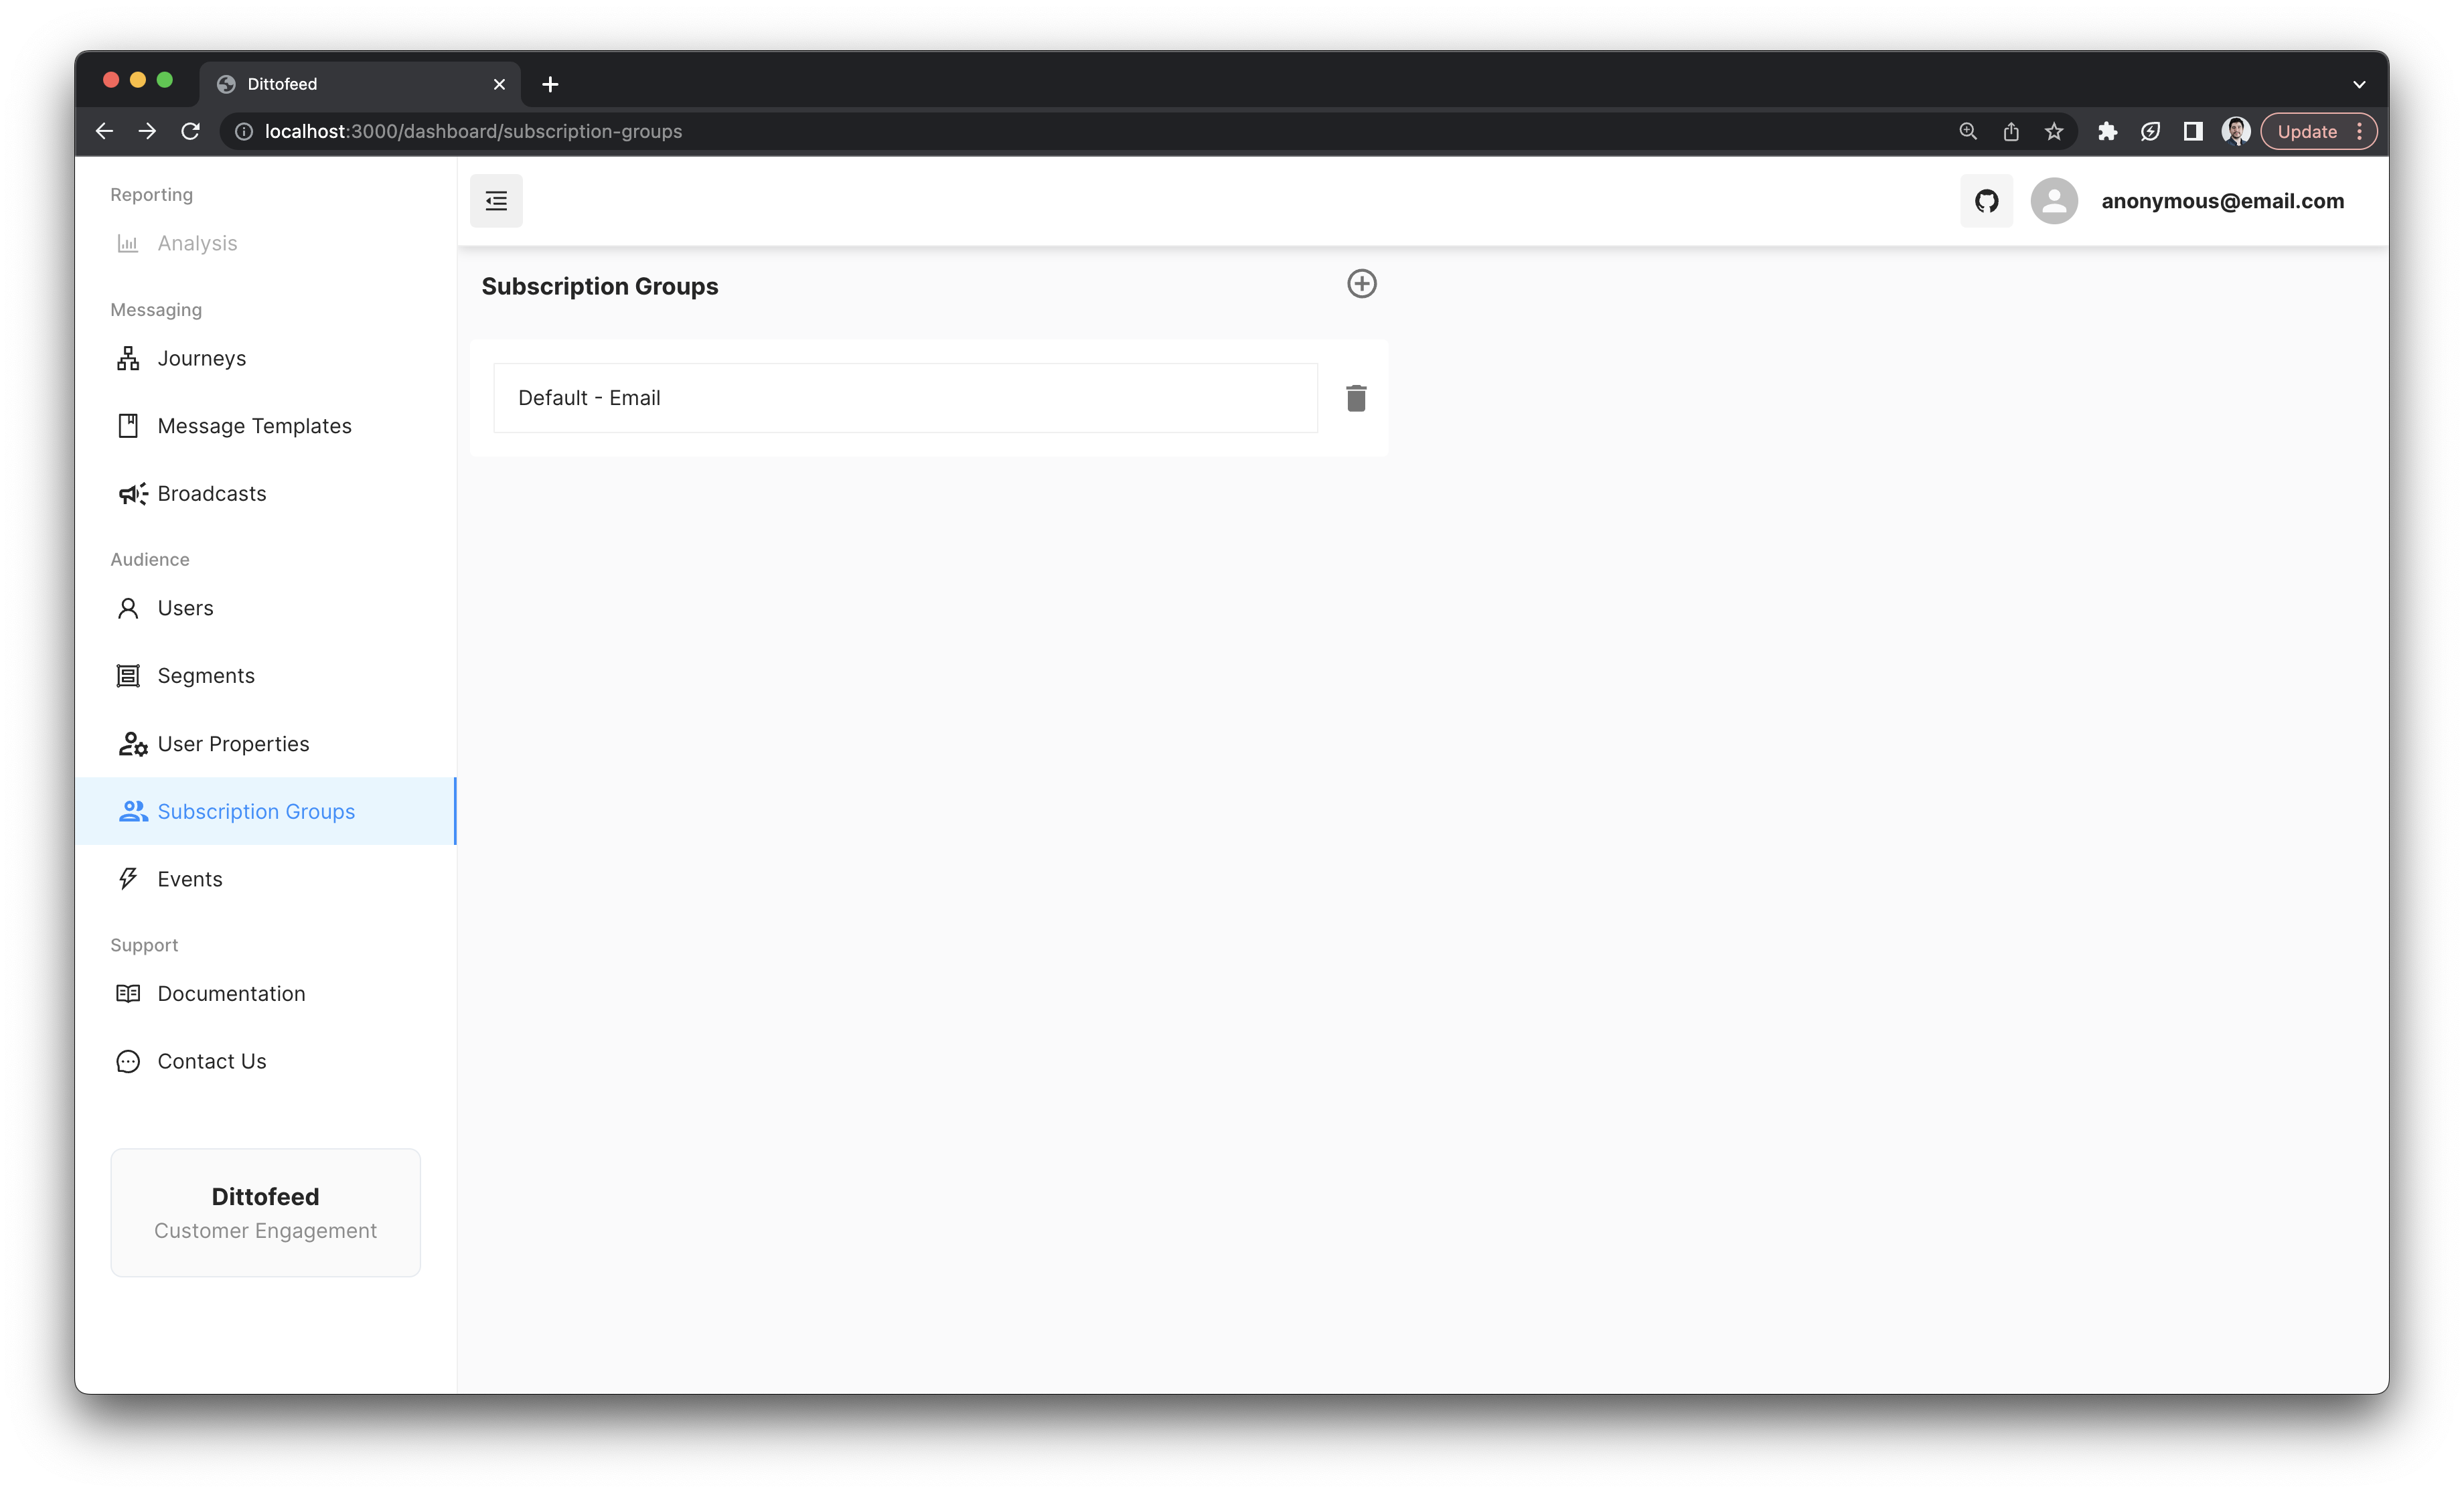
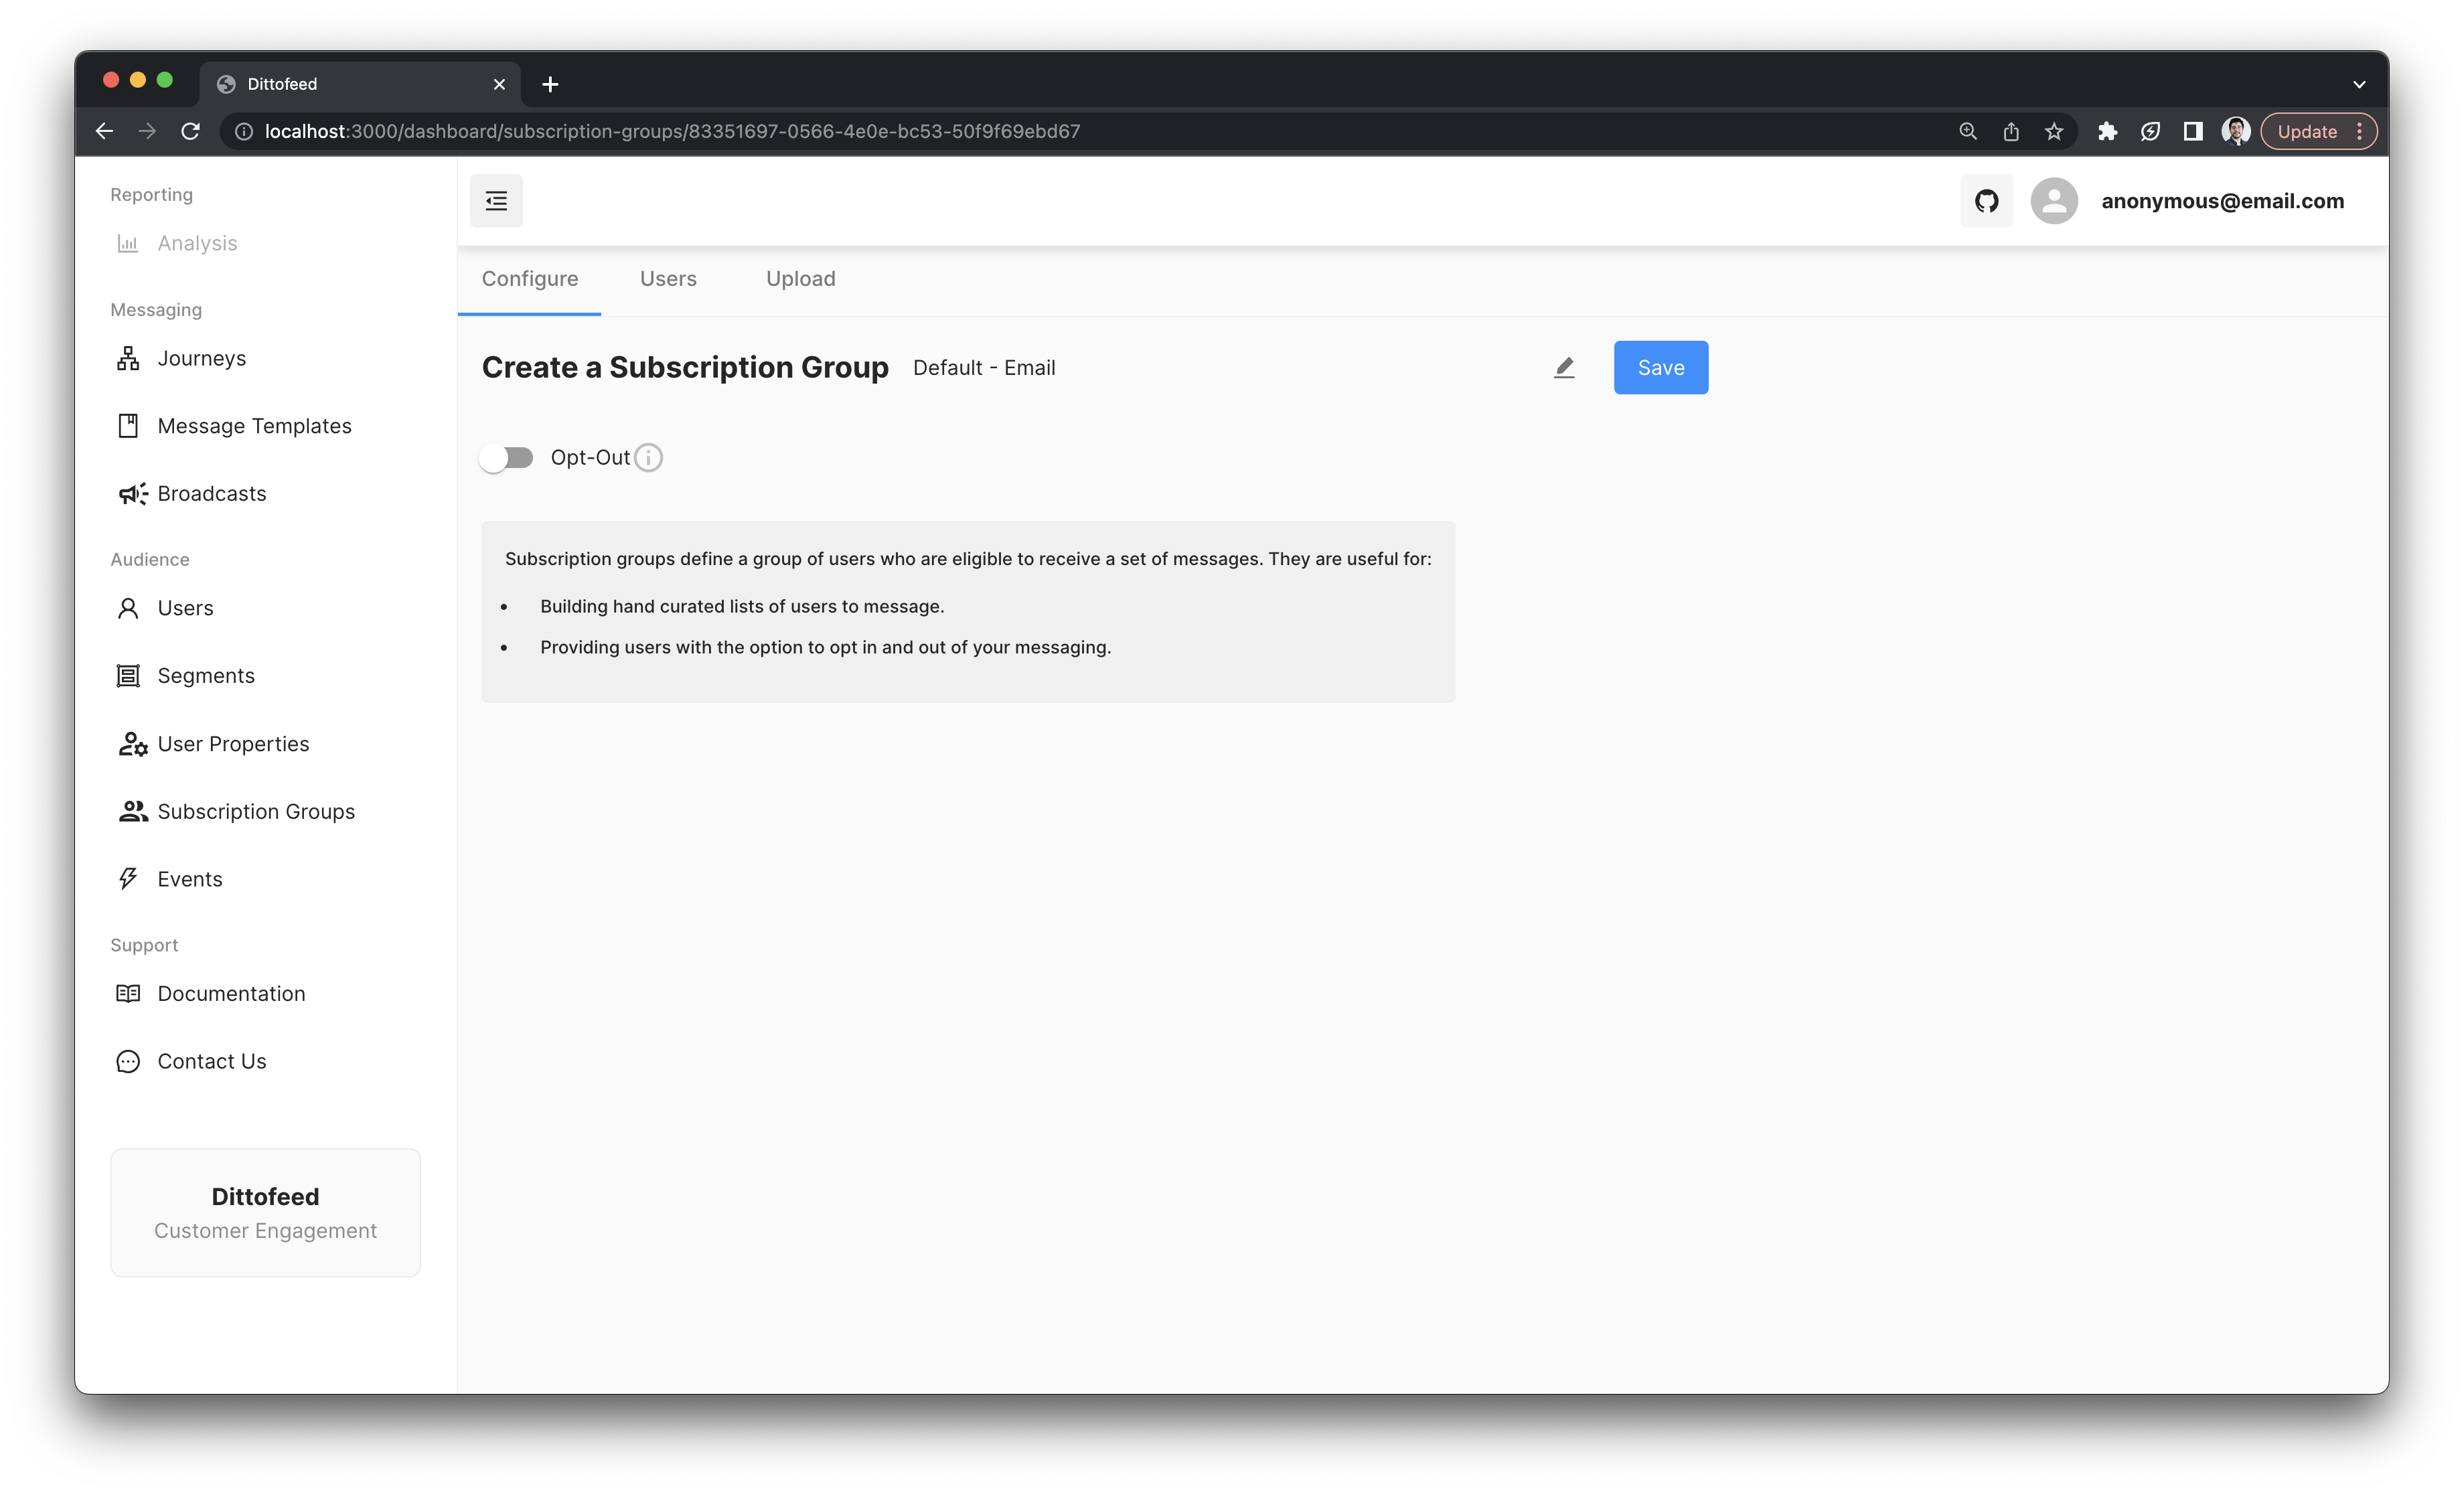
By default, workspaces are populated with one subscription group per channel. Additional subscription groups can be created via/dashboard/subscription-groups page.
Opt-In vs Opt-Out Subscription Groups
There are two types of subscription groups, opt-in, and opt-out.Opt-In Subscription Groups
Opt-in subscription groups require end users to explicitly subscribe to the subscription group. They are a great option for newsletters, and other marketing messages, where you want to ensure that users are actively interested in receiving messages.Opt-Out Subscription Groups
Opt-out subscription groups automatically include all users, unless they explicitly unsubscribe. They are great for messages which users are likely to want to receive. For example, an email notifying user of new friend invitations on a social network.Adding and Removing Users from a Subscription Group
Users can be added and removed from subscription groups either programmatically, or manually via the dashboard. It’s important to understand how to add users to opt-in subscription groups, which are empty by default.CSV Upload
Users can be added to subscription groups with manual csv uploads from the dashboard. To do so navigate to a particular subscription group’s upload page/dashboard/subscription-groups/upload/[id].
The provided CSV file should have the following format.
users.csv
Required Fields
Eitherid or email field must be present to identify the user, otherwise the upload will fail.
Optional Fields
-
Non-identifying fields such as
firstNameandlastNameare optional and will map to and update user traits. Users will be created if they do not already exist. -
actionfield controls the subscription action for each user:subscribe- subscribes the user to the subscription groupunsubscribe- unsubscribes the user from the subscription group- If the
actioncolumn is missing, empty, or null, users will be subscribed by default - Any other value will result in a 400 error
Submit a Track Event
Users’ subscription state can also be updated programmatically, by submitting user events. For more information on how sumit user events, see Submitting User Events.Subscribe Track Event
Unsubscribe Track Event
Loading the Subscription Management Page
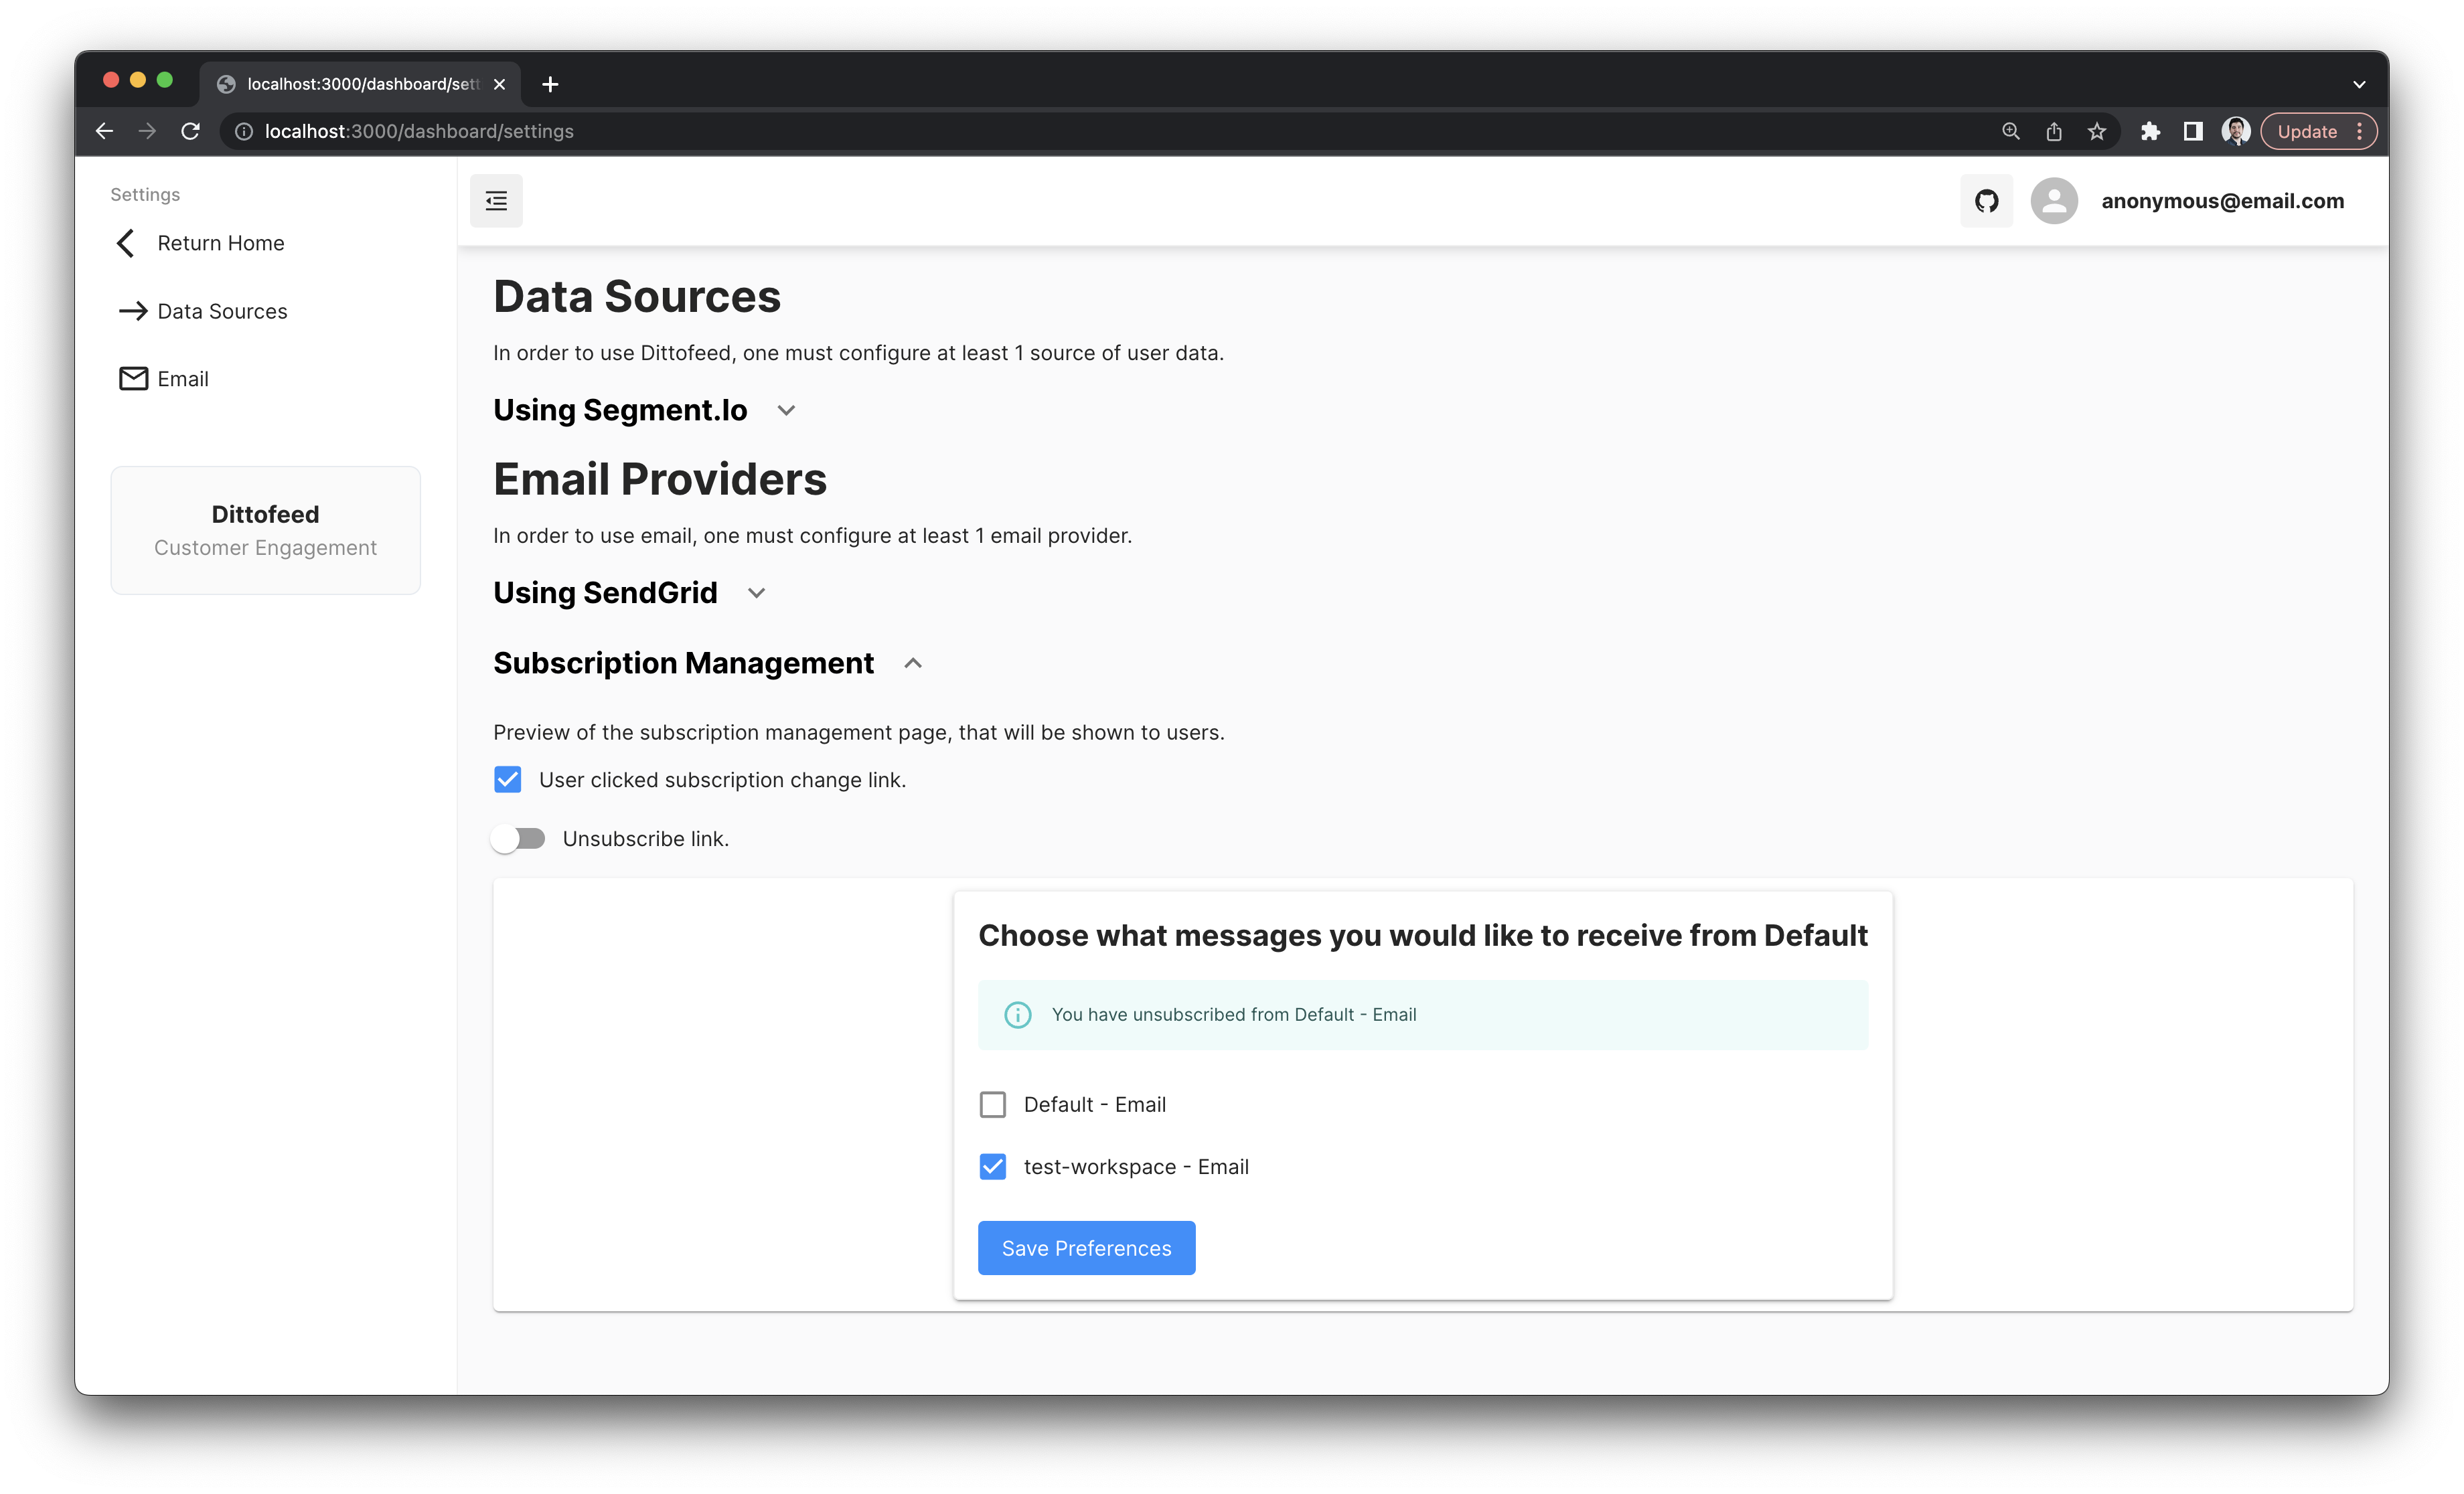
Users have access to the dashboard’s subscription management page, which allows them to manage their subscription state. The subscription management will either unsubscribe, or subscribe the user to a specific users to a subscription group on page load. Unsubscribe links direct users to the subscription management page,performing the unsubscribe action.” Note that this subscription state change occurs synchronously, and will be reflected immediately. This is in contrast to the asynchronous subscription state change that occurs when submitting a track event.For deployments with restricted ingress (e.g., only exposing
/api/public/*), Dittofeed provides a self-contained subscription management page that can be served directly from the API. See Custom Subscription Management Page for details.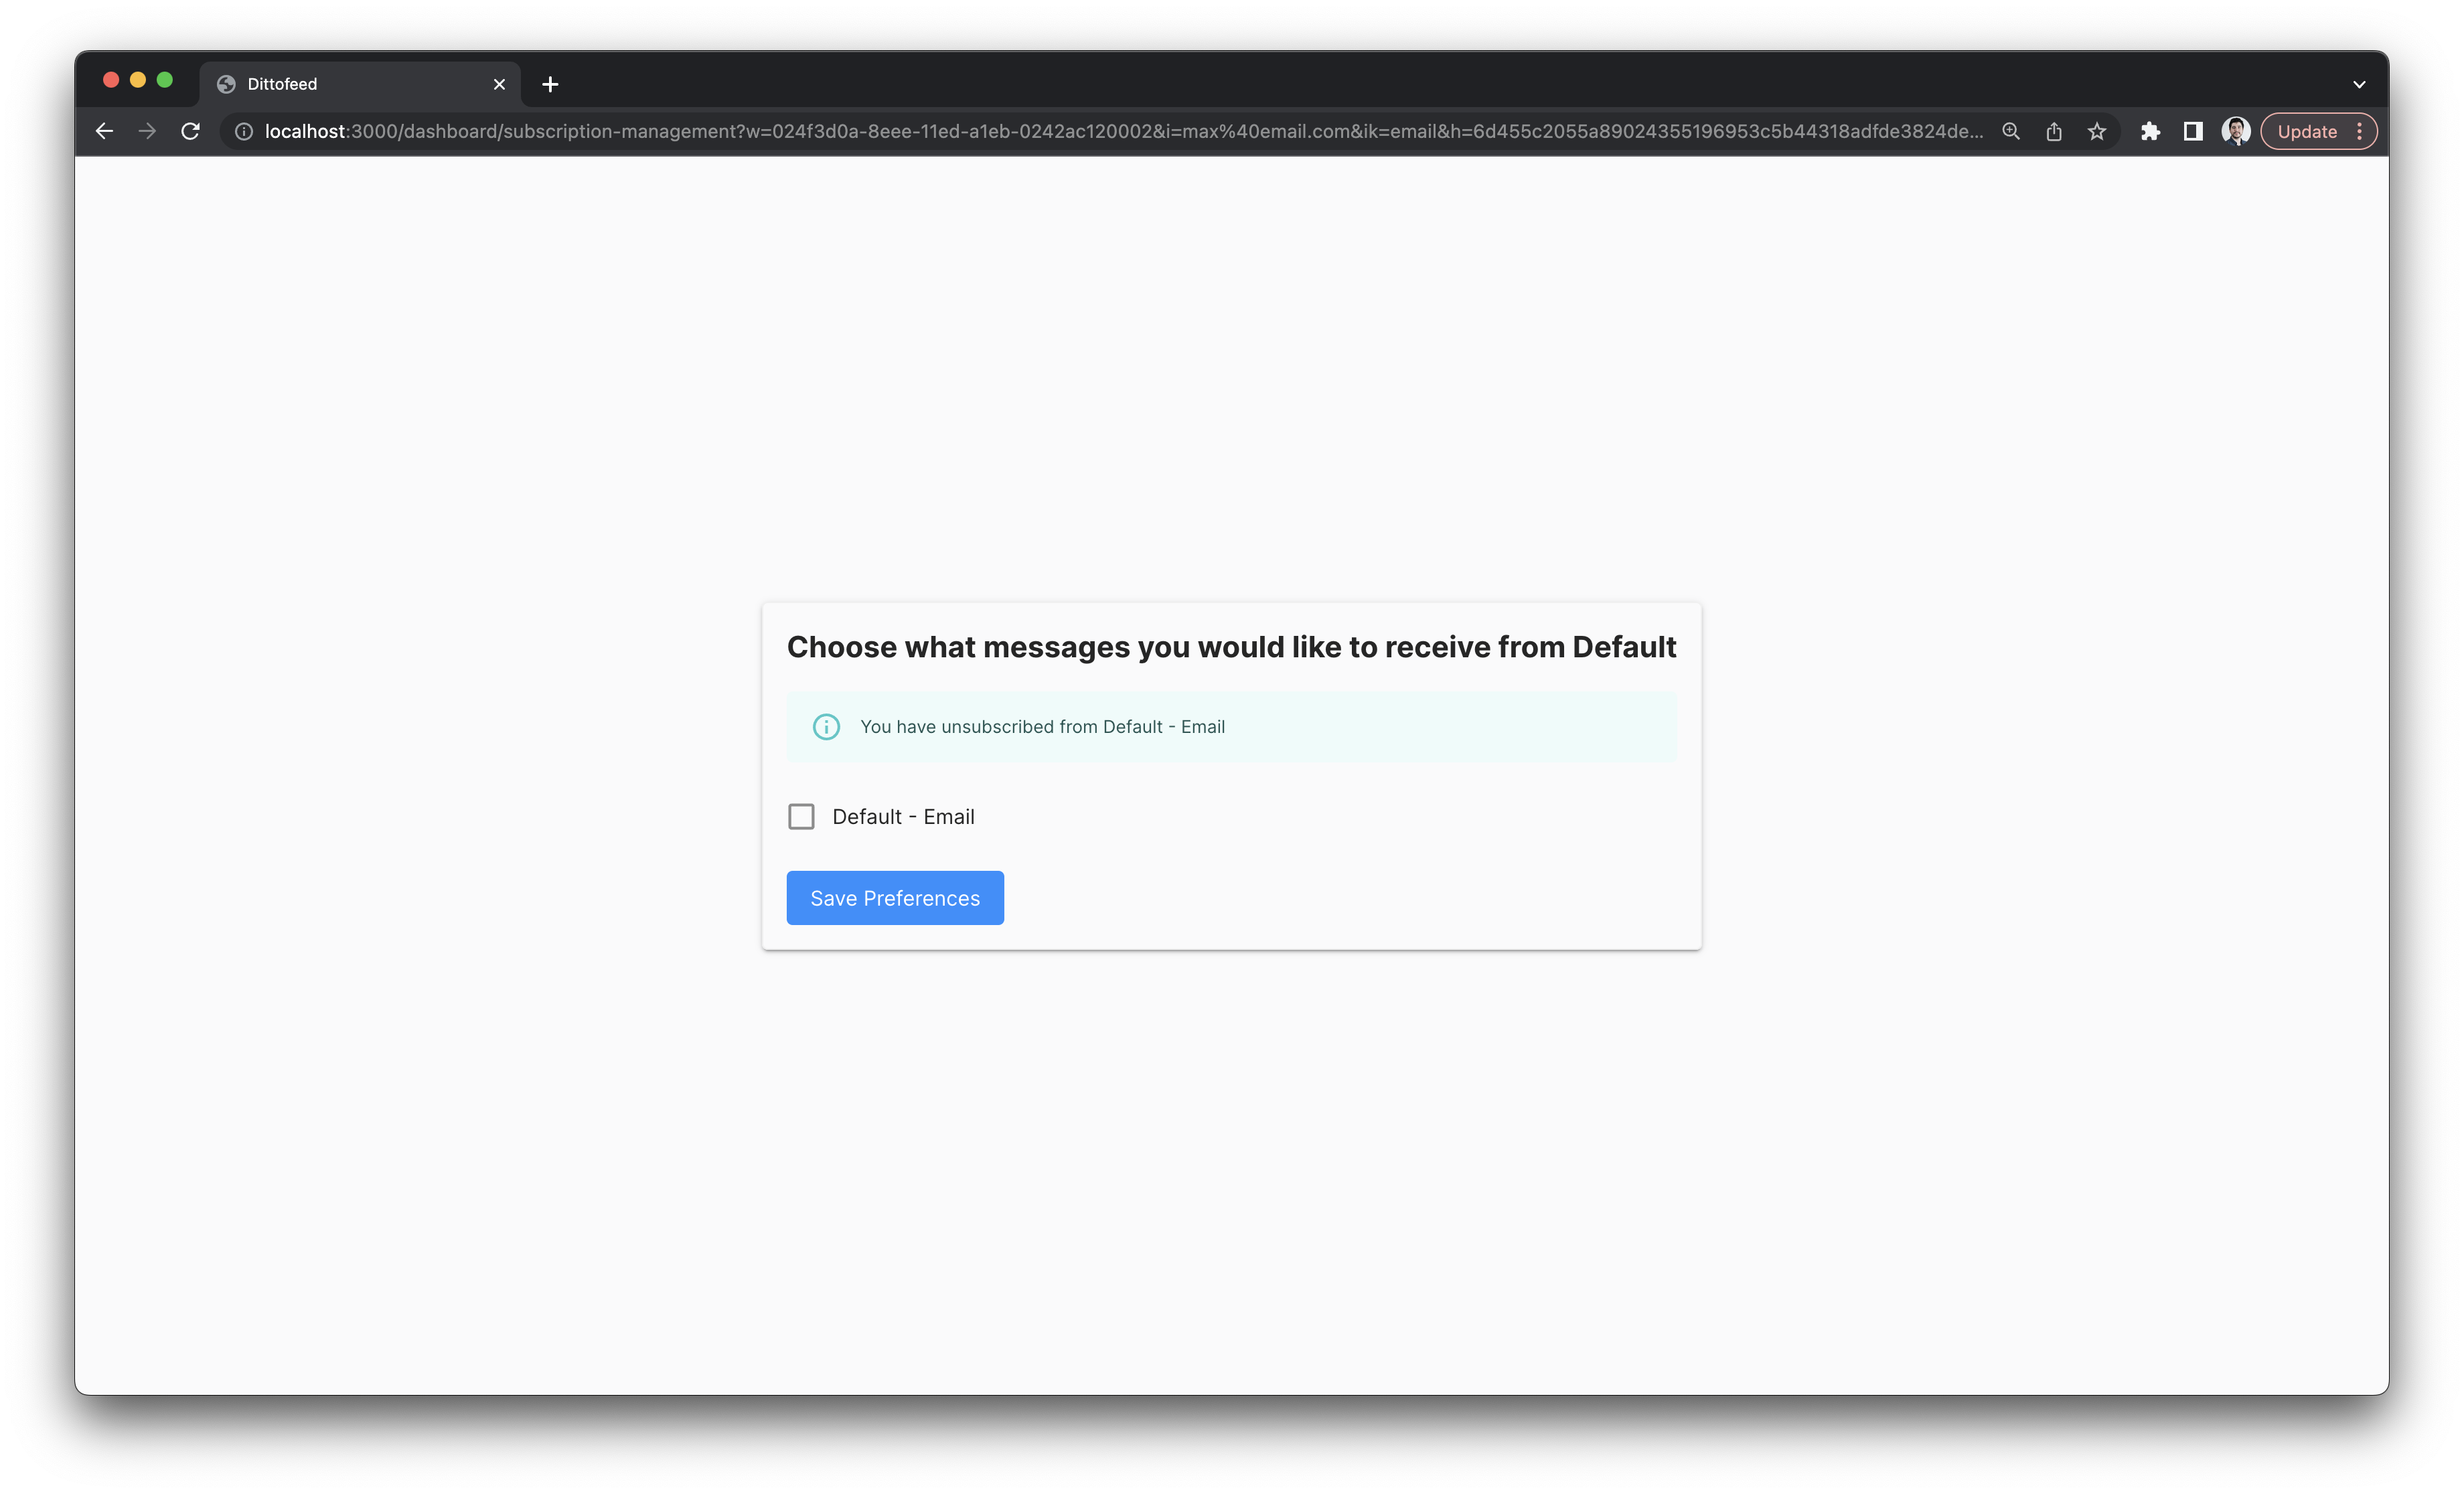
/dashboard/settings.
Adding Subscription Groups to a User Journey
In order to use a subscription group, it must be added to a user journey. This ensures that users are not messaged from message nodes unless they are in the subscription group at the time of send.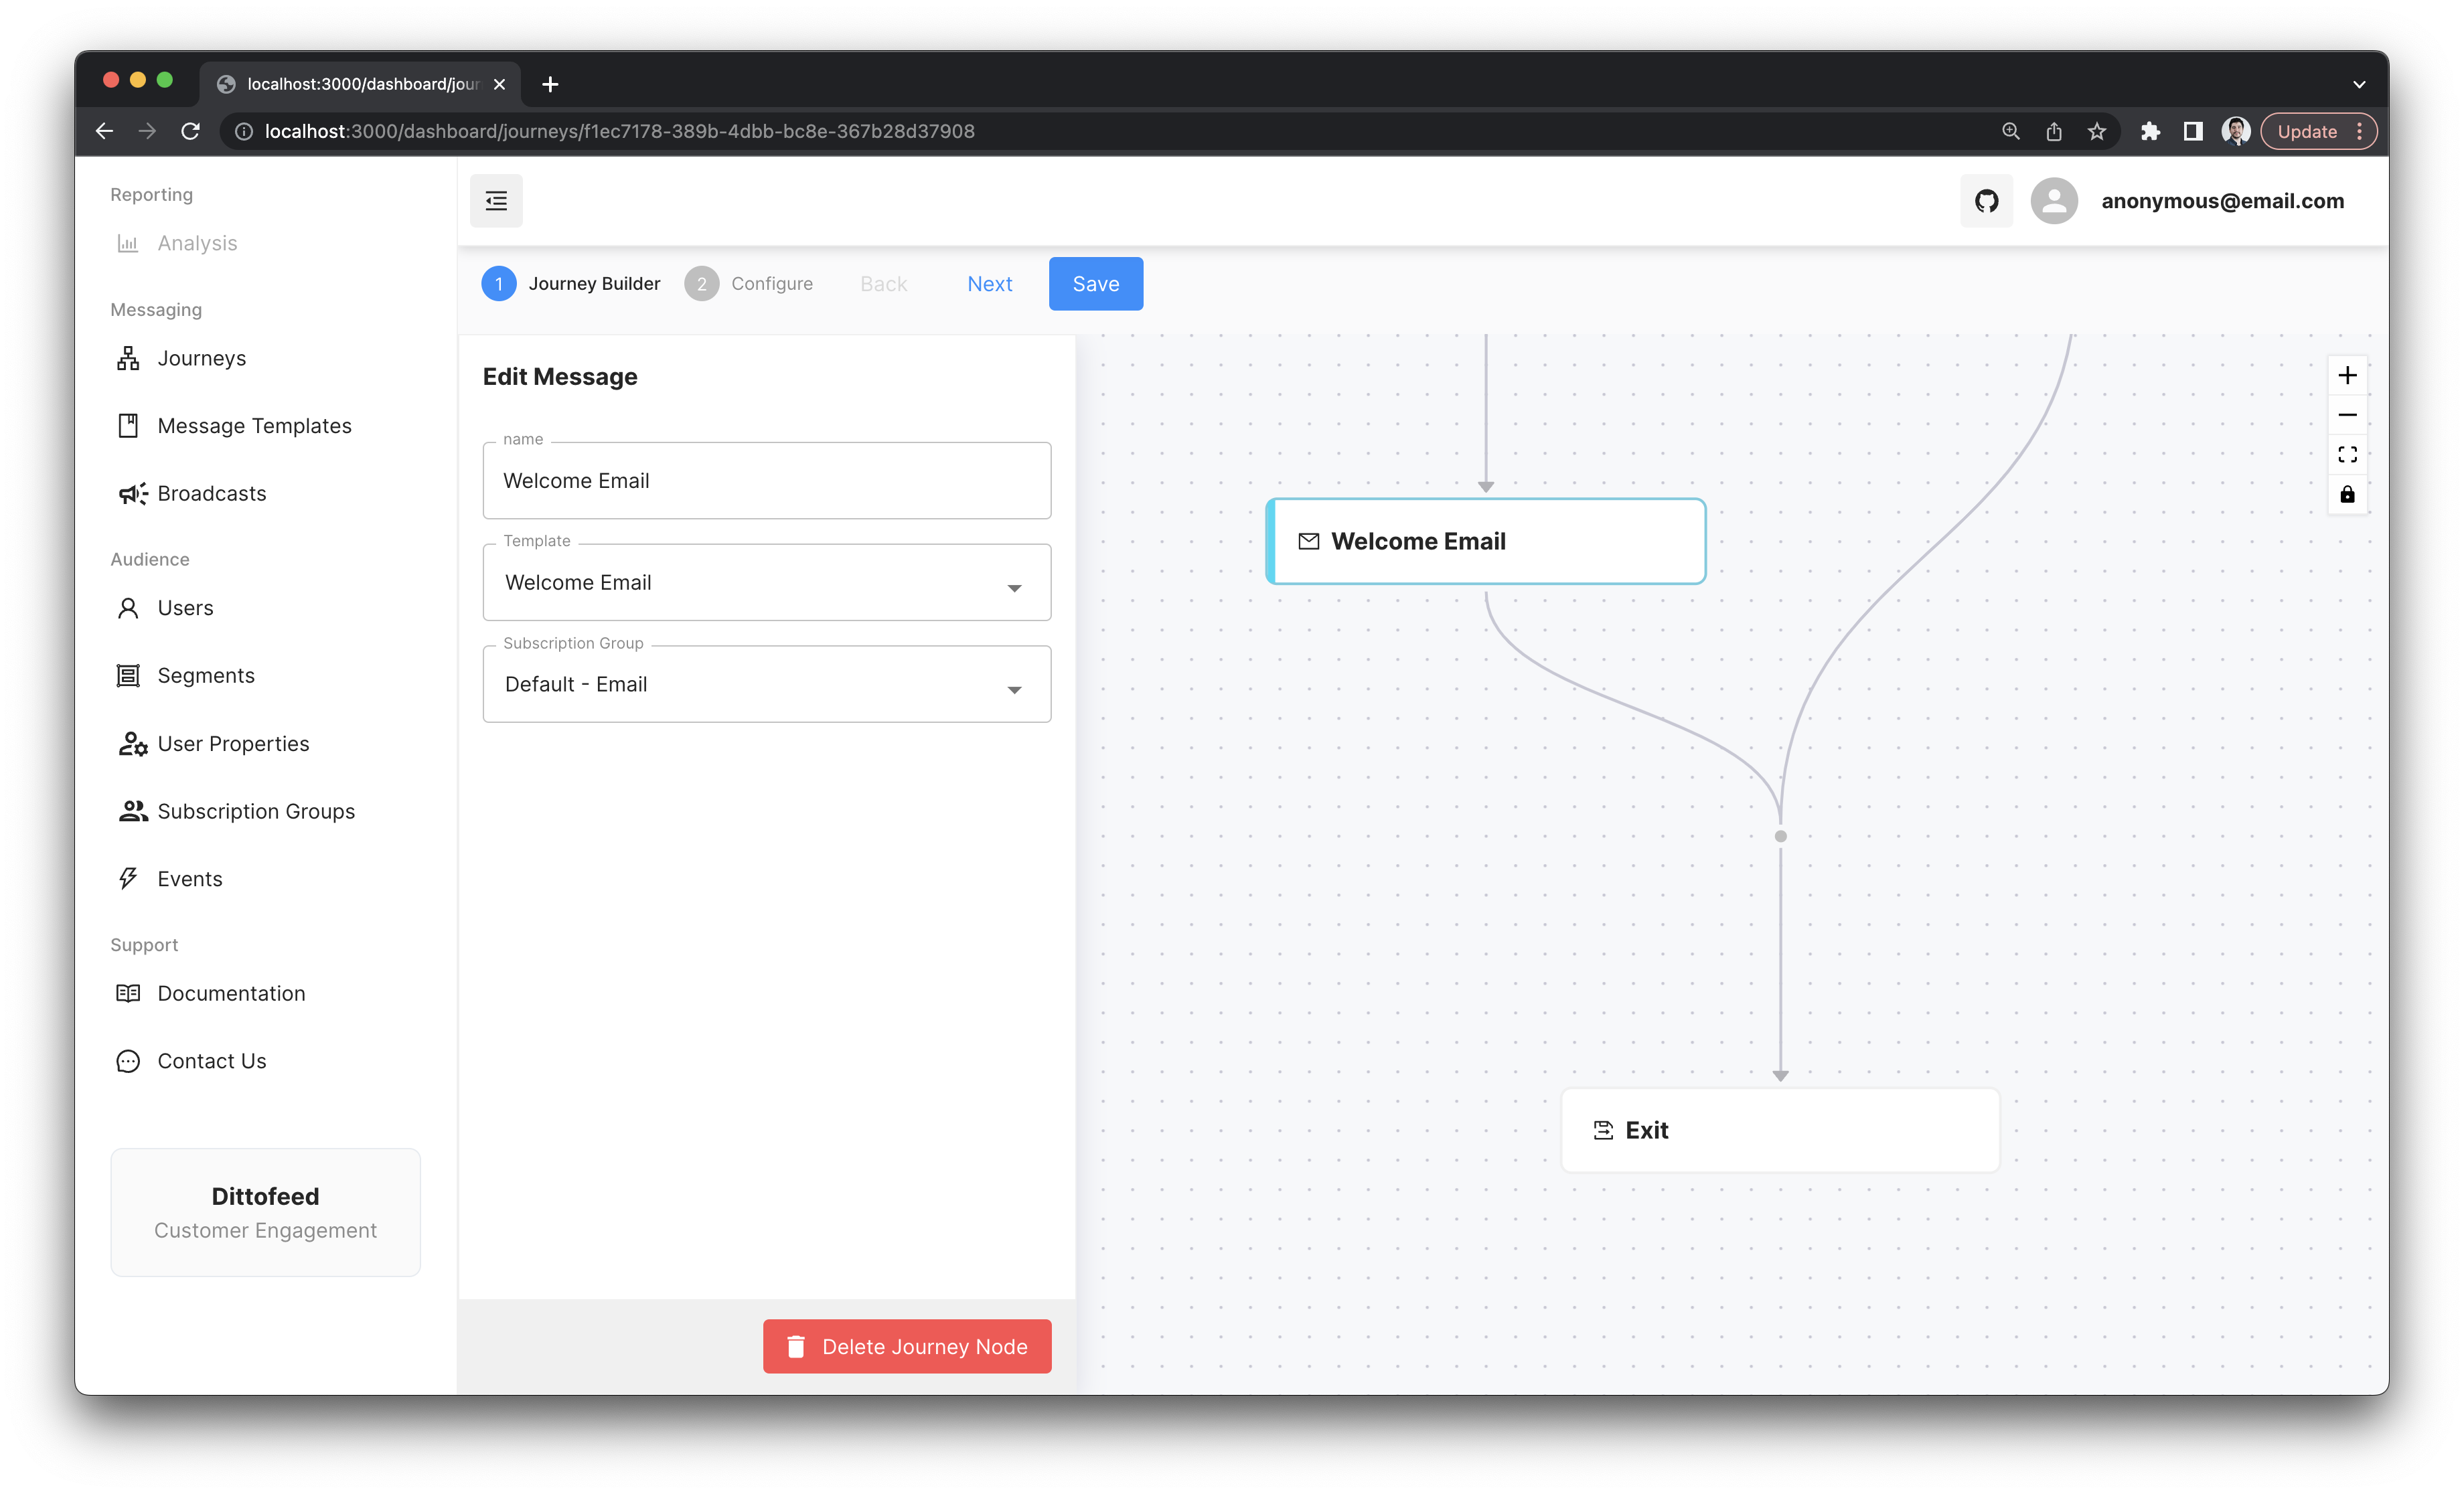
Adding Unsubscribe Links to Emails
When journey message nodes have subscription groups associated with them, unsubscribe links can be added to emails with theunsubscribe_link liquid tag.
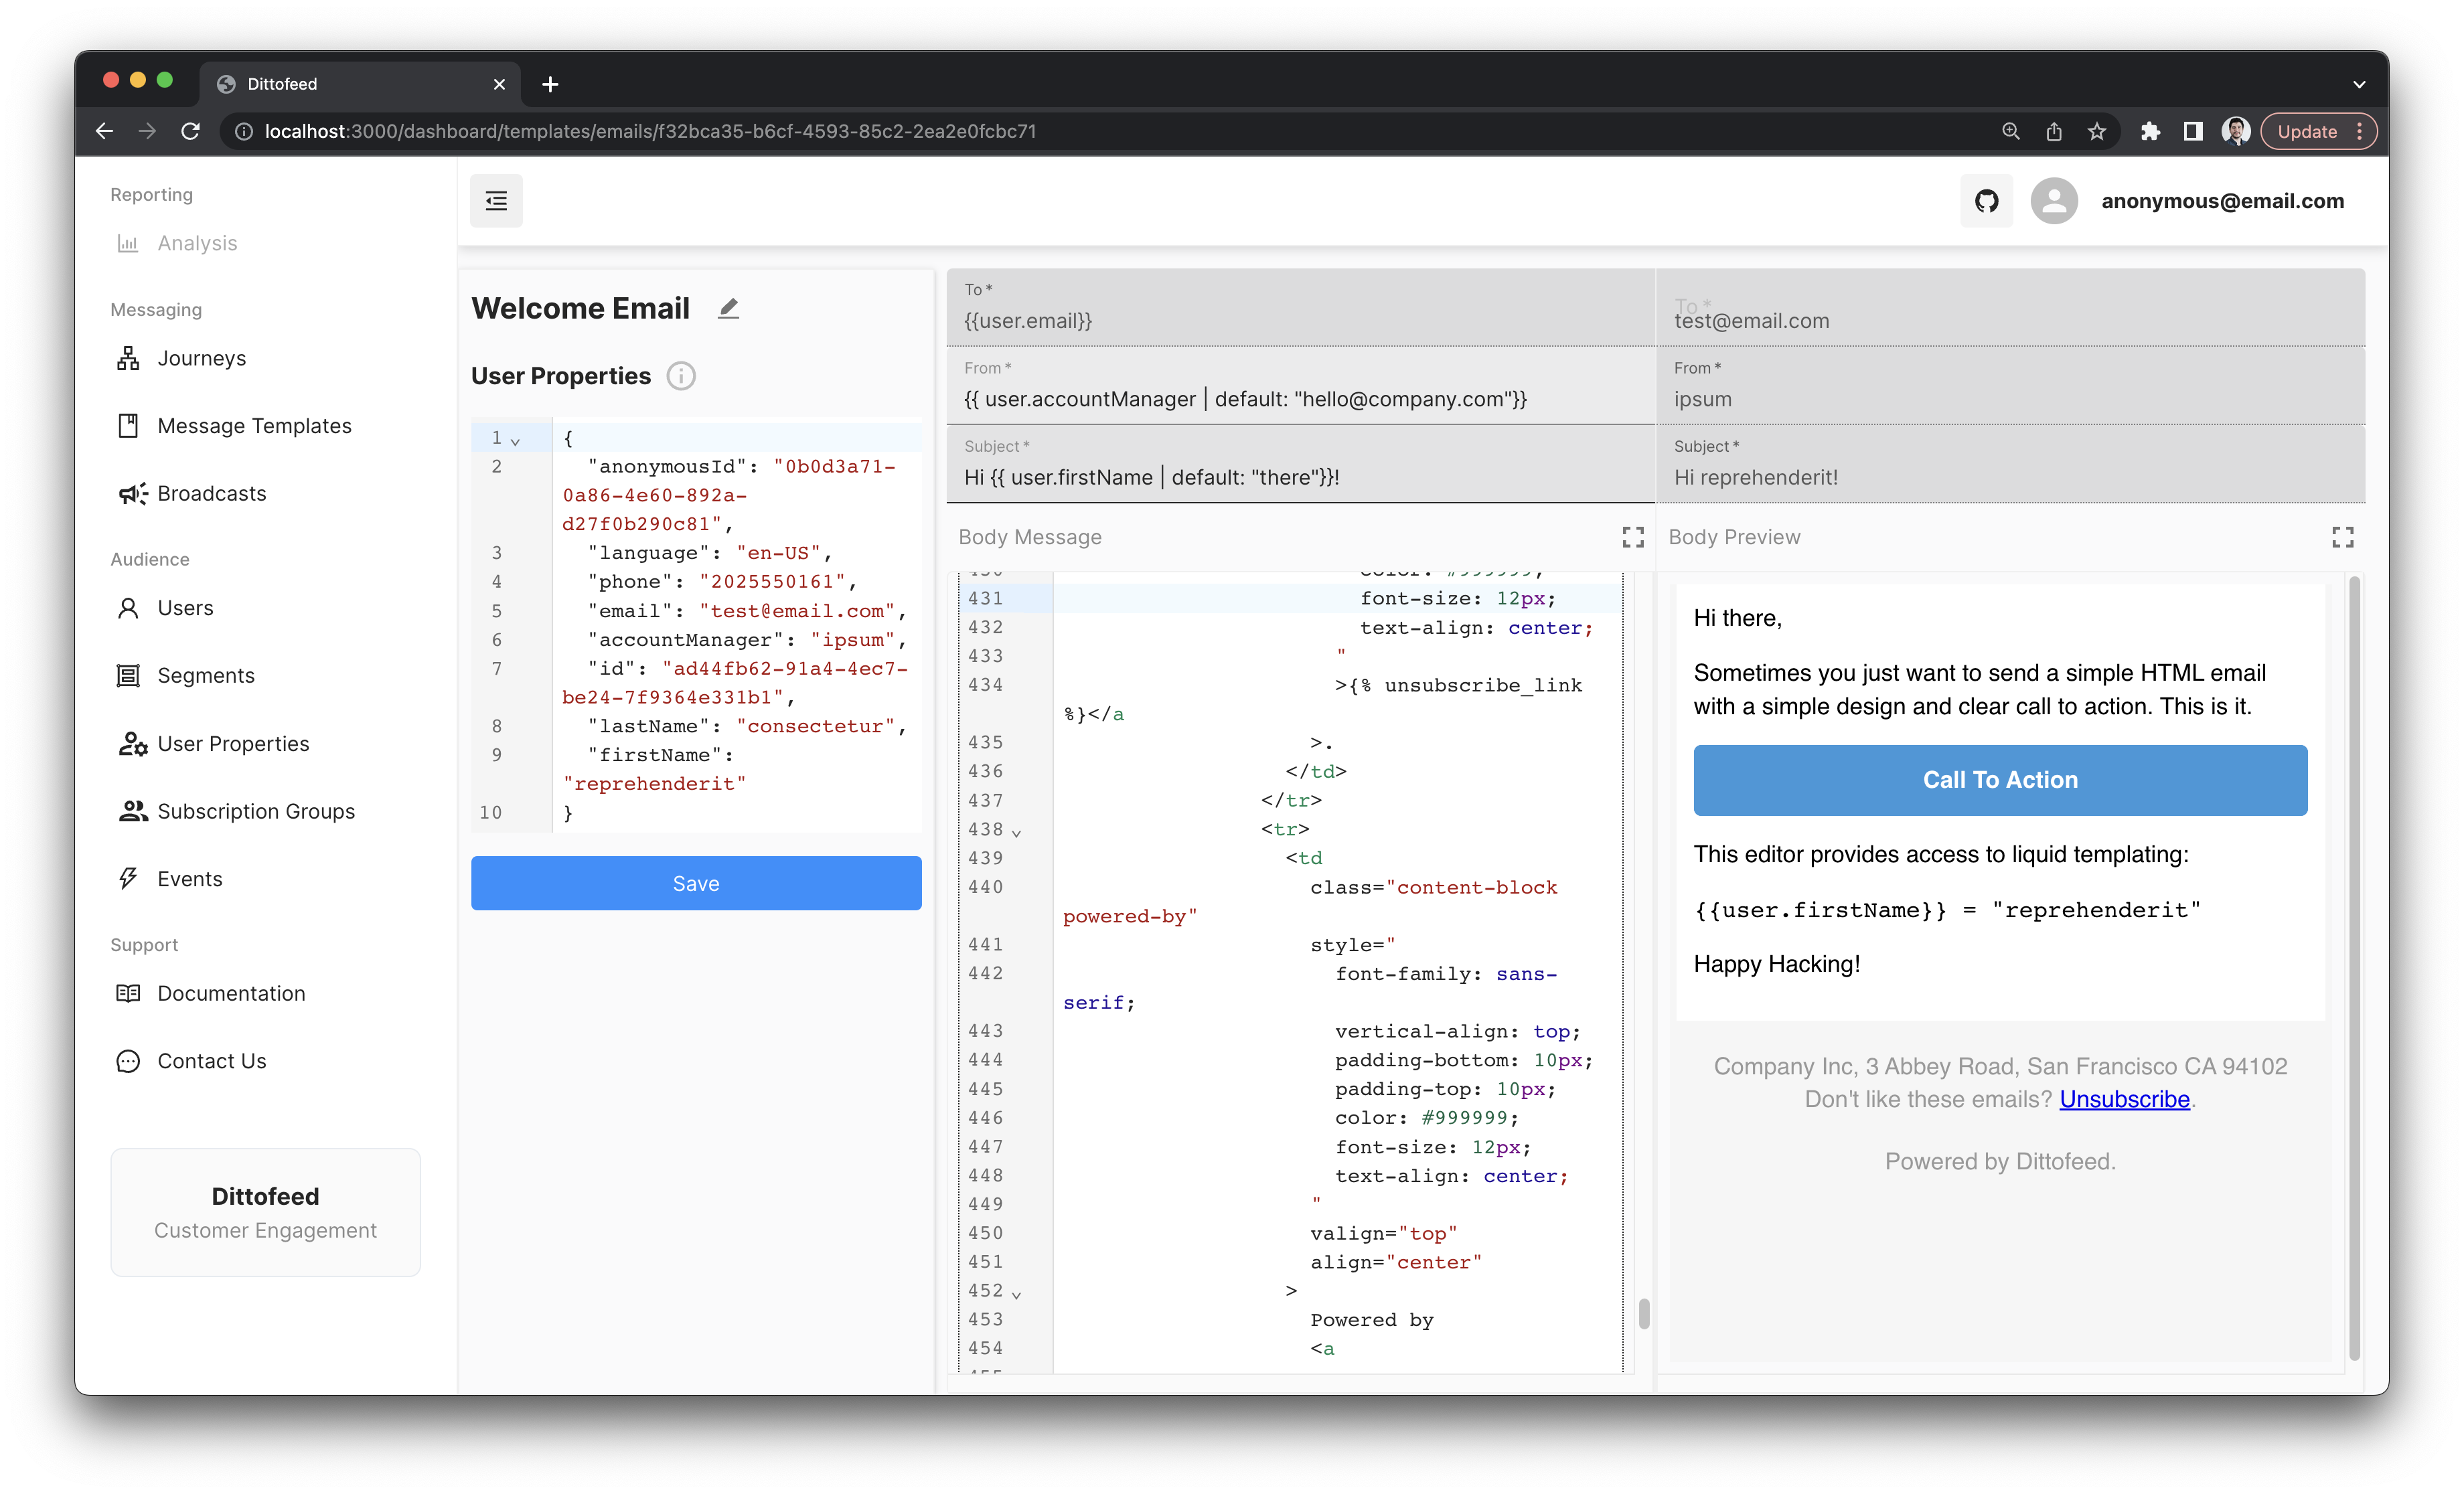
unsubscribe_url liquid tag to just render the unsubscribe url, without the link element. This can be useful if you want to customize the unsubscribe link styling.
Adding Subscription Management Links to Emails
For cases where you want to provide users with access to subscription management without automatically unsubscribing them, you can use thesubscription_management_link liquid tag.
subscription_management_url liquid tag to just render the subscription management url, without the link element.
The Importance of Subscription Groups for Regulatory Compliance
Subscription groups are important for regulatory compliance. Regulations like CAN-SPAM require that users be able to unsubscribe from marketing messages. Providing unsubscribe links is also important for ensuring email deliverability.Viewing Users in a Subscription Group
You can view which users are in a subscription group by navigating to the subscription group’s user page in the dashboard/dashboard/subscription-groups/users/[id].

