

Introduction
Dittofeed provides a set of embedded components that you can use to embed Dittofeed in your application. This enables you to extend your application with messaging automation features including a low-code journey builder, segmentation, email templates, subscription management, and more.
In this guide, we’ll walk you through the steps to embed Dittofeed in your application.
1. Obtain an Parent Admin API Key
Reach out to the Dittofeed team to obtain a Parent Admin API Key for your parent workspace. This key will be used to authenticate your requests to the Dittofeed API.- Email: [email protected]
- Discord: Discord Server
2. Create a Child Workspace
Create a child workspace. You can optionally associate this with anexternalId if you have a business entity or customer in your own system that you want to associate with the workspace. This will make accessing the workspace more convenient.
Use the PUT /api-l/admin/workspaces/child endpoint to create a child workspace.
3. Create a Session Token
Use the POST /api-l/sessions endpoint on your backend to create a session token.4. Embed Dittofeed Components
Take your session token and pass it to the Dittofeed components which can be loaded via an iframe.Journey Editor
The journey editor allows you to create and edit journeys.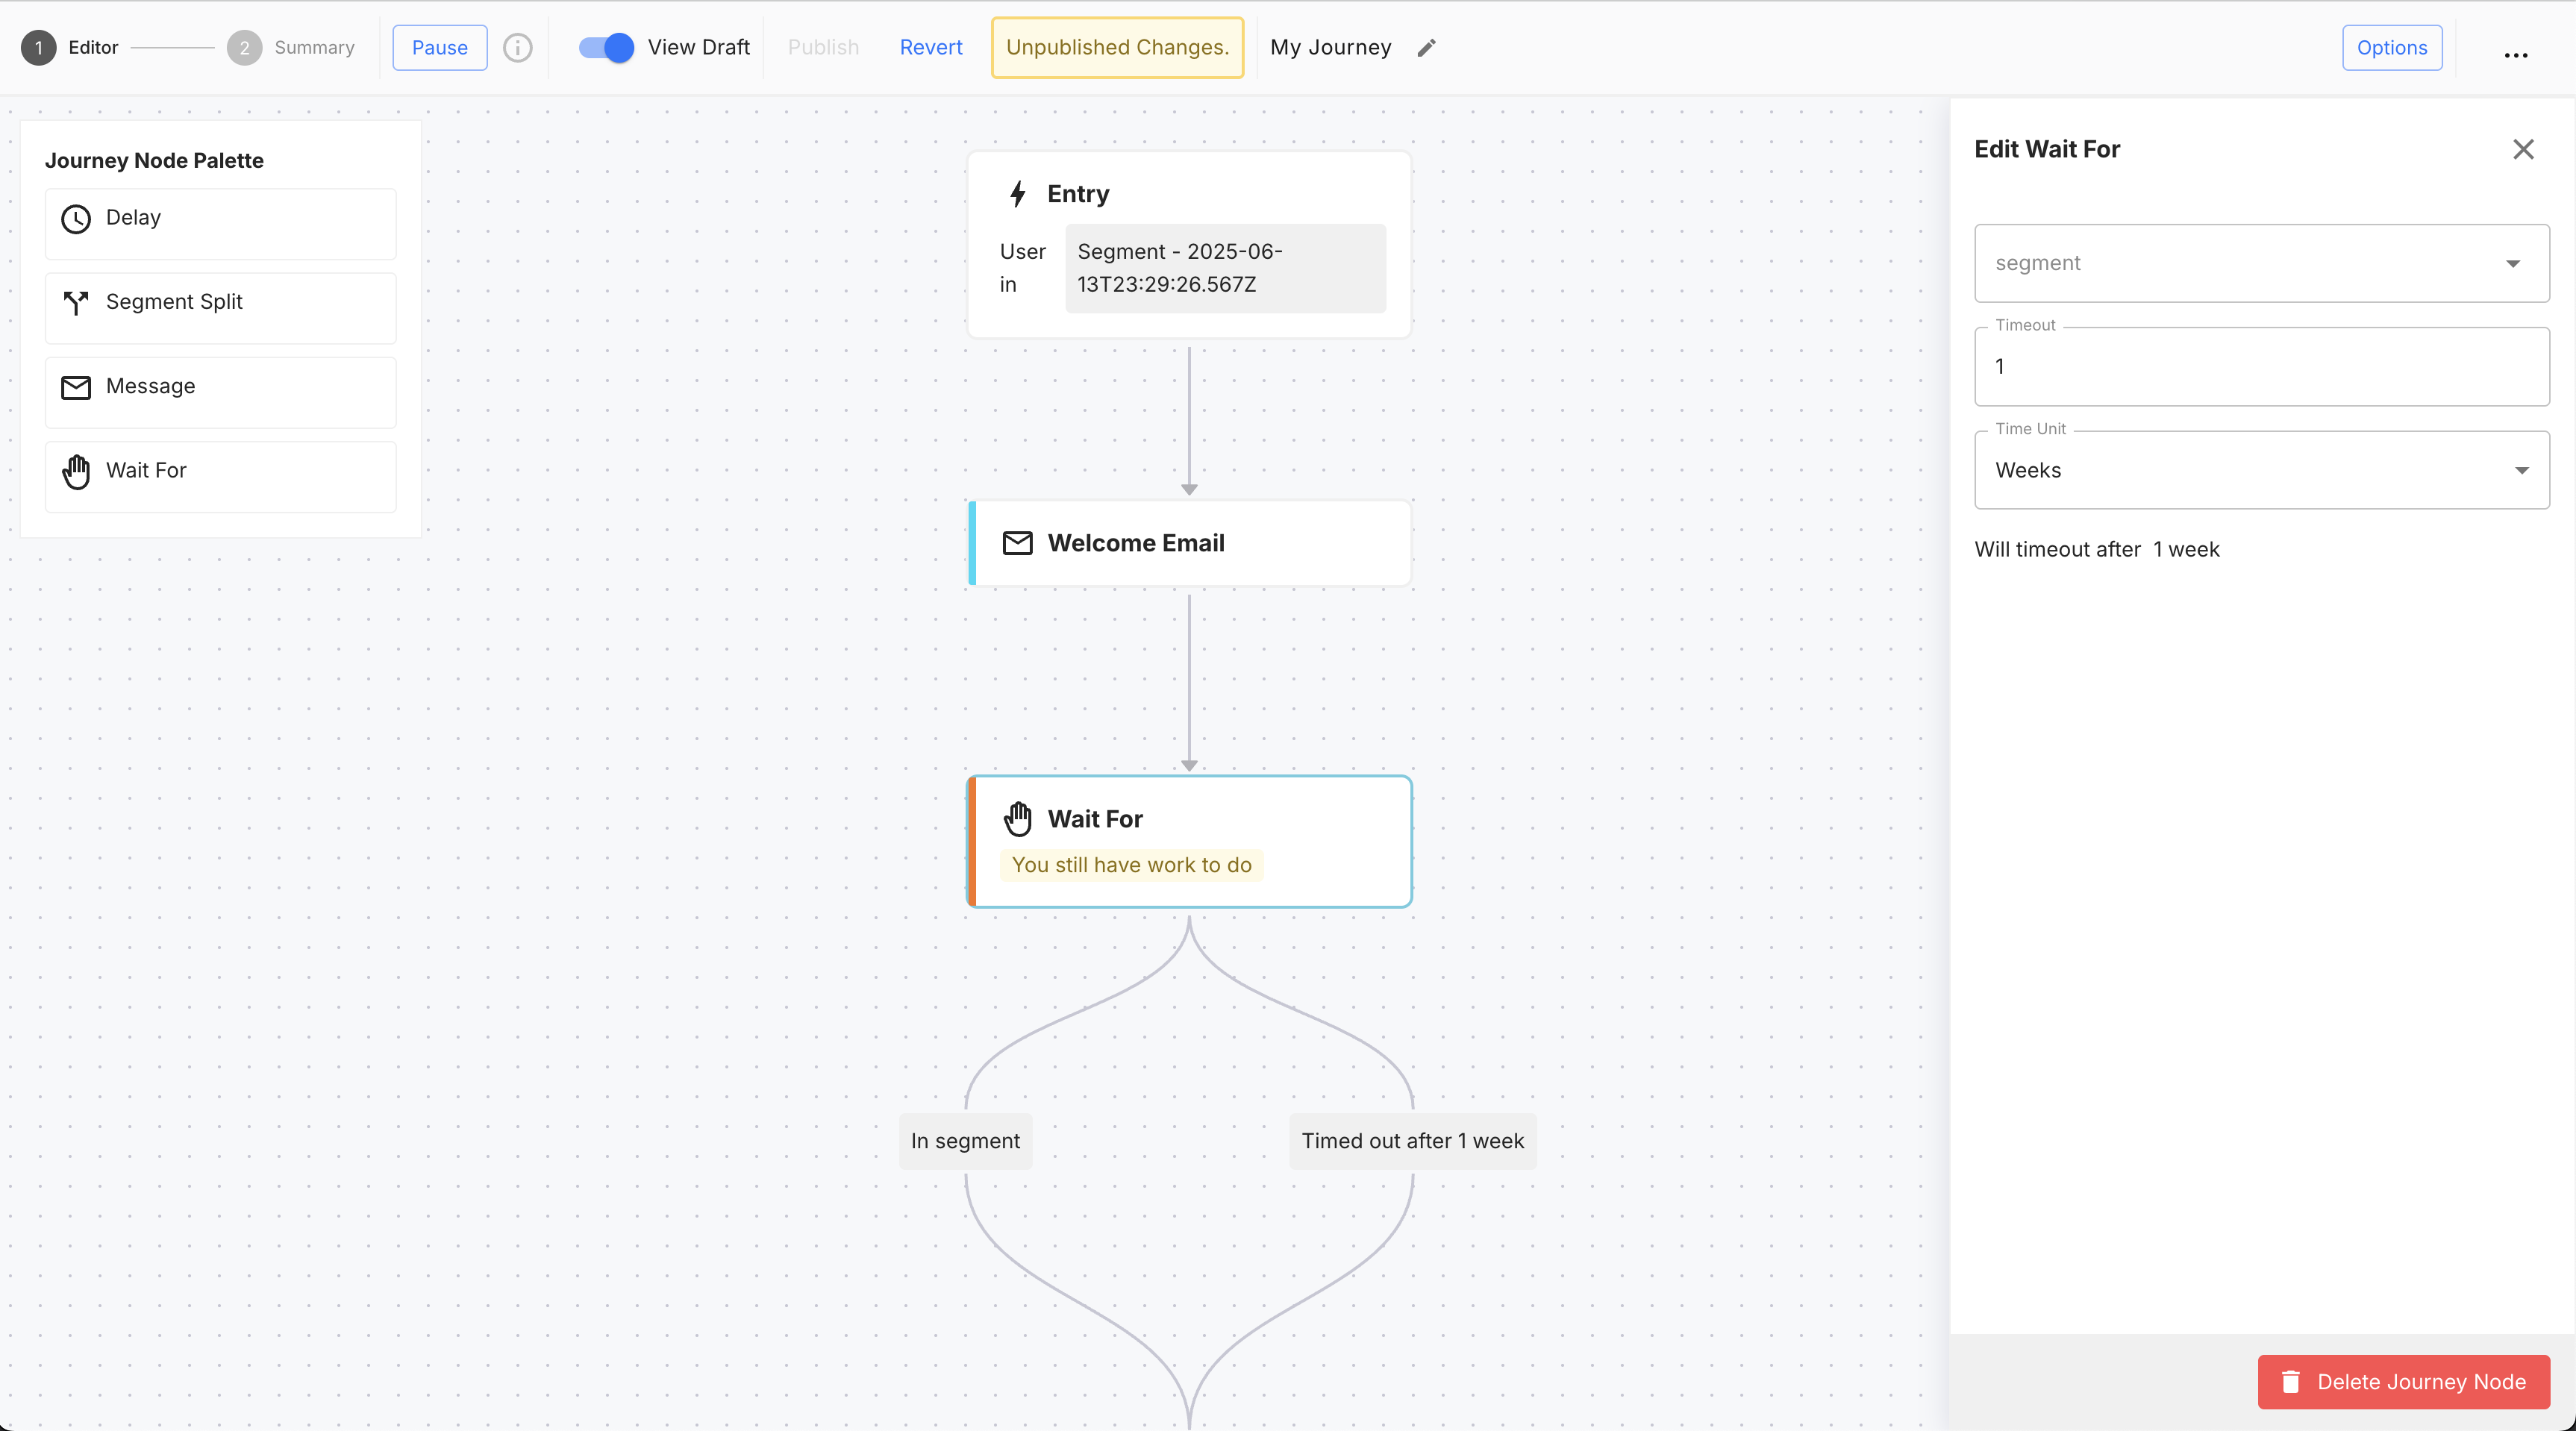
Create a new journey.
Journey Table
The journey table displays all of the journeys for the child workspace. It provides a way to create new journeys, and view existing ones.
View all journeys for the child workspace.
Broadcast Editor
The broadcast editor allows you to create and edit broadcasts.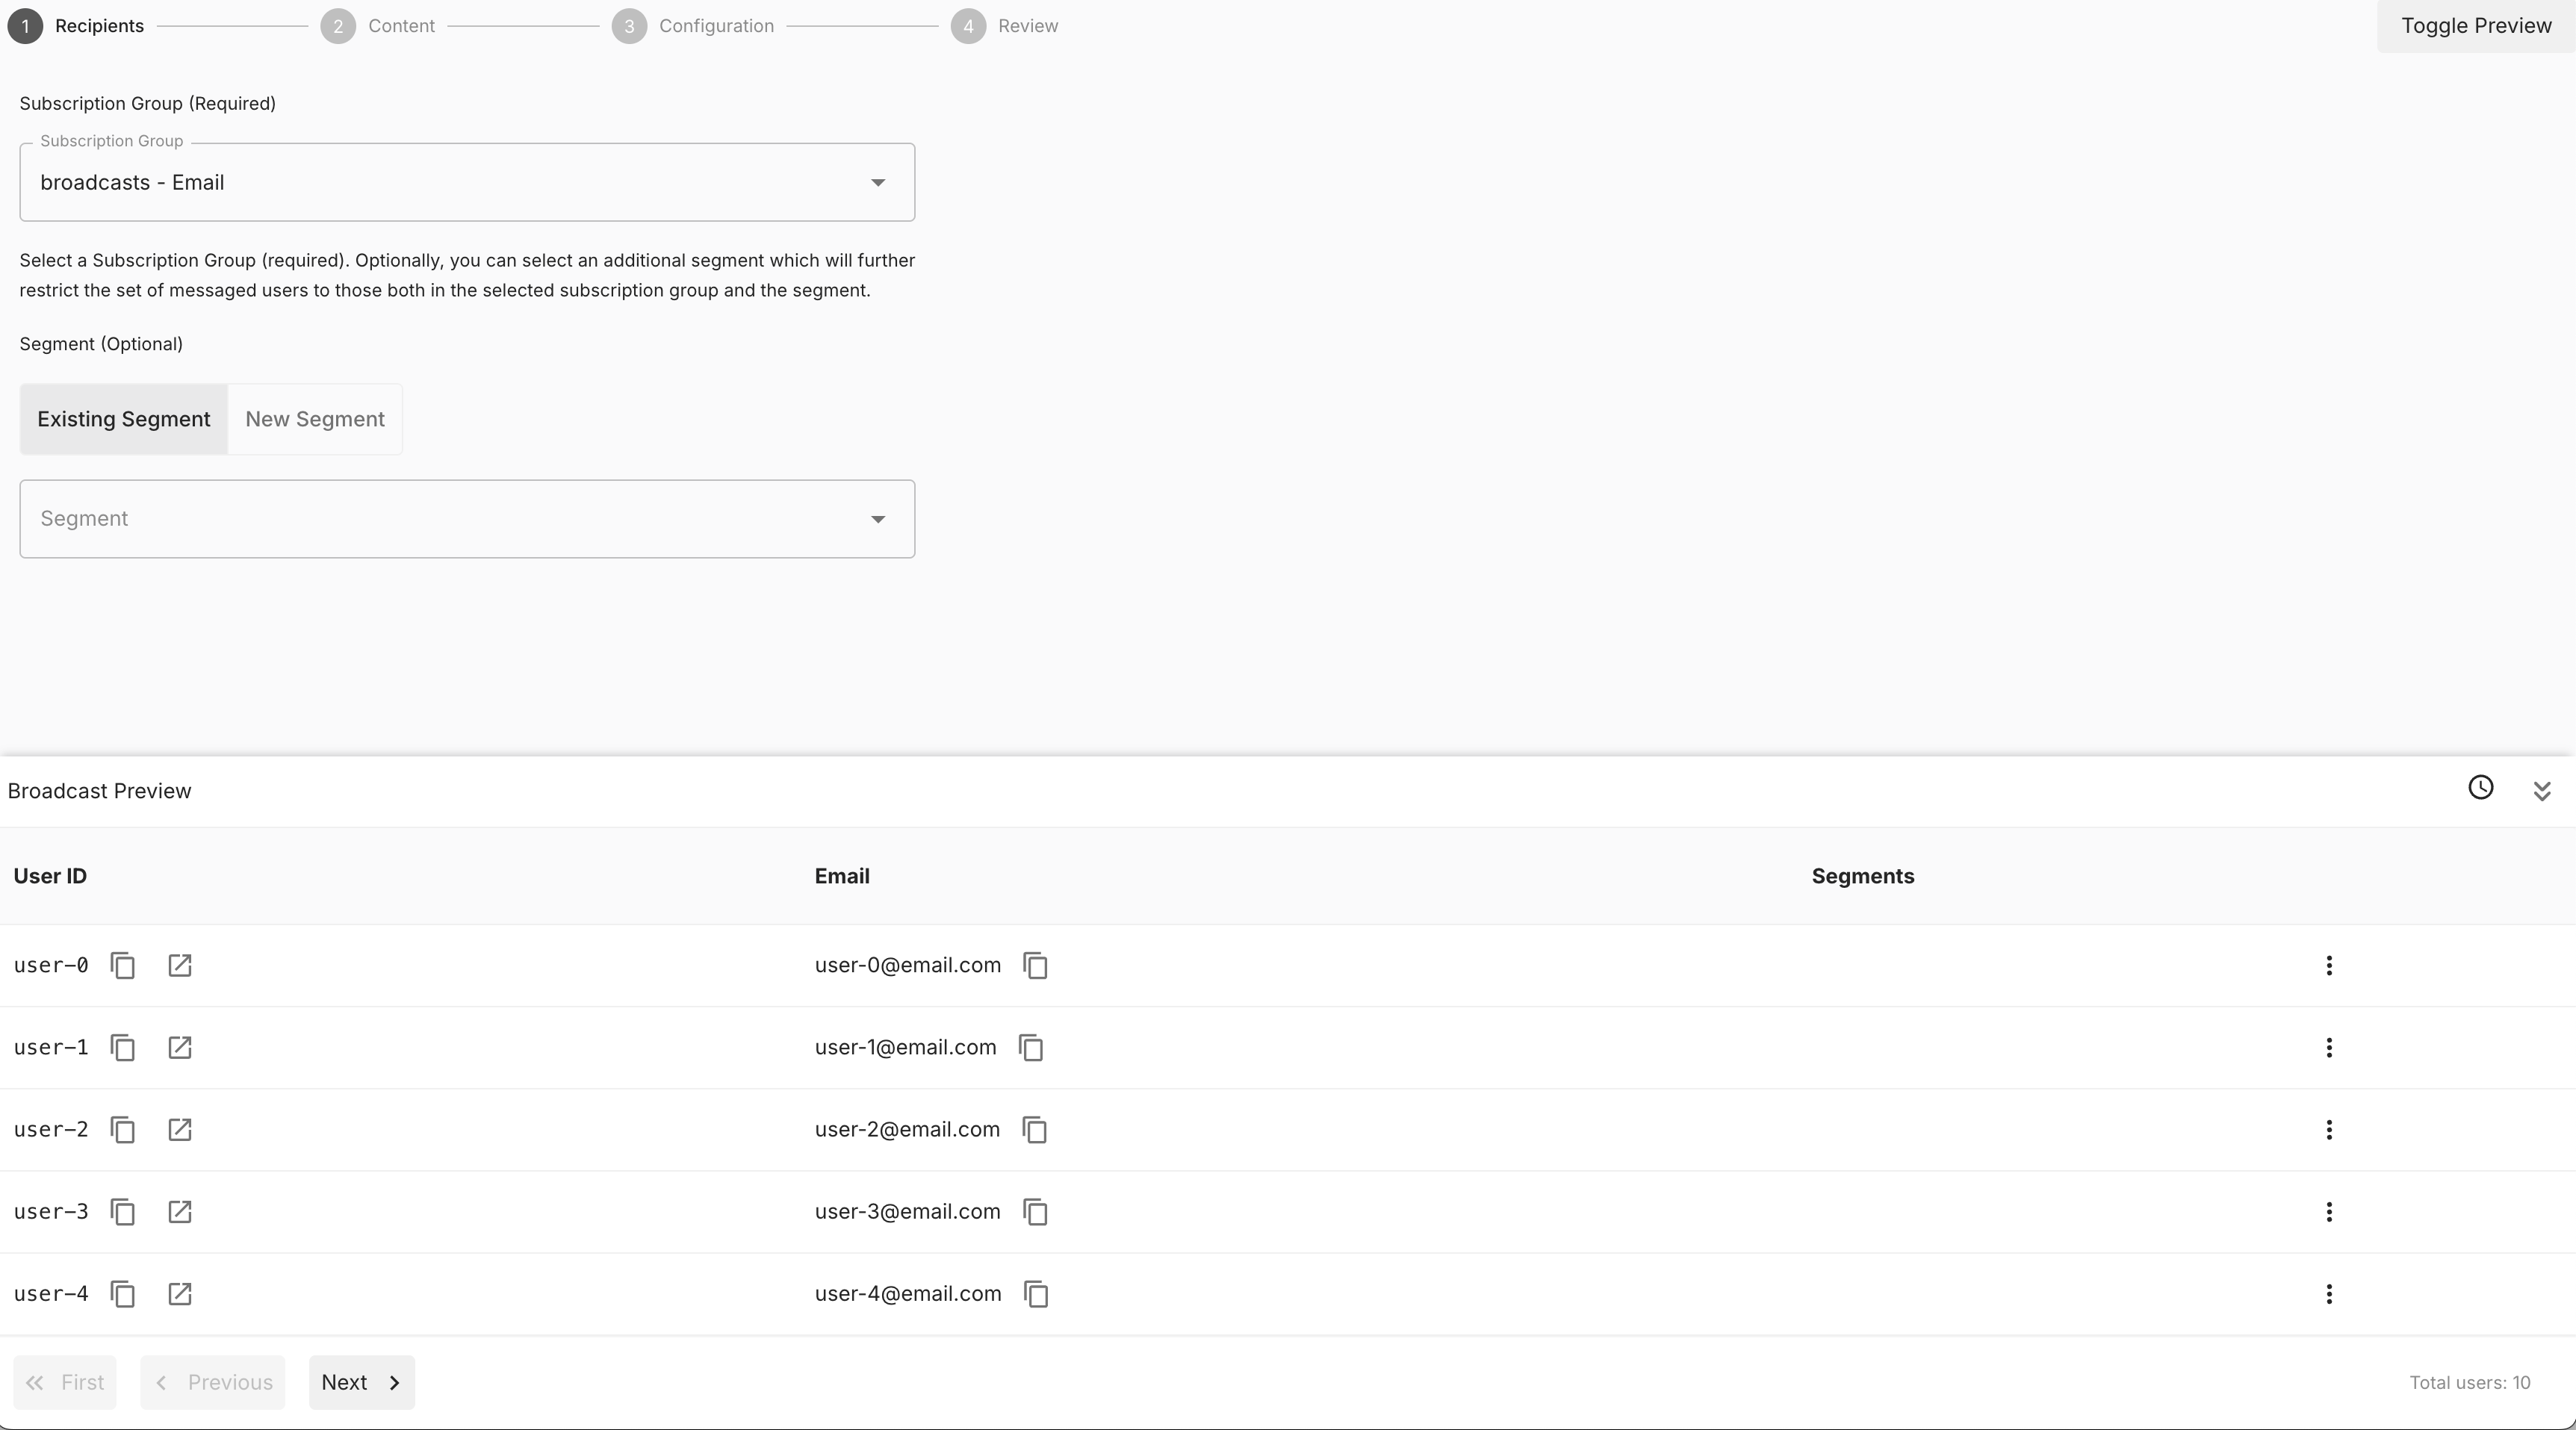
Select who you'd like to send the broadcast to.
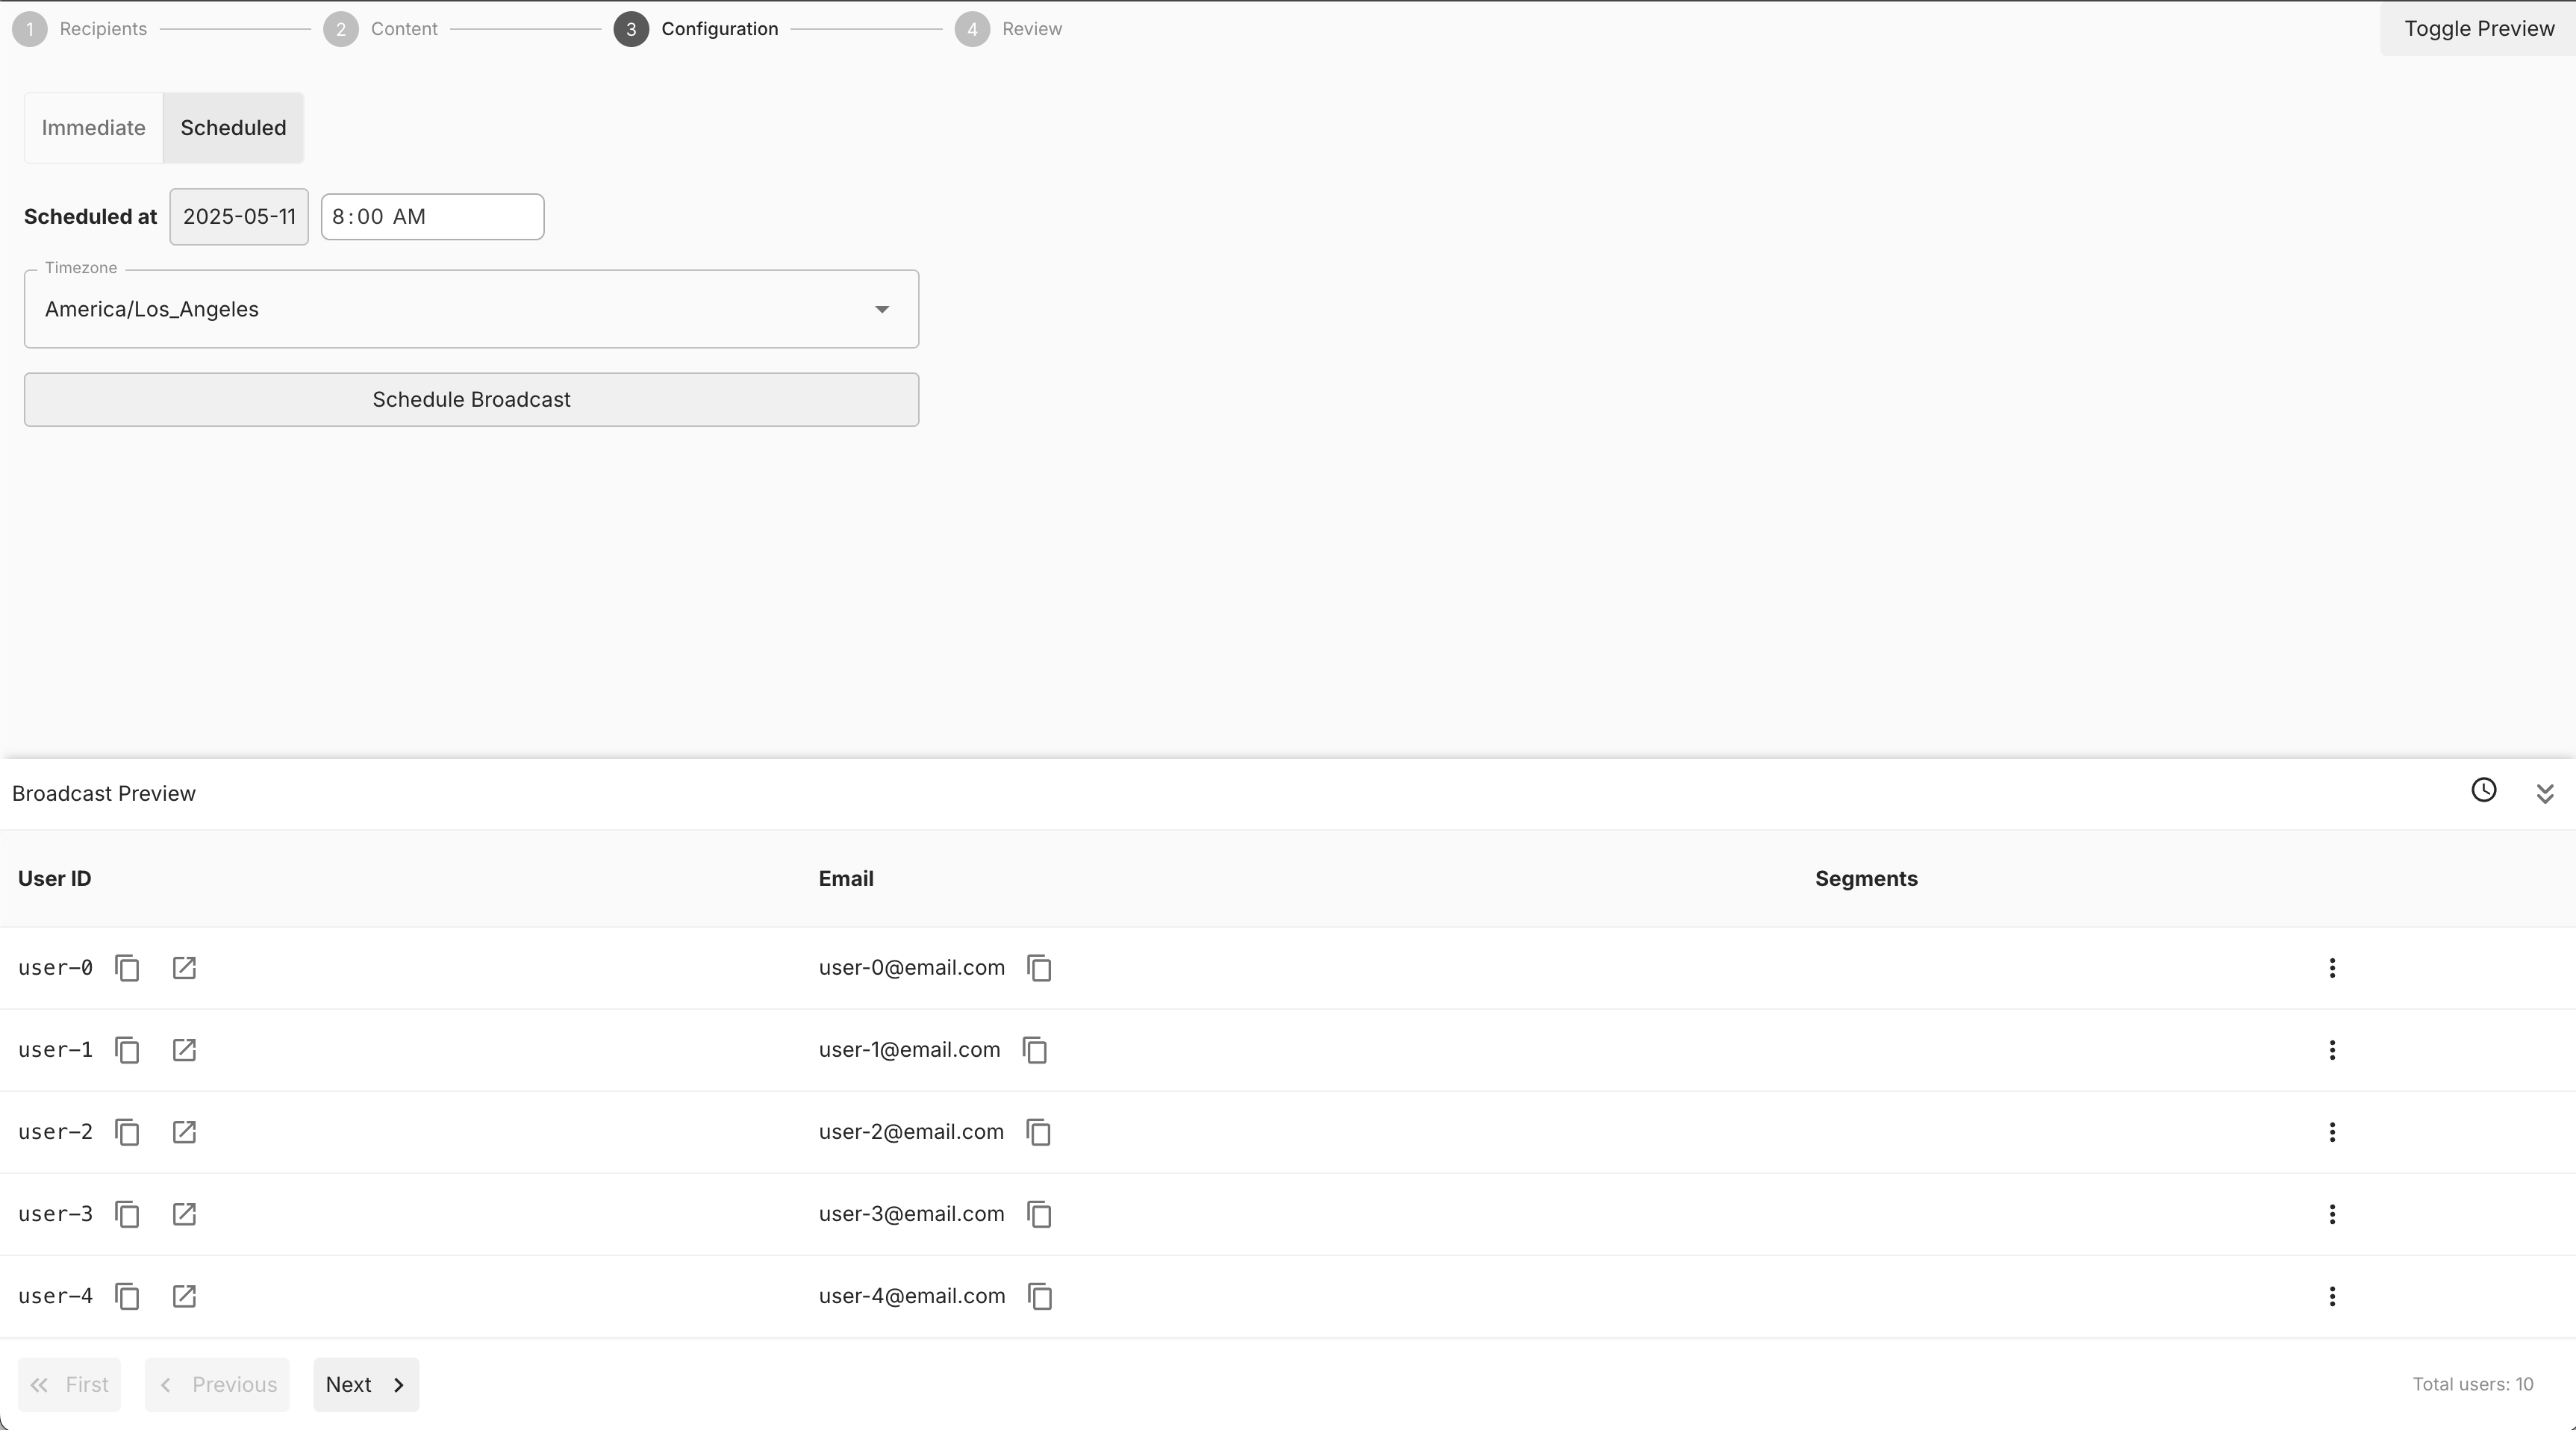
Send a broadcast immediately or schedule it for a later date.
Broadcast Configuration
The broadcast editor supports configuration to customize which steps, providers, and UI elements are available.Broadcasts Table
The broadcasts table displays all of the broadcasts for the child workspace. It provides a way to create new broadcasts, view existing ones, and archive them.
Template Editor
The template editor allows you to create and edit message templates.SMS Editor
The SMS editor allows you to create and edit SMS templates.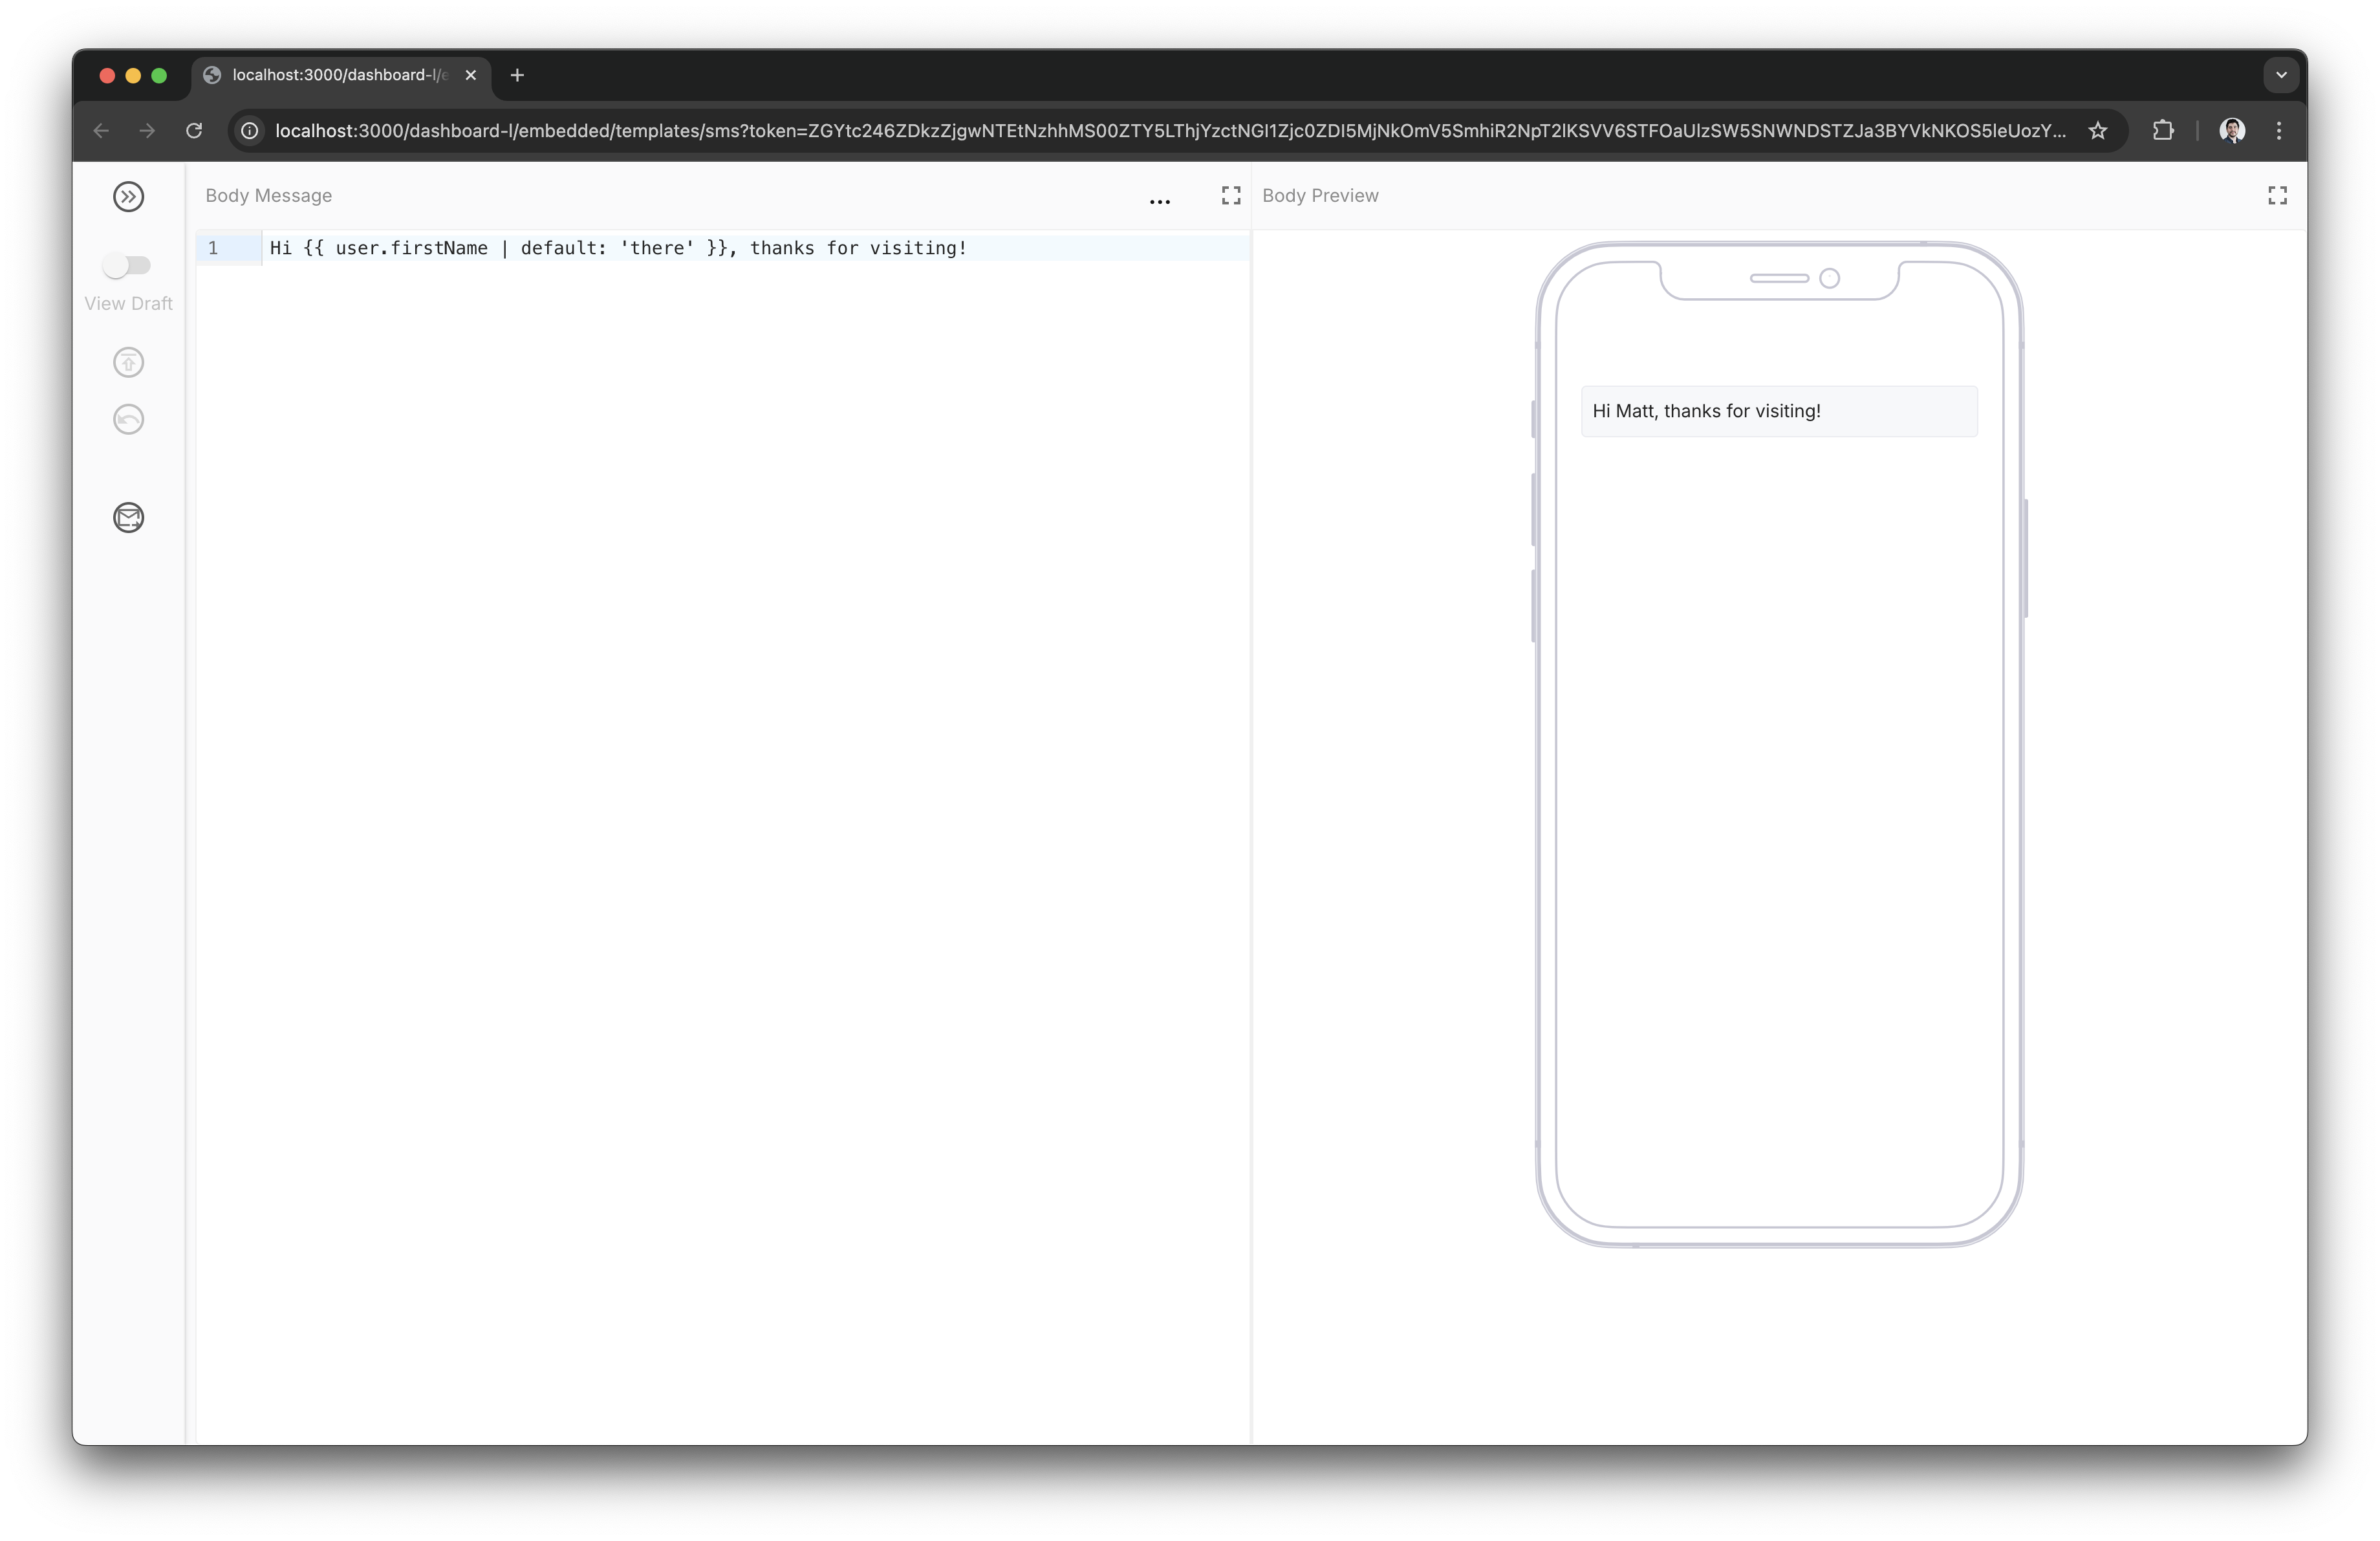
Email Editor
The email editor allows you to create and edit email templates.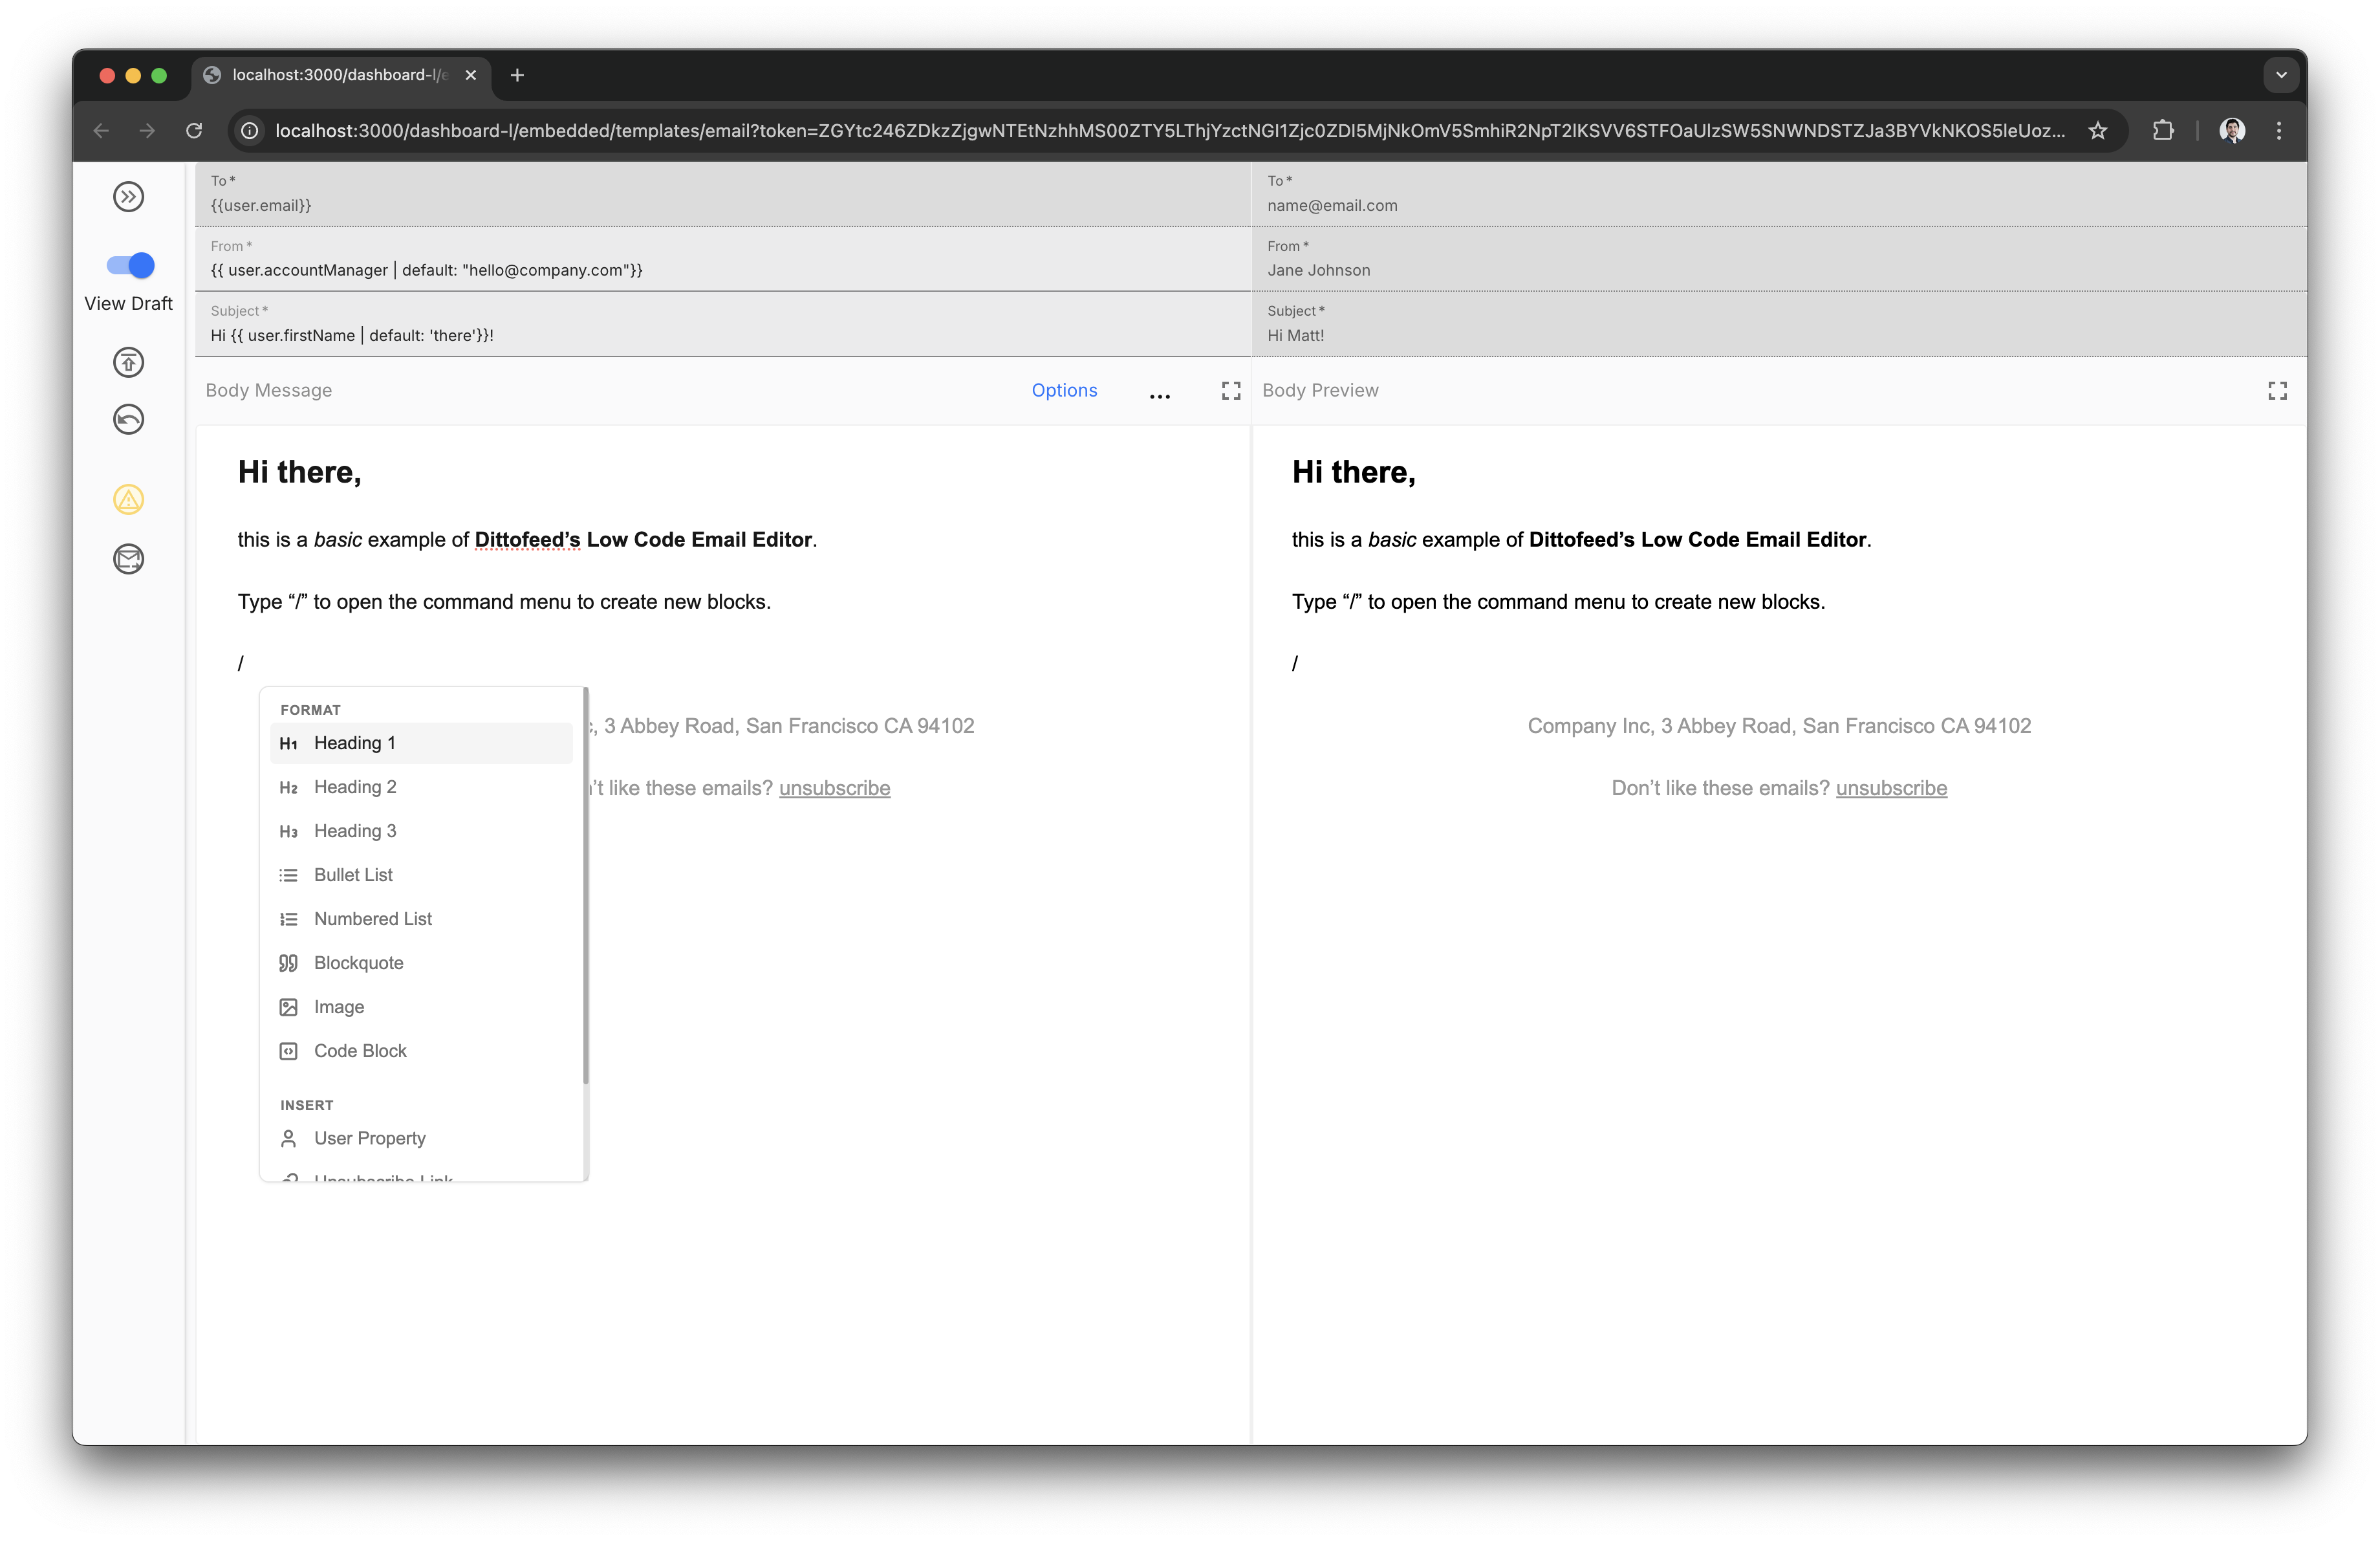
Template Editor Configuration
The template editor supports configuration to customize which editor types are available.Templates Table
The templates table displays all of the message templates for the child workspace.
Segment Editor
The segment editor allows you to create and edit segments.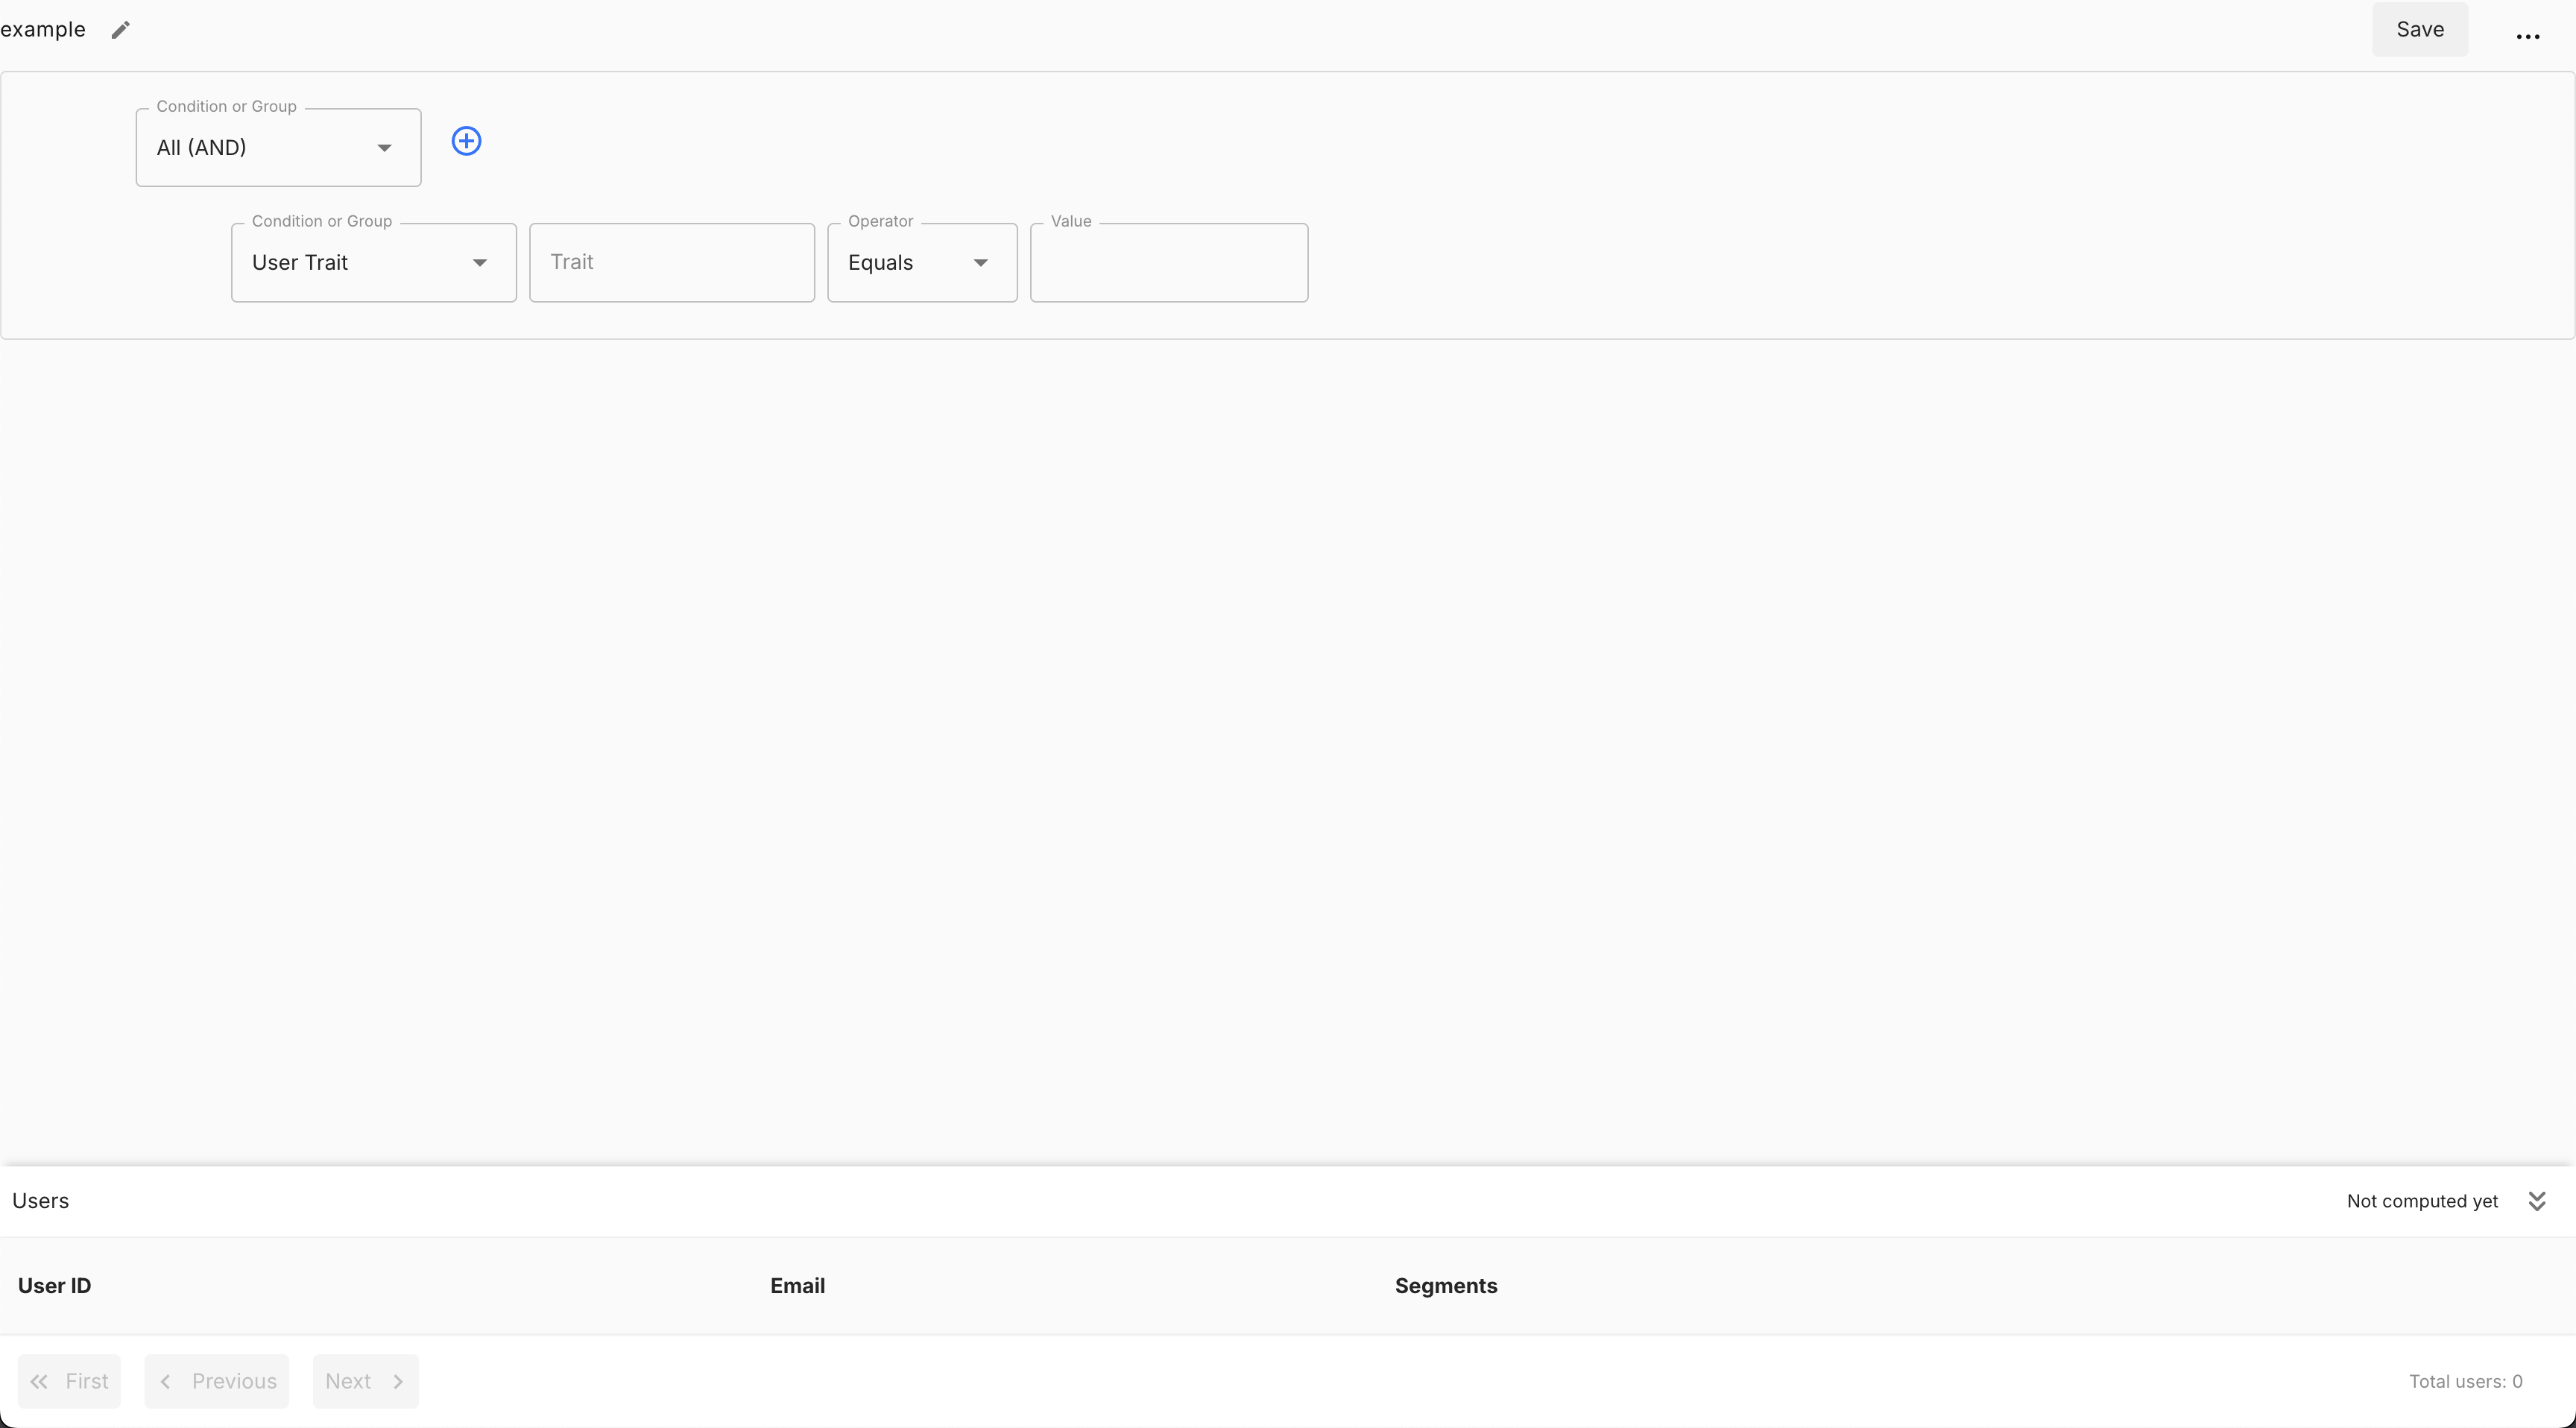
Segments Table
The segments table displays all of the segments for the child workspace. It provides a way to create new segments, view existing ones, and archive them.
Deliveries Table
The deliveries table displays all of the message deliveries for the child workspace e.g. for sent emails, and SMS.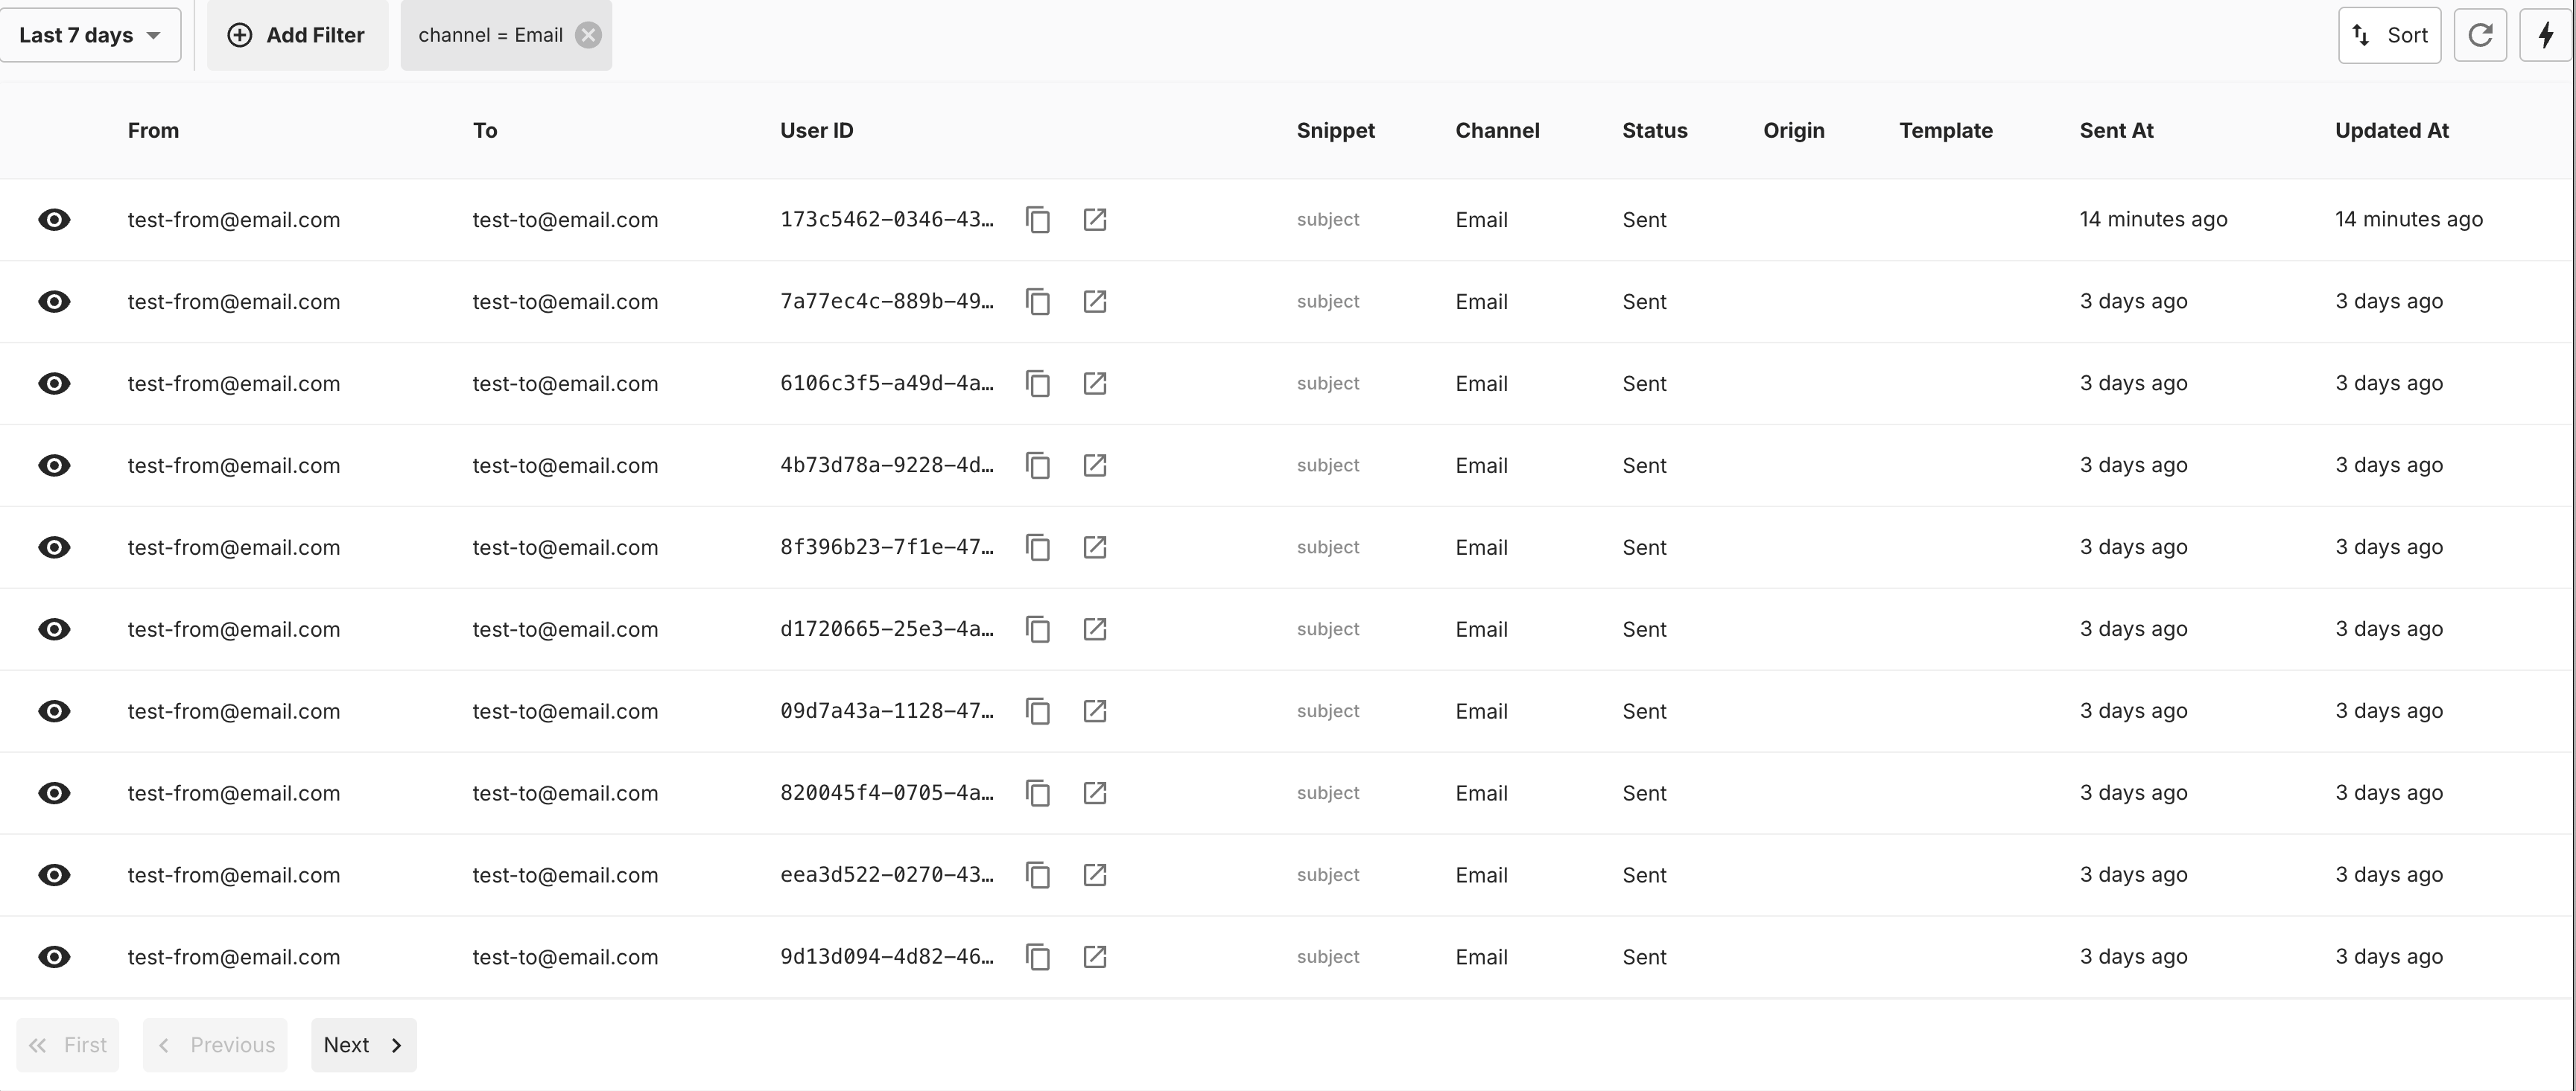
Deliveries Table Configuration
The deliveries table supports configuration to customize which columns are displayed and how to link to resources in your application.Analysis Chart
The analysis chart provides time-series insights into your messaging performance. It supports grouping (e.g., by journey, template, channel, provider, and message state), flexible date ranges, percentage view, quick downloads, and a summary panel.Analysis Chart Configuration
The analysis chart supports extensive configuration to customize filters, grouping options, and how to link to resources in your application.5. Configure Your Embedded Components (Optional)
You can customize the behavior and appearance of embedded components by creating Component Configurations. This allows you to tailor each component to your application’s specific needs—for example, hiding certain UI elements, restricting available options, or linking to your own user/template detail pages.Why Use Component Configurations?
- Simplify the UI: Hide features your users don’t need (e.g., scheduling options, rate limiting)
- Restrict options: Limit which email providers, editor types, or workflow steps are available
- Integrate with your app: Use URI templates to link users, templates, and campaigns back to pages in your application
- Pre-filter data: Show only relevant data by hardcoding filters on analysis charts
How to Create a Configuration
Use the PUT /api/admin/component-configurations/ endpoint to create or update a configuration. Important: Thename field must match the component type you want to configure. Each workspace can have one configuration per component type.
Example creating a Broadcast configuration:
How Configurations Are Applied
Configurations are automatically applied when loading an embedded component. When your server renders an embedded component page, it fetches the configuration matching the component type for that workspace. For example, when loading the Broadcast Editor for a workspace, the server will automatically fetch and apply the configuration named"Broadcast" for that workspace (if one exists).
Supported Components
The following components support configurations. See the configuration options for each component in their respective sections above.- Broadcast Editor —
BroadcastConfiguration(name:"Broadcast") - Template Editor —
MessageTemplateConfiguration(name:"MessageTemplate") - Deliveries Table —
DeliveriesTableConfiguration(name:"DeliveriesTable") - Analysis Chart —
AnalysisChartConfiguration(name:"AnalysisChart")